Table of Contents
This document demonstrates how to create an All Access product using the EDD All Access extension for Easy Digital Downloads.
Creating an All Access product.
In order to allow your customers to purchase an All Access Pass, you need to set one up.
1. Create a new product by navigating to Downloads → Add New.
2. Enable All Access
In the product creation screen, locate the Download Details area and select “All Access” under Product Type Options. The All Access products will appear, you may have to scroll down the page to locate the settings.

3. Configure All Access Settings.
Once you’ve selected the option called “Convert this product into an “All Access” pass?” you’ll need to configure each setting.
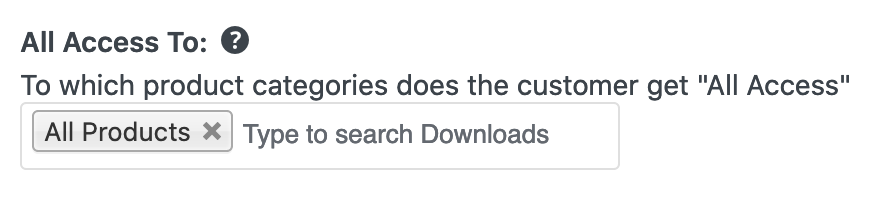
- All Access To: This allows you to set which products the customer can download if they purchase this All Access Pass. By leaving it blank, they will have access to all products in your store. If you choose a specific category, the customer will only have access to that category.
Note: Adding or removing categories only applies to new sales. Passes purchased prior will not take on the updated categories. Categories can be updated for existing passes by using the Regenerate All Access Passes tool, on a per customer basis.
- All Access Duration: This option determines how long the customer will be able to download products after purchasing this All Access Pass before it expires.

Note: If you have the Recurring Payments extension you can set this to sync with Recurring expiration in order to expire at the end of each subscription period.
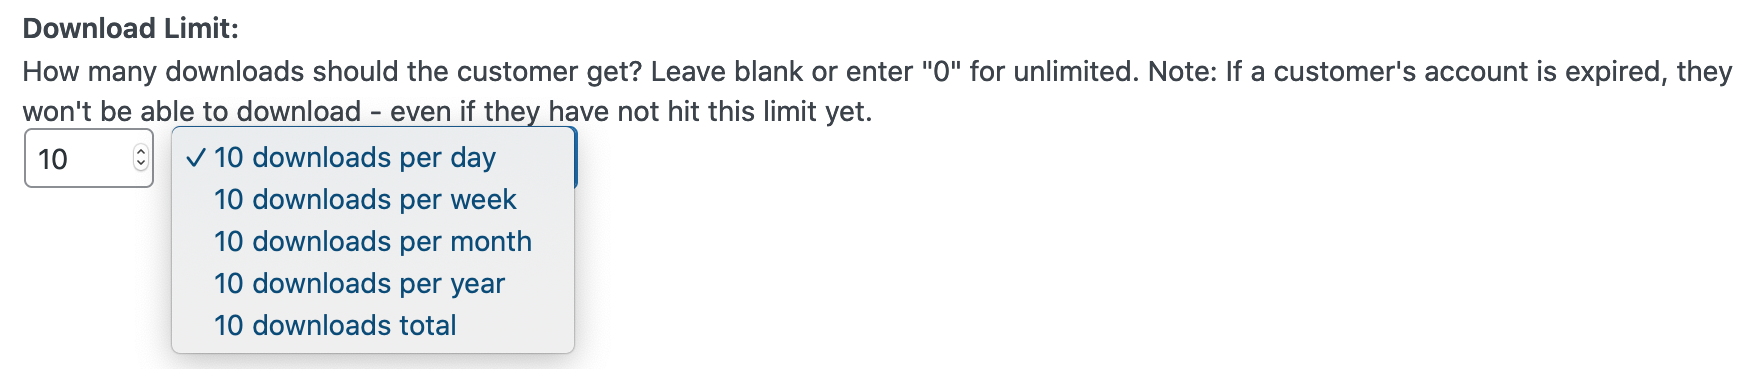
- Download Limit: This option determines how many downloads the customer can use. By default, it is set to unlimited – which is how it works if you set the limit to 0. Once the customer uses the number of downloads you set here, they can no longer download any more products. For example, you may want to limit your customers to have 10 downloads per day/week/month/year/total.
- Total Price Variations: This is an optional setting and does not need to be used. However, it will be useful for some stores. To understand this option, you need to understand what Price Variations are in Easy Digital Downloads. When you are creating products in Easy Digital Downloads, you can set the product to have different prices. For example, you might call them “Small”, “Medium”, and “Large”. If you want this All Access Pass to only allow the customer to download the Small and Medium price options, set this option to include the 1st and 2nd price options and leave all others unchecked. This will allow the customer to download the Small and Medium options but they will have to purchase the 3rd (Large) option.
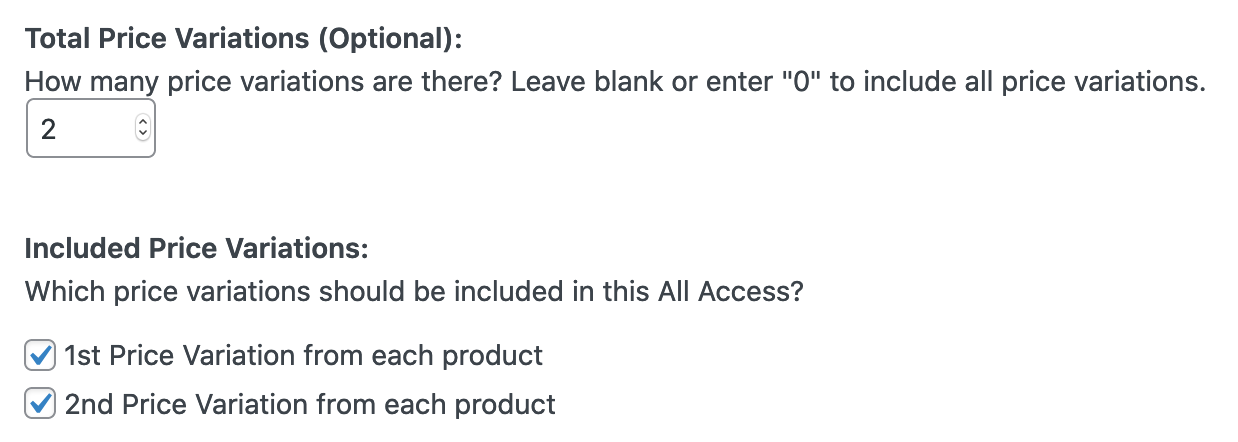
Note: This requires your products to all have the same price variations set up. Also, If you do not check any of the price variation checkboxes, All Access customers will have no access to any product variations. However, products without variable pricing (single price mode) will still be accessible.
4. Configure receipt options:
All Access products are different from a normal product in Easy Digital Downloads in that it gives access to all (or some) products on the entire store. Depending on how you’ve configured All Access, you’ll want the purchase receipt to display accordingly. You can set this up uniquely for each All Access Product. Note that receipts are shown on the Purchase Confirmation page and also in the email the customer receives after purchasing.
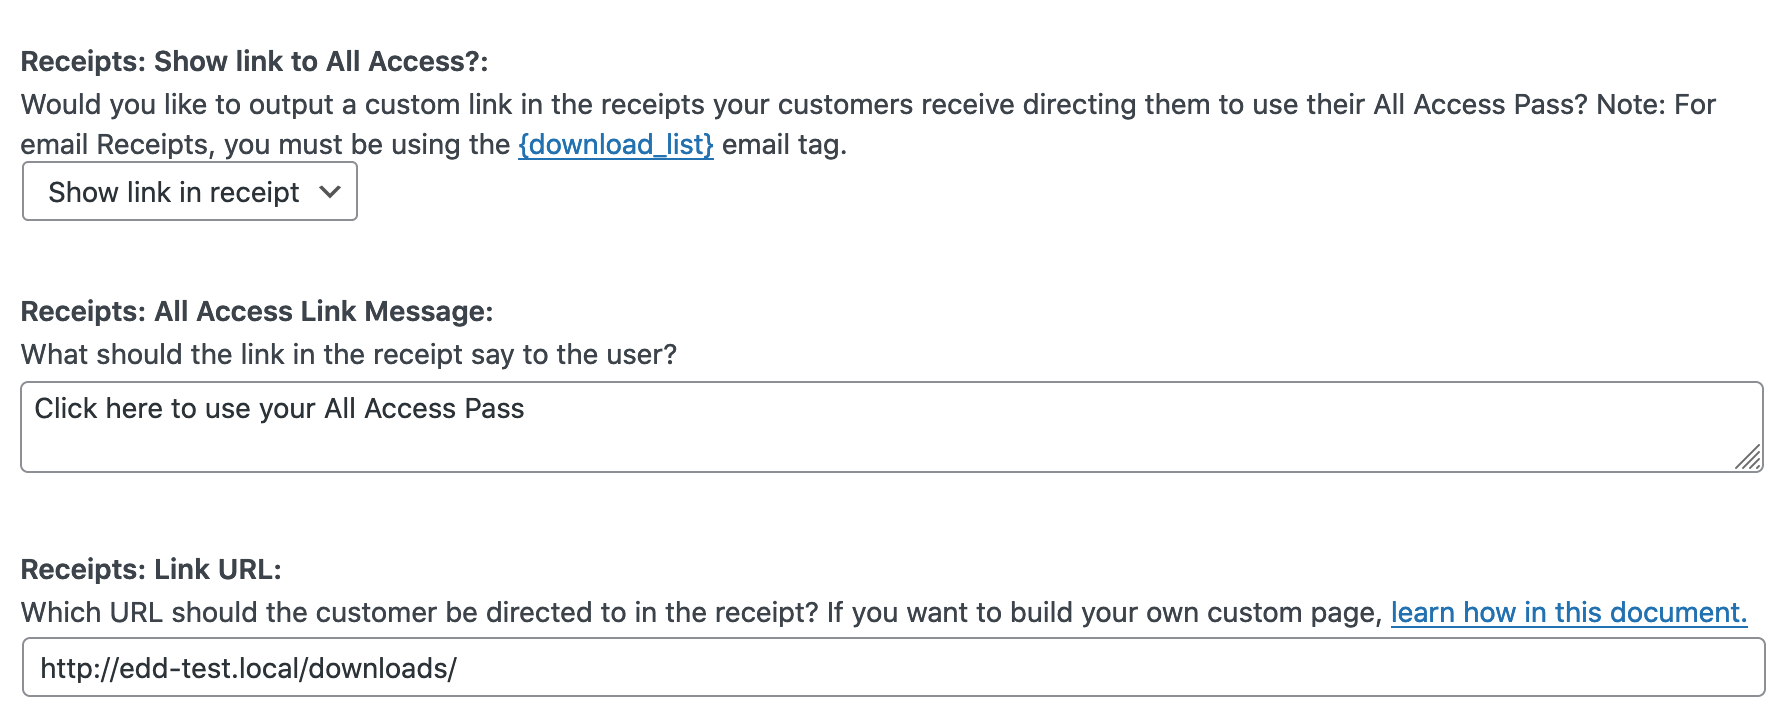
- Show link to All Access?: This is where you can enable or disable the All Access link in the purchase receipt.
- Link Message: This is the message displayed in the receipt. It defaults to “Click here to use your All Access Pass”. However, you can change it to any message you need.
- Link URL: This is the URL the customer will be sent to when they click on the message. By default, it will direct them to log in and then automatically redirect them to the default product archive provided by Easy Digital Downloads. This way they can start using their All Access Pass. However, if you want to redirect them somewhere else for any reason, you can do so by entering that URL here.
Creating a custom page of products the customer can download using their All Access Pass
If you want to send your new All Access customer to a custom page which only shows them products they can download using their All Access Pass, here’s a quick and easy guide on how you can set one up.
- Create a new page by navigating to Pages → Add New
- Give the page a title like “Use your All Access Pass” or something more relevant to your store.
- Use the [downloads] shortcode included in Easy Digital Downloads, but include an extra attribute: all_access_customer_downloads_only=”yes”
For example, if you simply want to show the customer all products available to them through their All Access Pass, enter this into the main text area of the page:
[downloads all_access_customer_downloads_only="yes"]
If you want to limit further than that, you can still use all of the normal attributes available in the [downloads] shortcode – but products will only appear if the customer actually has access to them through All Access.
Finally, you’ll want to copy the URL (or “permalink”) of that page you’ve created and enter it under the “Link URL” option in your All Access Product.
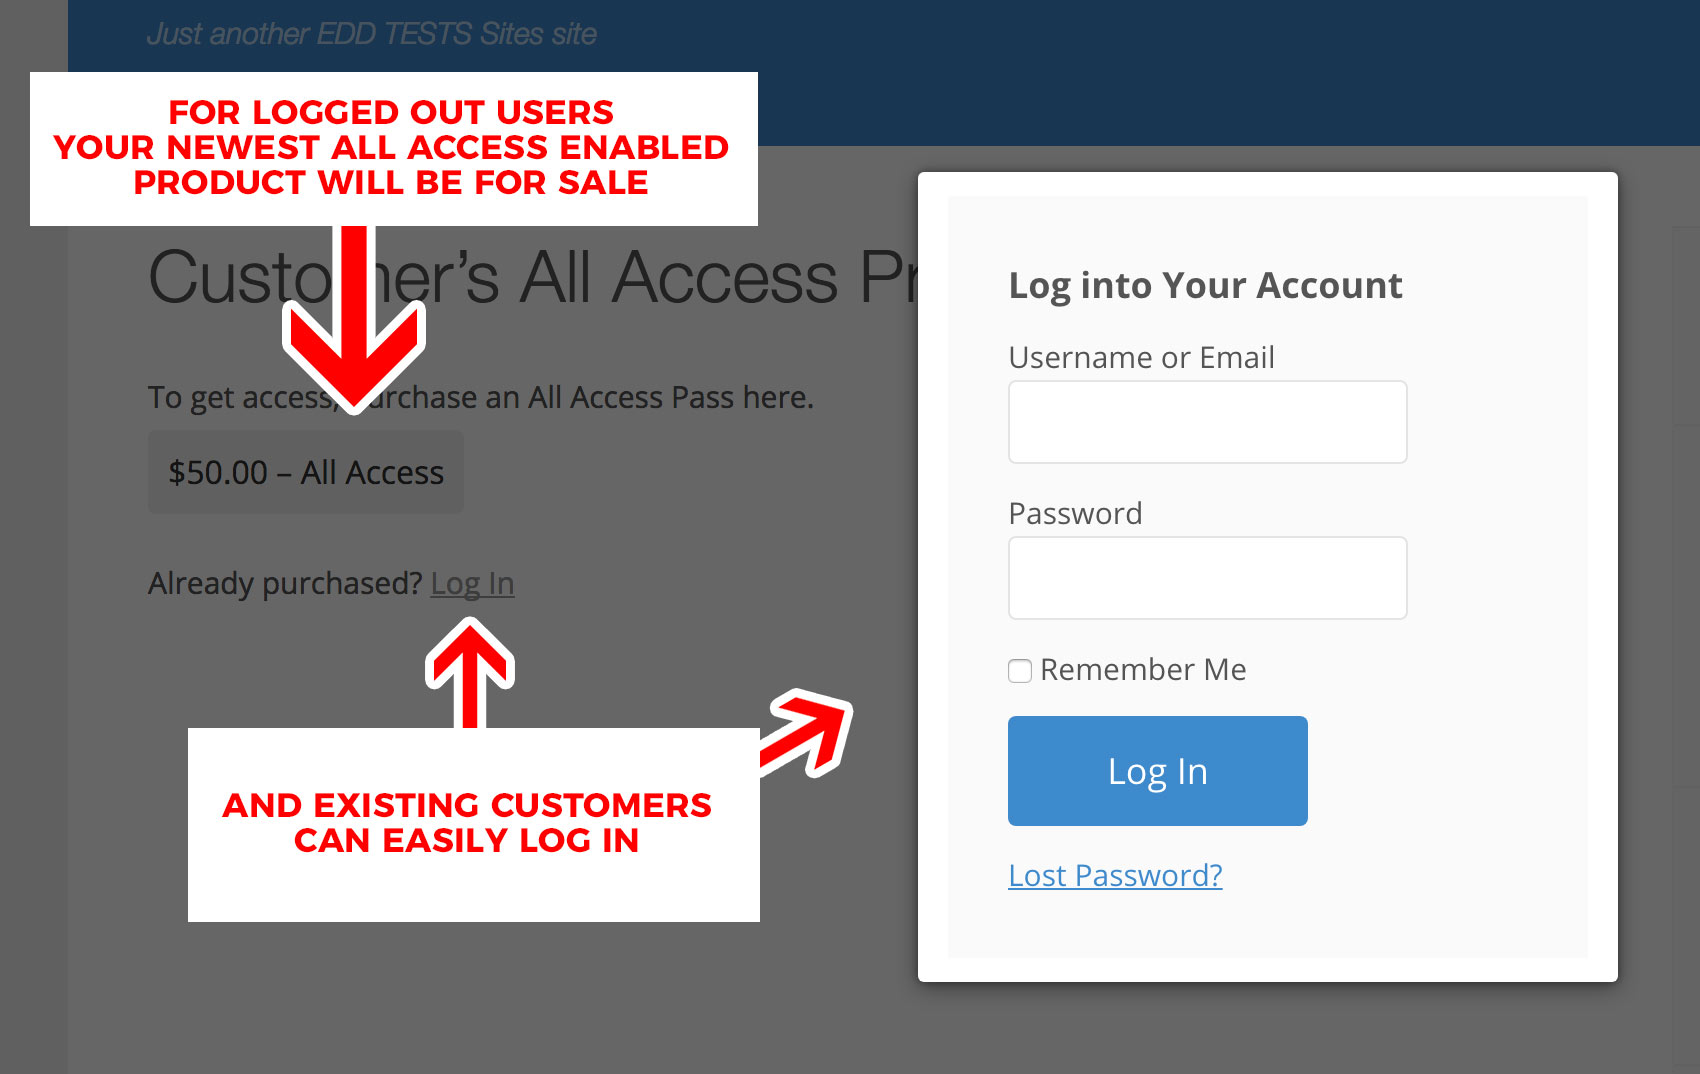
What do customers see if they do not have an All Access Pass?
If the user is logged out or does not have an All Access Pass, they will be automatically prompted to purchase or log in. By default, your latest All Access enabled product will be used for the “purchase” option.
If you wish to customize that to be a specific All Access product, this extension enables additional and optional parameters you can use with the [downloads] shortcode. These are the additional options made available by All Access:
- all_access_download_id – the ID of the All Access product whose purchase button will be displayed to logged out users.
- all_access_price_id – the price variation ID of the All Access product whose purchase button will be displayed to logged out users.
- all_access_price – whether to show the product price or not. 1 to show it, 0 to hide it.
- all_access_btn_text – the text displayed on the Purchase button
- all_access_btn_style – the style of the purchase link, either “button” or “text”
- all_access_btn_color – the color of the button (when using the “button” style”:
- gray
- blue
- green
- dark gray
- yellow
- all_access_btn_class – one or more custom CSS classes you want to be applied to the All Access Buy button
- popup_login – Whether the login form should open in a popup modal. If you want it to, use “true” here. Otherwise, leave blank.
- buy_instructions – Text Instructions above the Buy Now button. If blank this will not be shown.
- login_instructions – Text Instructions above the Login button. If blank this will not be shown.
- login_btn_style – the style of the login link, either “button” or “text”. Default is “text”.
Example Usages:
Here are a few examples of how you might customize the shortcode output for logged/out users (and users without a valid All Access Pass).
Here is an example with customized buy and login instructions:
[downloads all_access_customer_downloads_only="yes" buy_instructions="Purchase this to get All Access and unlock this page." login_instructions="If you have already purchased, simply log in!"]
Here is an example with a specific All Access download ID used as the Purchase option for logged-out users (make sure it is an All Access enabled product ID).
[downloads all_access_customer_downloads_only="yes" all_access_download_id="YOUR_PRODUCT_ID_HERE"]
Upgrading from a Bundled Product to an All Access product
All Access is the preferred method for bundling products as it gives more options and flexibility for the store owner. For the customer, it’s simpler due to only having a single key to manage multiple products.
Any bundled product can be upgraded to an All Access product.
- Enable All Access for the bundled product and configured the All Access settings to replace the bundle.
- Remove the Bundled Downloads from the product.
- Confirm settings and test. It’s important the All Access settings are correct before the next step because they cannot be changed once applied. Either test a new purchase after saving the All Access settings and confirm a new key works as expected or configure on a staging site and test with an existing customer’s key.
- “Process All Access Passes” is located under Downloads → Tools. See All Access – Tools for details on using the tool.
After running “Process All Access Passes”, the Parent License Key now works for the All Access key.
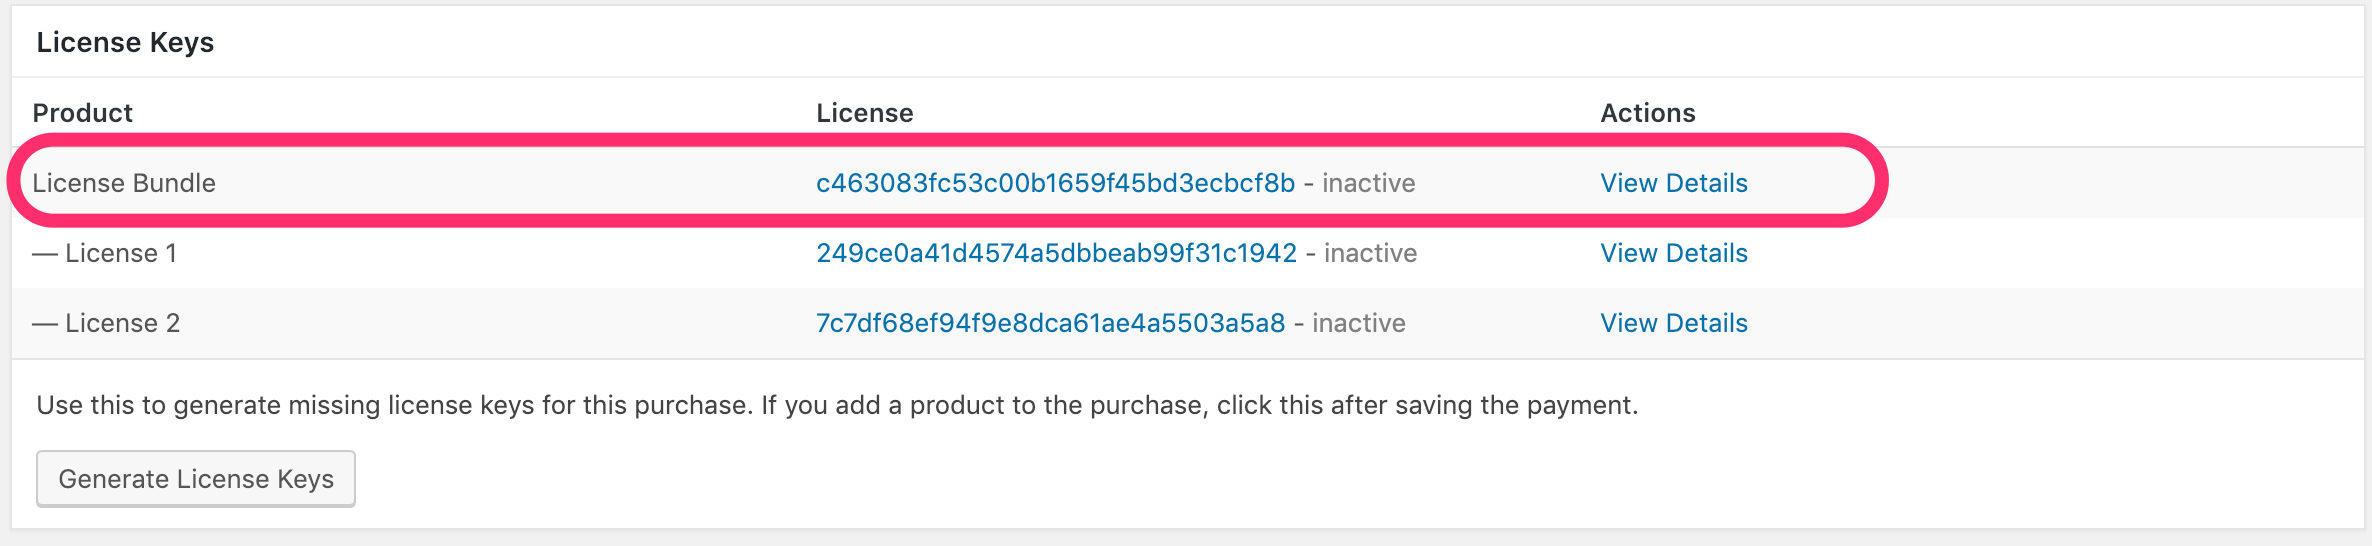
Note: Child (or bundled) licenses will still work. Therefore, existing customers do not need to switch to the new All Access key.
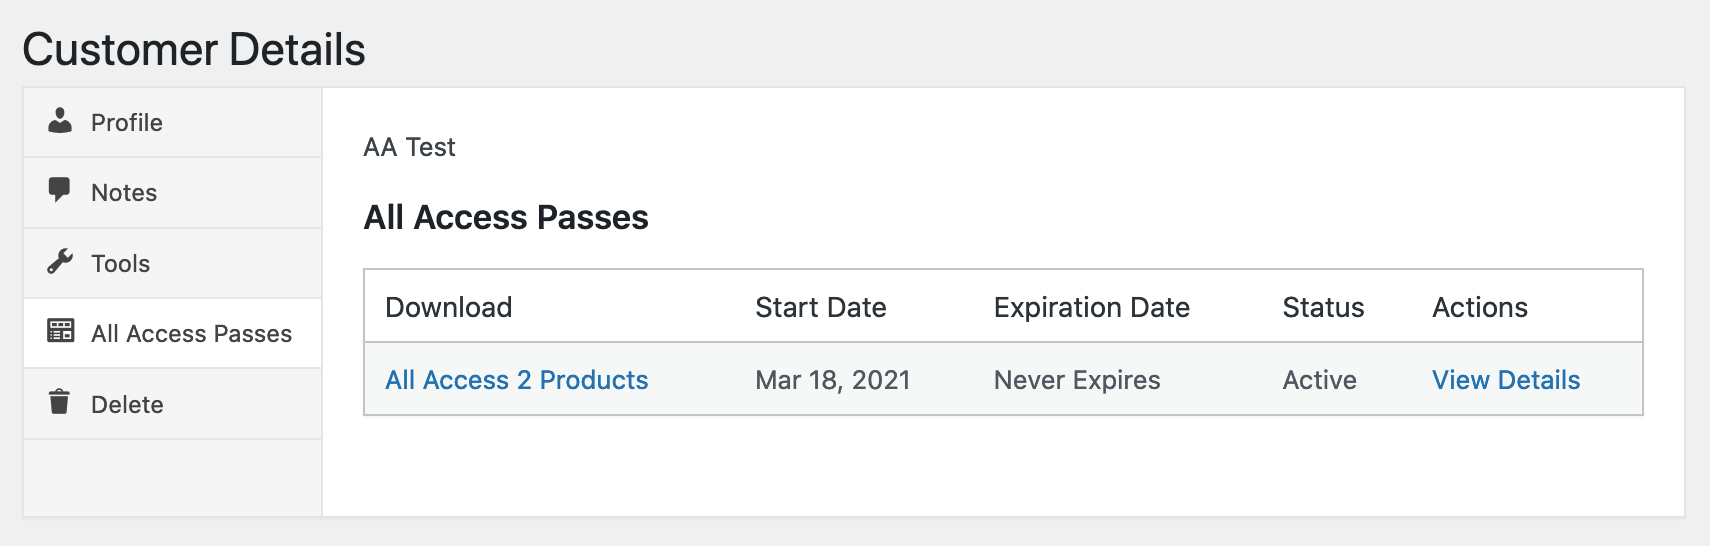
You can verify existing customers, who purchased the bundle, now have an All Access Pass by going to Customer Details, then selecting All Access Passes.