Creating Products
Your products are the core of your eCommerce site. Without them, you don’t really have an eCommerce site, so setting them up properly and making them easy to purchase is extremely important.
To create a product go to Downloads > Add New.
Creating a Product
Here is how to create a basic product. Below these steps, you’ll find all the product options that can be applied to your product, for your store’s specific needs.
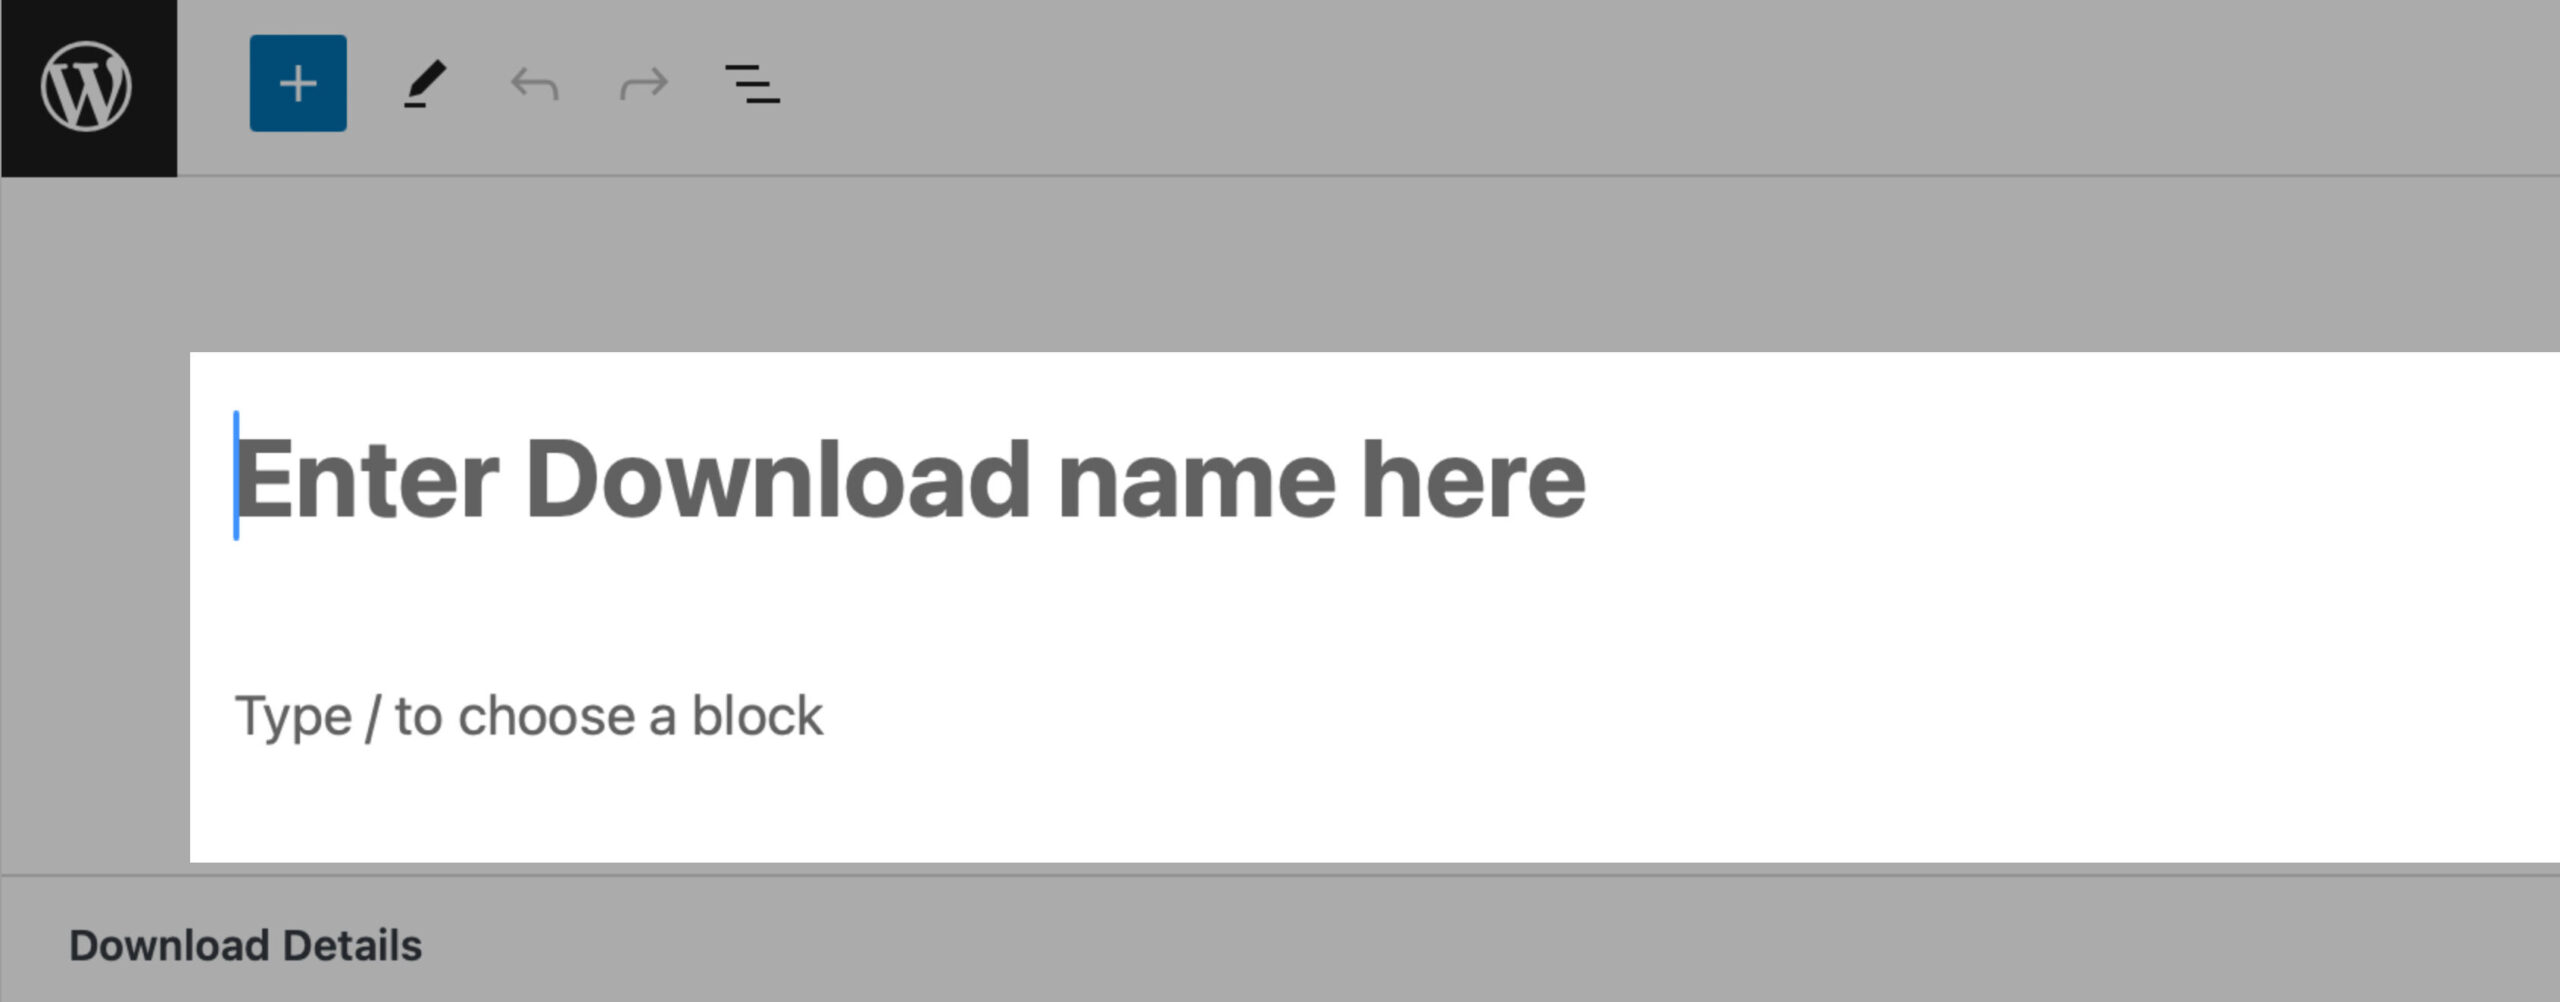
1. Title & Description
Add your Product / Download name and below, using the block editor, add a description. This can be as simple as a sentence or a full page with images.
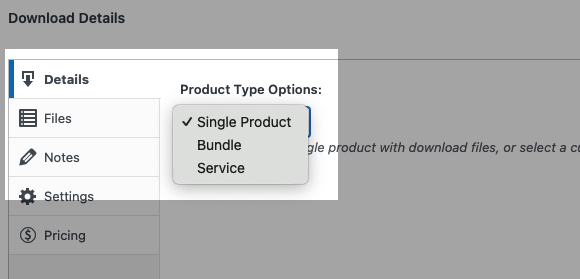
2. Product Type
In most cases, you’ll use the Single Product type. Select Service if you are not providing customers with a downloadable file. See Product Type Options for details on these options.
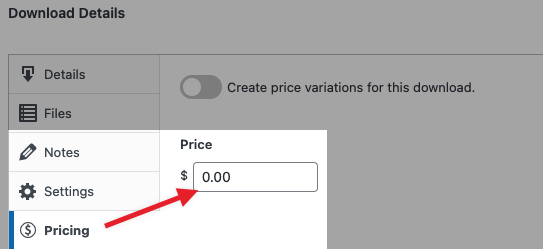
3. Set your product’s price
Set a price for your product.
4. Add your file
Upload your file in the Download File settings and update the File Name.

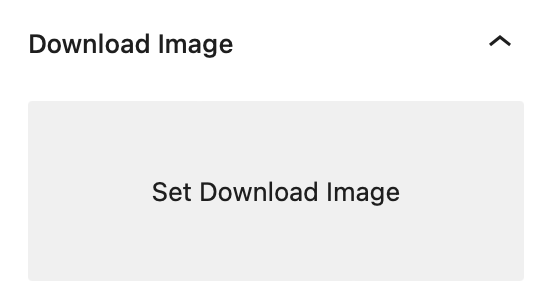
5. Download Image (featured image)
Add an image you want to use for your featured product image.
Publish your Product to make it available for purchase.
Product Item Options
Download Title & Description
Input a Title & Description for your product. This is done similarly to a page or blog post. There is a Featured Image but additional images can be added to the description, if needed.
Download Details
The Download Details are used to specify the type of product and pricing.
Product Type Options
Single Product: This is the standard downloadable product used by most stores. This will provide a download link(s) upon purchase for the files added to the product.
Bundle: Allows you to combine more than one Product into a single package and price. This replaces the Download Files section with a Product / Download selection.

Service: A service removes the option to add files and does not provide download links upon purchase. Instead, you can utilize the Download Instructions if you want to provide the customer with information about the service they purchased.
Pricing Options
Price Options allow you to add multiple purchase options to a single product in your store. Small, medium, large for example.
1. Enable Create price variations for this download. in the Pricing tab.
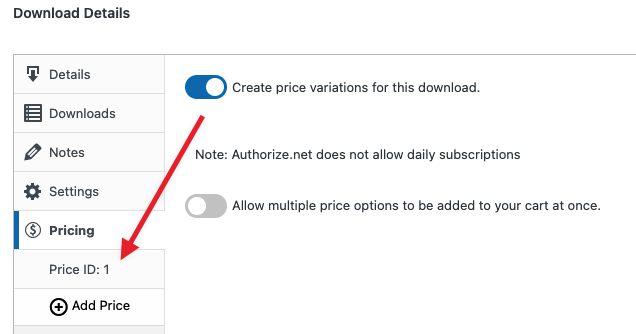
2. Edit and add additional price options
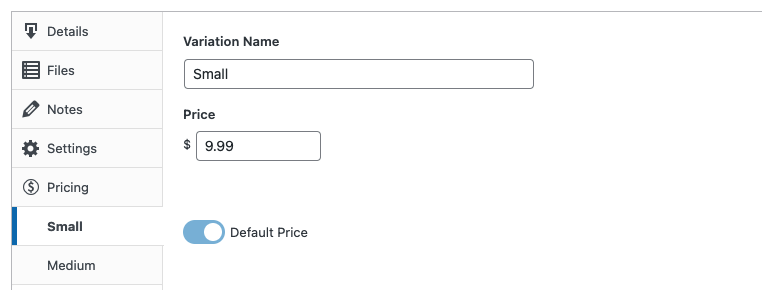
For a detailed breakdown of variable pricing functionality, please read the Variable Pricing documentation.
Download Files
Upload or select an existing file and assign a name. The File Name will be seen by the customer via their order confirmation or receipt. By default, it will get set to the name of your file, but you can update it to any name of your choosing.
It’s important to upload your files via the Product and not directly to the WordPress media library. When uploaded via your Product, it uploads to the protected EDDdirectory so that direct linking to the files is forbidden.
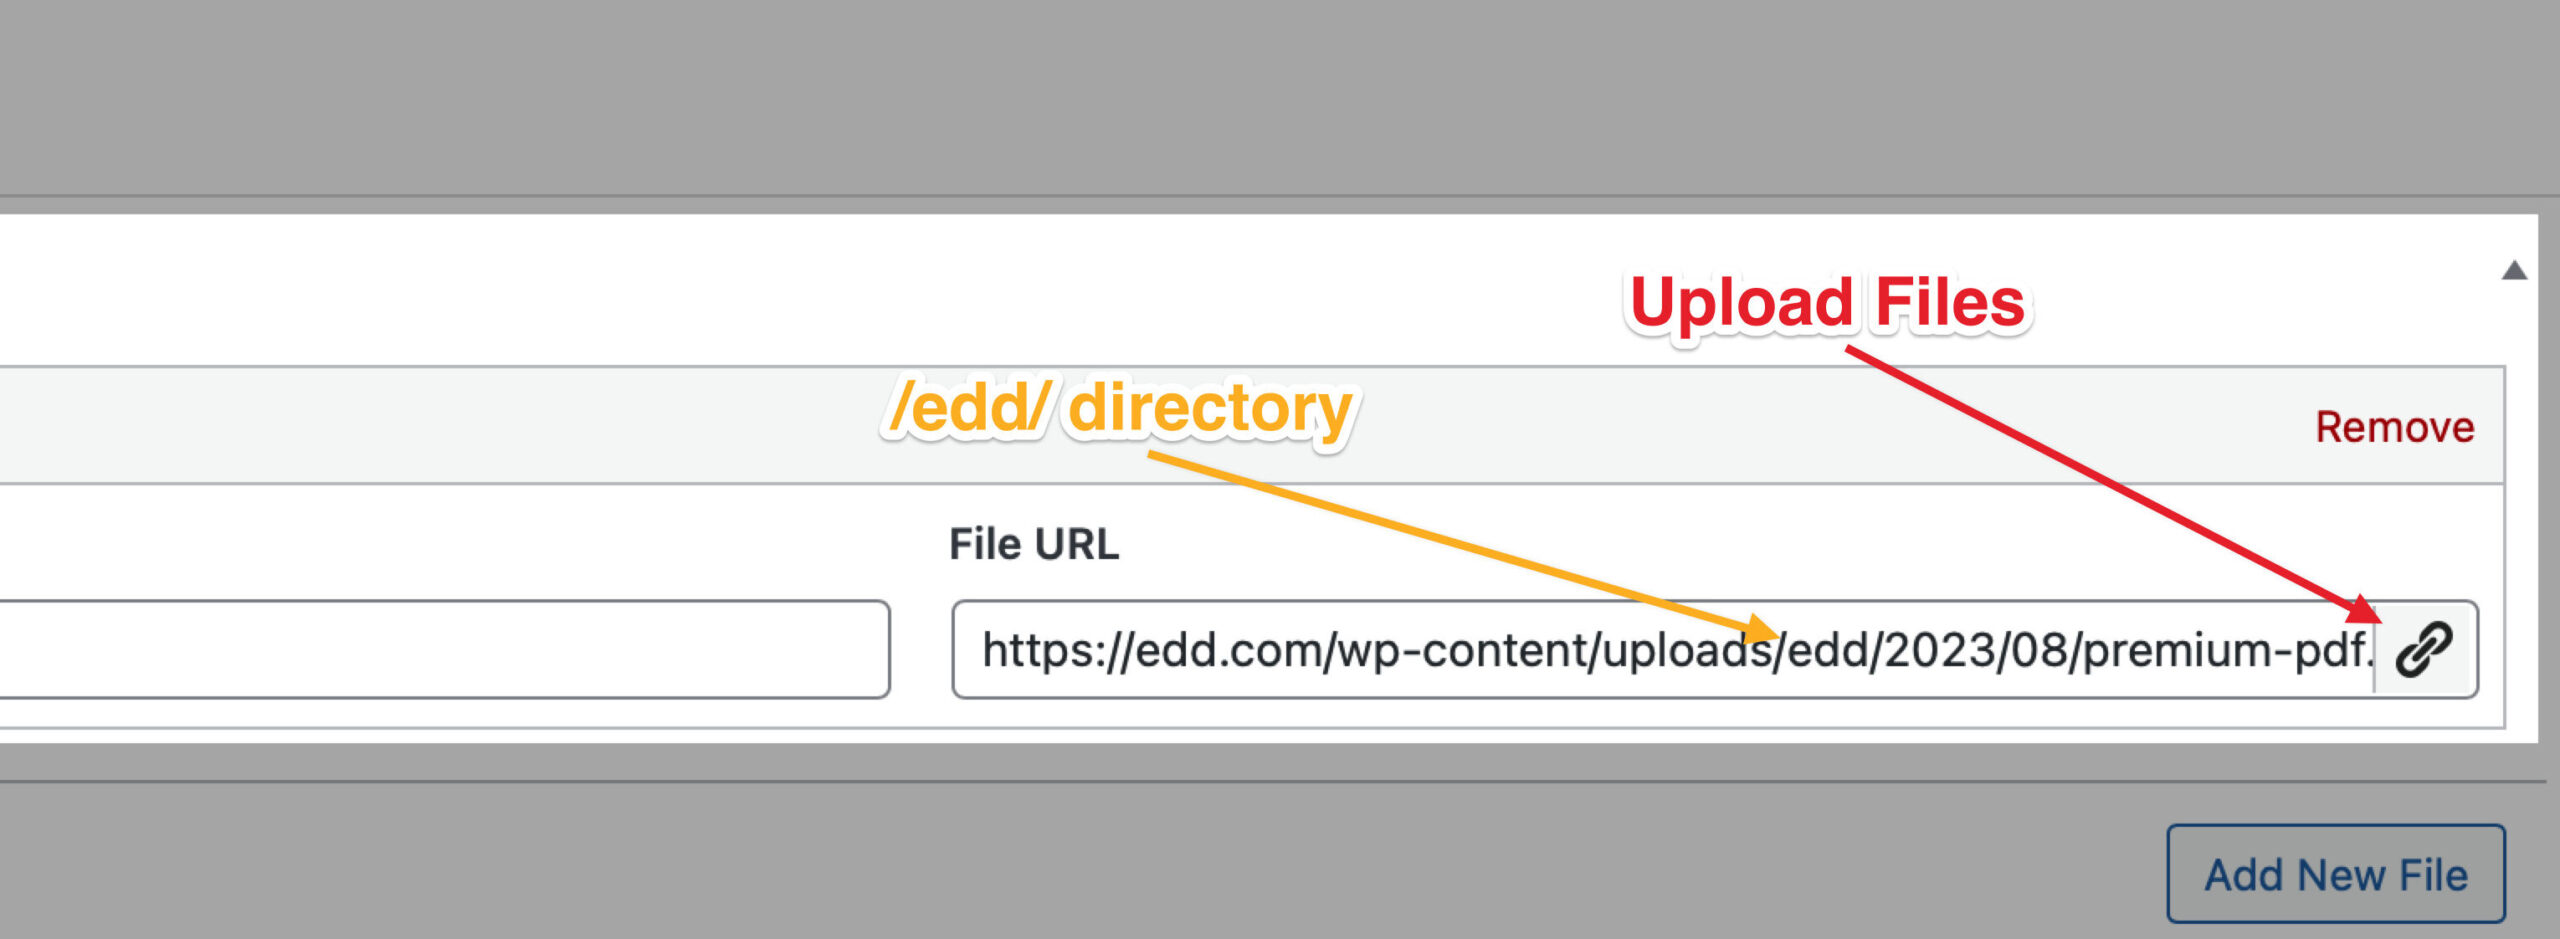
You can add multiple files for the customer to download when purchasing your product, by clicking the Add New File button.
If variable pricing is enabled, a Price Assignment option is added so you can assign files to certain price options.
NOTE: Downloads may be re-ordered simply by clicking and dragging the crosses at the left.
Download Instructions
This is simply a place for the site owner to add some instructions on the receipt for the customer. These notes are shown only to a customer, on their receipt, never on the front of the website.
Download Settings
In the right sidebar is a box entitled Download Settings. In this box you can:
File Download Limit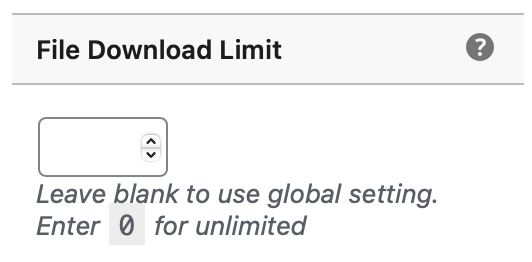
Over-ride your system-wide setting for File Download Limit for this particular product.
Refunds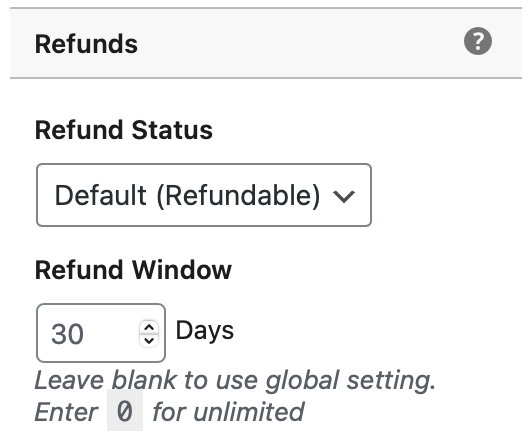
By default, all Products can be refunded by Admins and any Shop User. You can set your individual Products to be Non-refundable. Or, use the Refund Window to limit the number of days this product can be refunded after purchasing. WordPress Admins and Shop Managers can refund products regardless of this status.
Taxability
If your store has taxes enabled, you can set a Download to be non-taxable.
Item Quantities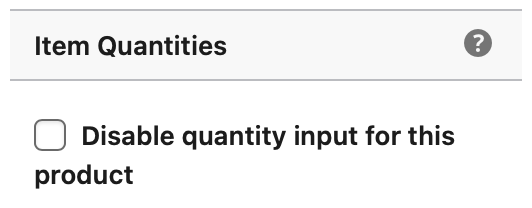
If quantities are enabled, you can disable quantity input for individual products.
Button Options
Hide purchase button: By default, the purchase buttons will be displayed at the bottom of the download, when disabled you will need to use the Purchase link shortcode below to output the ability to buy the product where you prefer.
Purchase button behavior: Add to Cart buttons follow a traditional eCommerce flow by adding an item to the cart. Buy Now buttons are only available for stores that have a single supported gateway active and that do not use taxes and allow someone to purchase via a popup modal without going to the checkout page.
Purchase Shortcode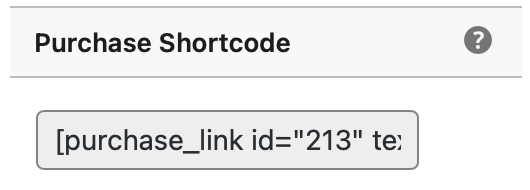
Use this shortcode to output a purchase link for this product in the location of your choosing.
Full shortcode example: [purchase_link id="213" text="Purchase" style="button" color="blue"]
Publishing Downloads
After completing all of the steps above, the final step is to Publish your Download. If you do not Publish your Download it will not be visible on your site to potential customers. The Publish box is located in the right sidebar.
You may change the visibility settings within the Publish box to Public, Password protected, or Private. If your Download is not Public, potential customers will not be able to view it on your site.
Advance scheduling is also an option within the Publish box. Clicking Immediately allows you to enter a future date for publishing your Download. The Publish button will change to Schedule. Clicking Schedule will automatically Publish the Download on the date you’ve entered.
Once your Download has been Published, the Publish box will change to Update and the Published on date will populate. It’s important to remember that Downloads will not be visible to potential customers if Visibility is not set to Public and it has not been Published.
Deleting Downloads
We don’t recommend deleting products, doing so will affect the accuracy of your reports. Instead of deleting, we suggest setting the products to Draft or Private. That will allow reports to continue to work while also removing the items from the store.