
Authorize.net is one of the oldest and largest of the payment gateways.
Easy Digital Downloads has an Authorize.net extension that will allow you to use your Authorize.net account to process payments.
Requirements
To use Authorize.net with Easy Digital Downloads, you will need::
- An Authorize.net API Login ID
- An Authorize.net Transaction Key
- An Authorize.net Signature Key
1. Installing Authorize.net
To get started with
Authorize.net Gateway, the first thing you will want to do is install and activate it on your WordPress site. For instructions on how to install an extension, see this documentation.
2. Enter API Keys
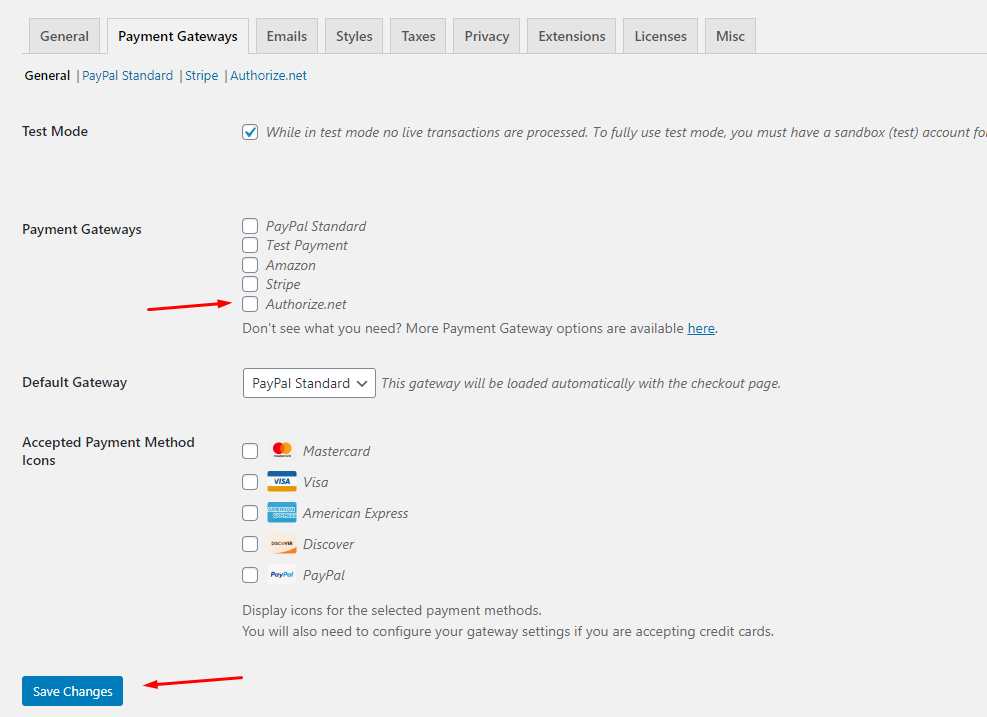
In your EDD store, go to
Downloads → Settings → Payments and find the Authorize.net section. It’ll look like this:

Fill in the API Login ID, Transaction Key and the Signature Key then click the Save Changes button. You can retrieve the API details from your account area on the Authorize.net website. A helpful article about how to generate the API keys is available here:
Authorize.net Getting Started Guide
3. Enable Payment Gateway
Once Authorize.net Gateway is installed and activated and the API Keys have been entered you will need to enable it by going to
Downloads → Settings → Payments and enable Authorize.net from the list of available gateways. Once the box is checked, click the Save Changes button at the bottom of the page.
4. Webhook Configuration
Authorize.net uses a system called Webhooks to communicate with your store. In order to use Authorize.net you must configure Webhooks properly inside your admin panel at Authorize.net.
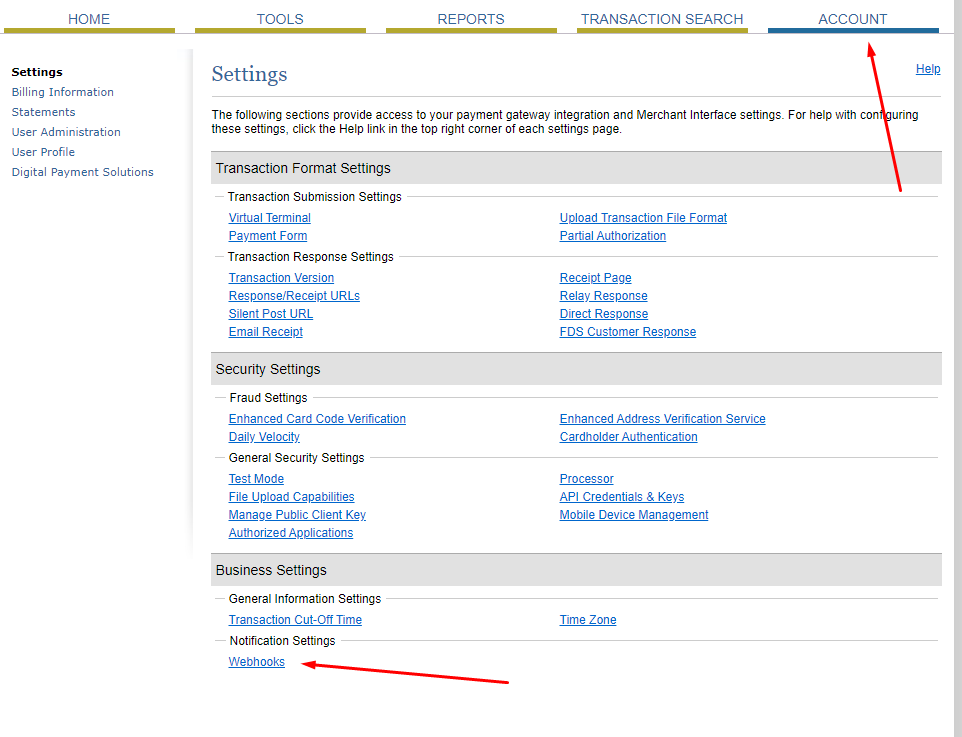
First log into
Authorize.net and go to your Account page and click on Webhooks:
If you have no endpoints configured, you will see an
Add Endpoint button. Once you click that you will see the fields to enter your Endpoint URL just like in the image below:
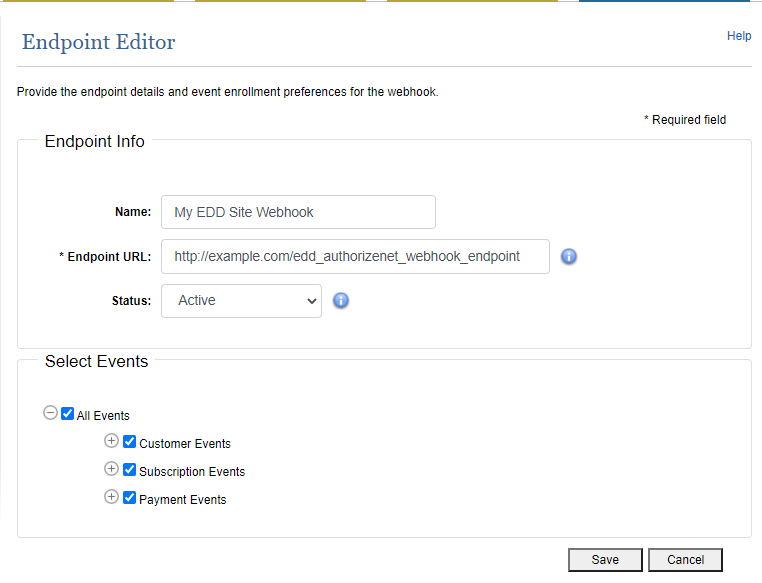
The most important field is the Endpoint URL which looks like this:
https://example.com/edd_authorizenet_webhook_endpoint
Please be sure to change https://example.com to your own website domain name.
Canceling Subscriptions
When using Authorize.net, a cancellation may be initiated
either from within EDD or from the Authorize.net Dashboard.
a) From The EDD Admin
To cancel a subscription from the EDD admin, go to
Downloads → Subscriptions and click View on the item you want to cancel.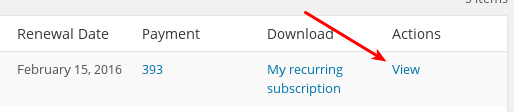
Then in the bottom of the next screen click the
Cancel Subscription button.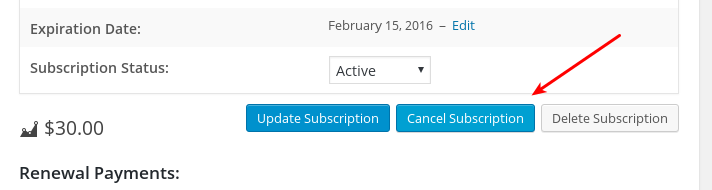
When you cancel a subscription the customer will still have access to their purchased material for as much time as they’ve paid for however their recurring subscription with Authorize.net will be cancelled so they will not be billed again.
Example: The customer paid $10/mo, and you cancel halfway through the month. They still have access to their material for the rest of the month, but they won’t be rebilled, and access will stop at the end of the month.
b) From within the Authorize.net panel
To cancel a recurring subscription from the Authorize.net panel, log into the panel and click
Recurring Billing in the side menu.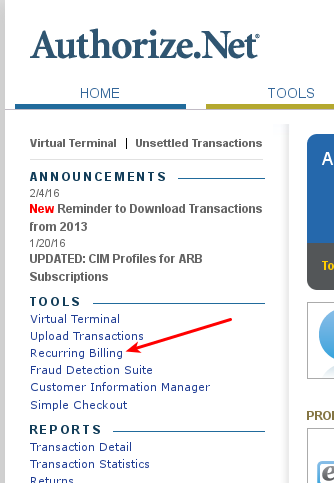
Then under
Subscription Status you’ll see a count of Active subscriptions, click that.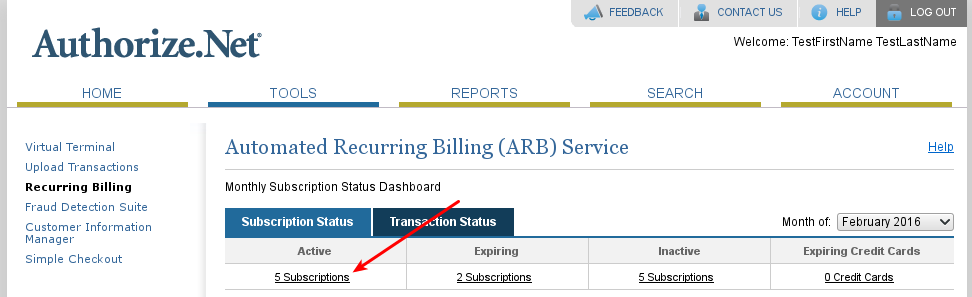
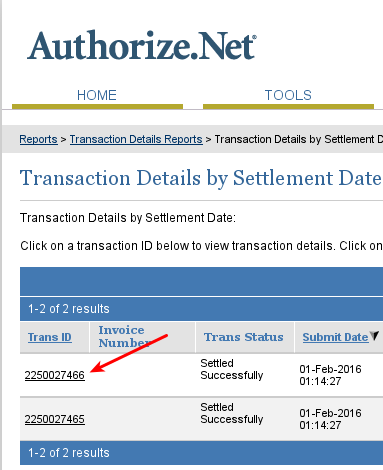
Then you’ll see a list of your active subscriptions, with a column of subscription IDs on the left. Click a subscription ID to view it.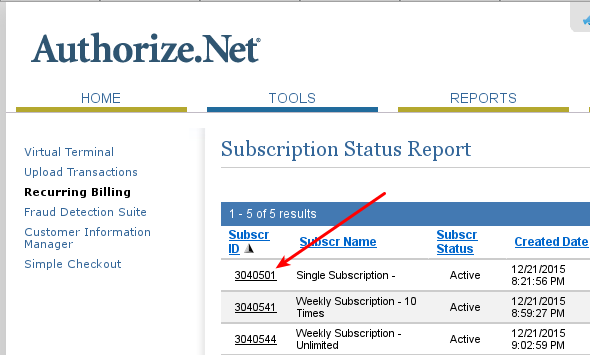
Once you’re viewing a subscription, in the top right click the
Edit Subscription link.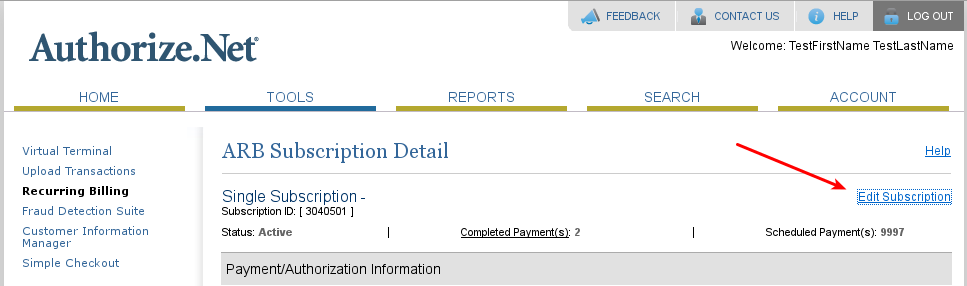
Once you’re in the Edit screen for a subscription, click the Cancel Subscription link in the top right.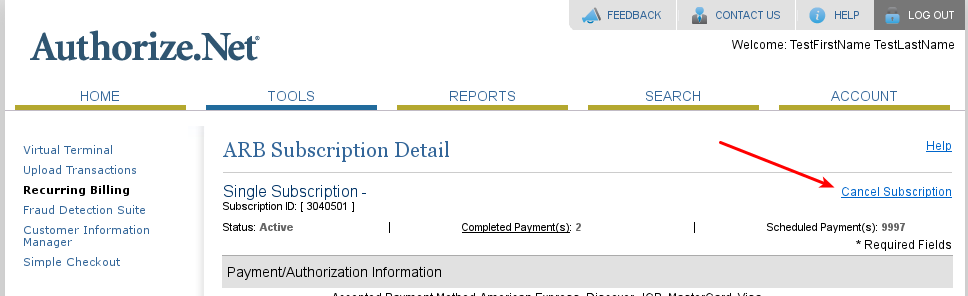
Canceling Summary
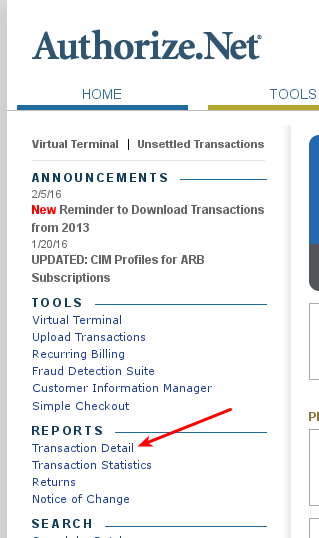
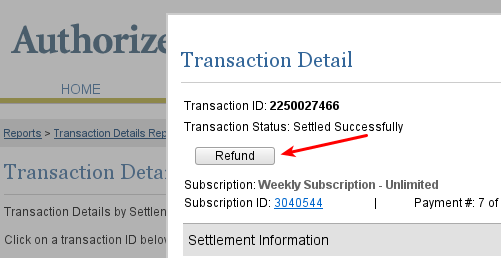
Refunds
.
Transaction Detail in the left bar.
Troubleshooting:
If you have a firewall installed on your server, it could be preventing Authorize.net from being able to communicate with your server when it sends the “Silent Post”. Authorize.net recommend whitelisting these IPs on the firewall:
198.241.162.104
198.241.206.38
198.241.207.38


