Checkout Fields Manager – Field Types
The purpose of Checkout Fields Manager is to give you flexibility in what data you’d like to gather from your customer. With that in mind, CFM offers 22 different field types so that you may gather data in the best possible way.
Common Field Elements
While there are very few field options that occur on every field, there are some that are on most fields. Here are examples:
Show field on frontend checkout field
This option allows you to show the field either only in the admin or in both the admin and the front of the site. Here’s an example of a field in the builder set to only appear on the back end.
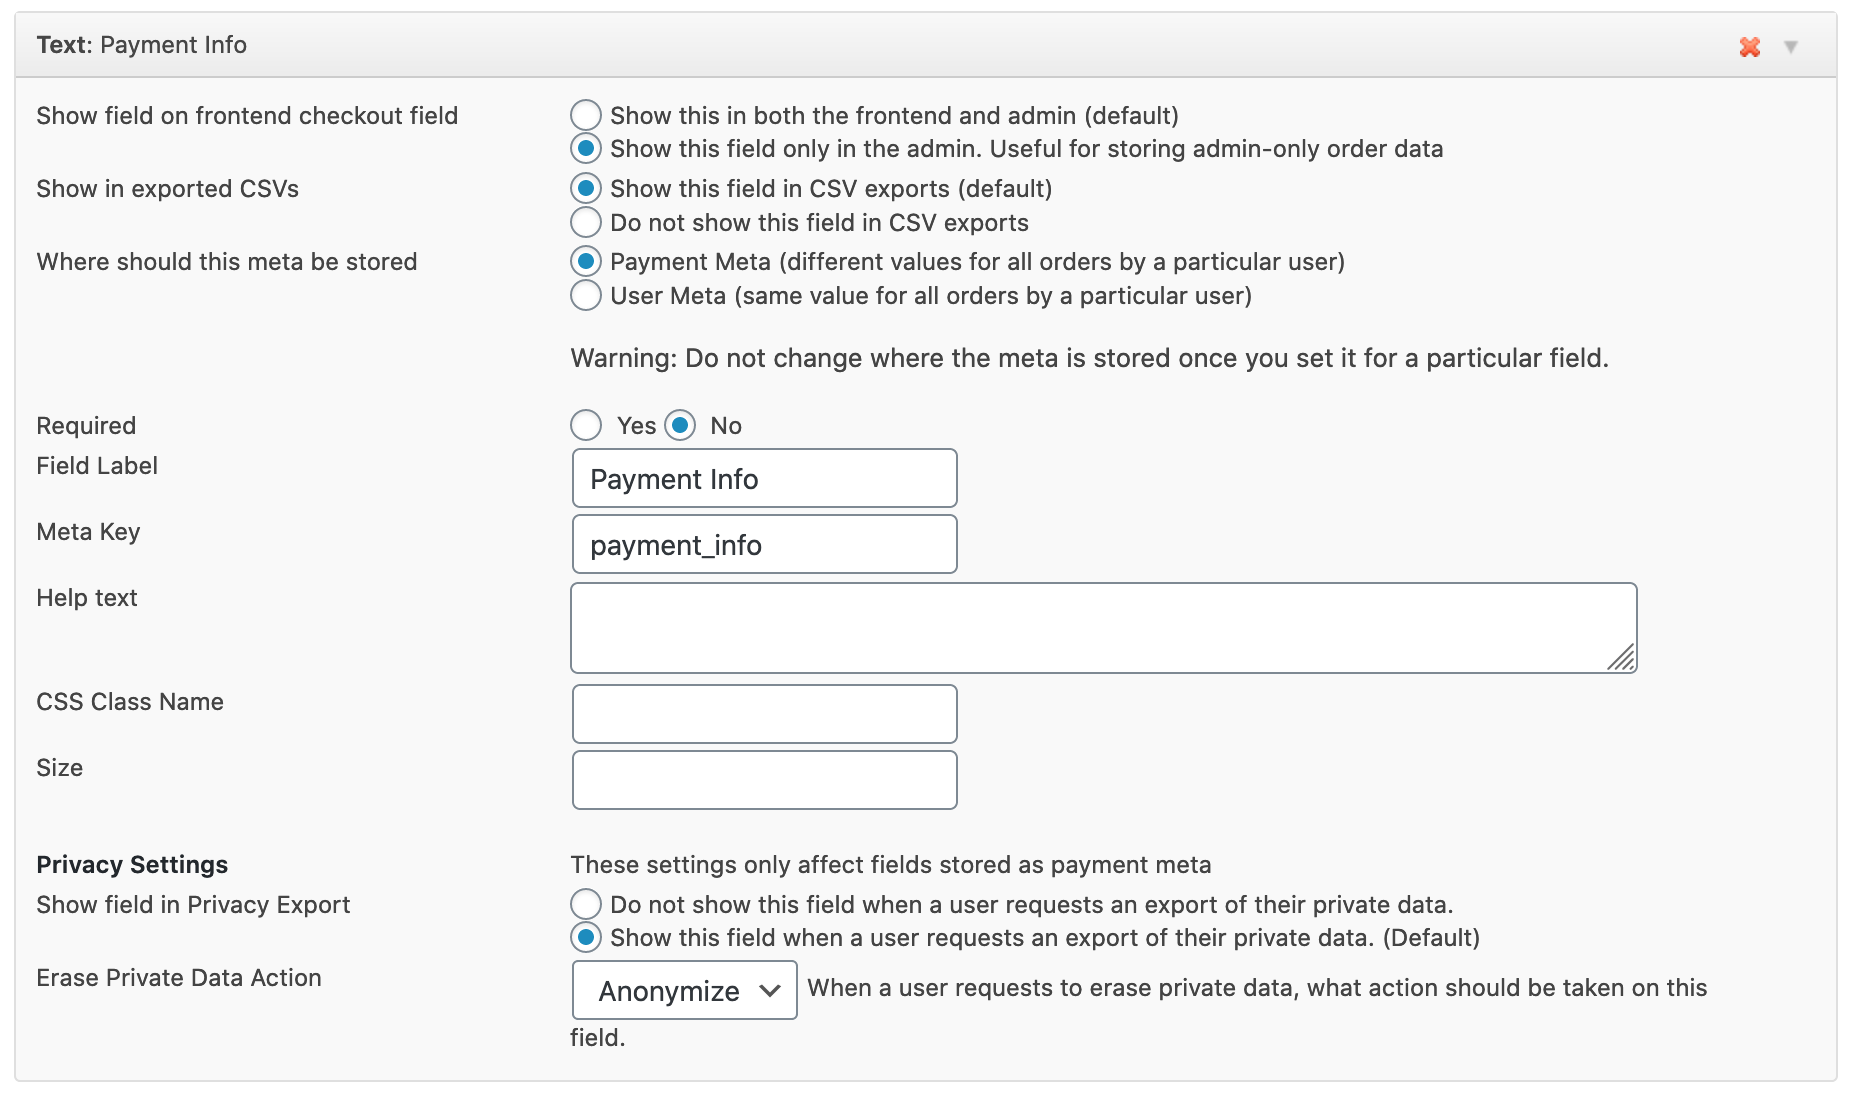
Here’s that same field rendering on the Payment record page ( Downloads → Payment History):
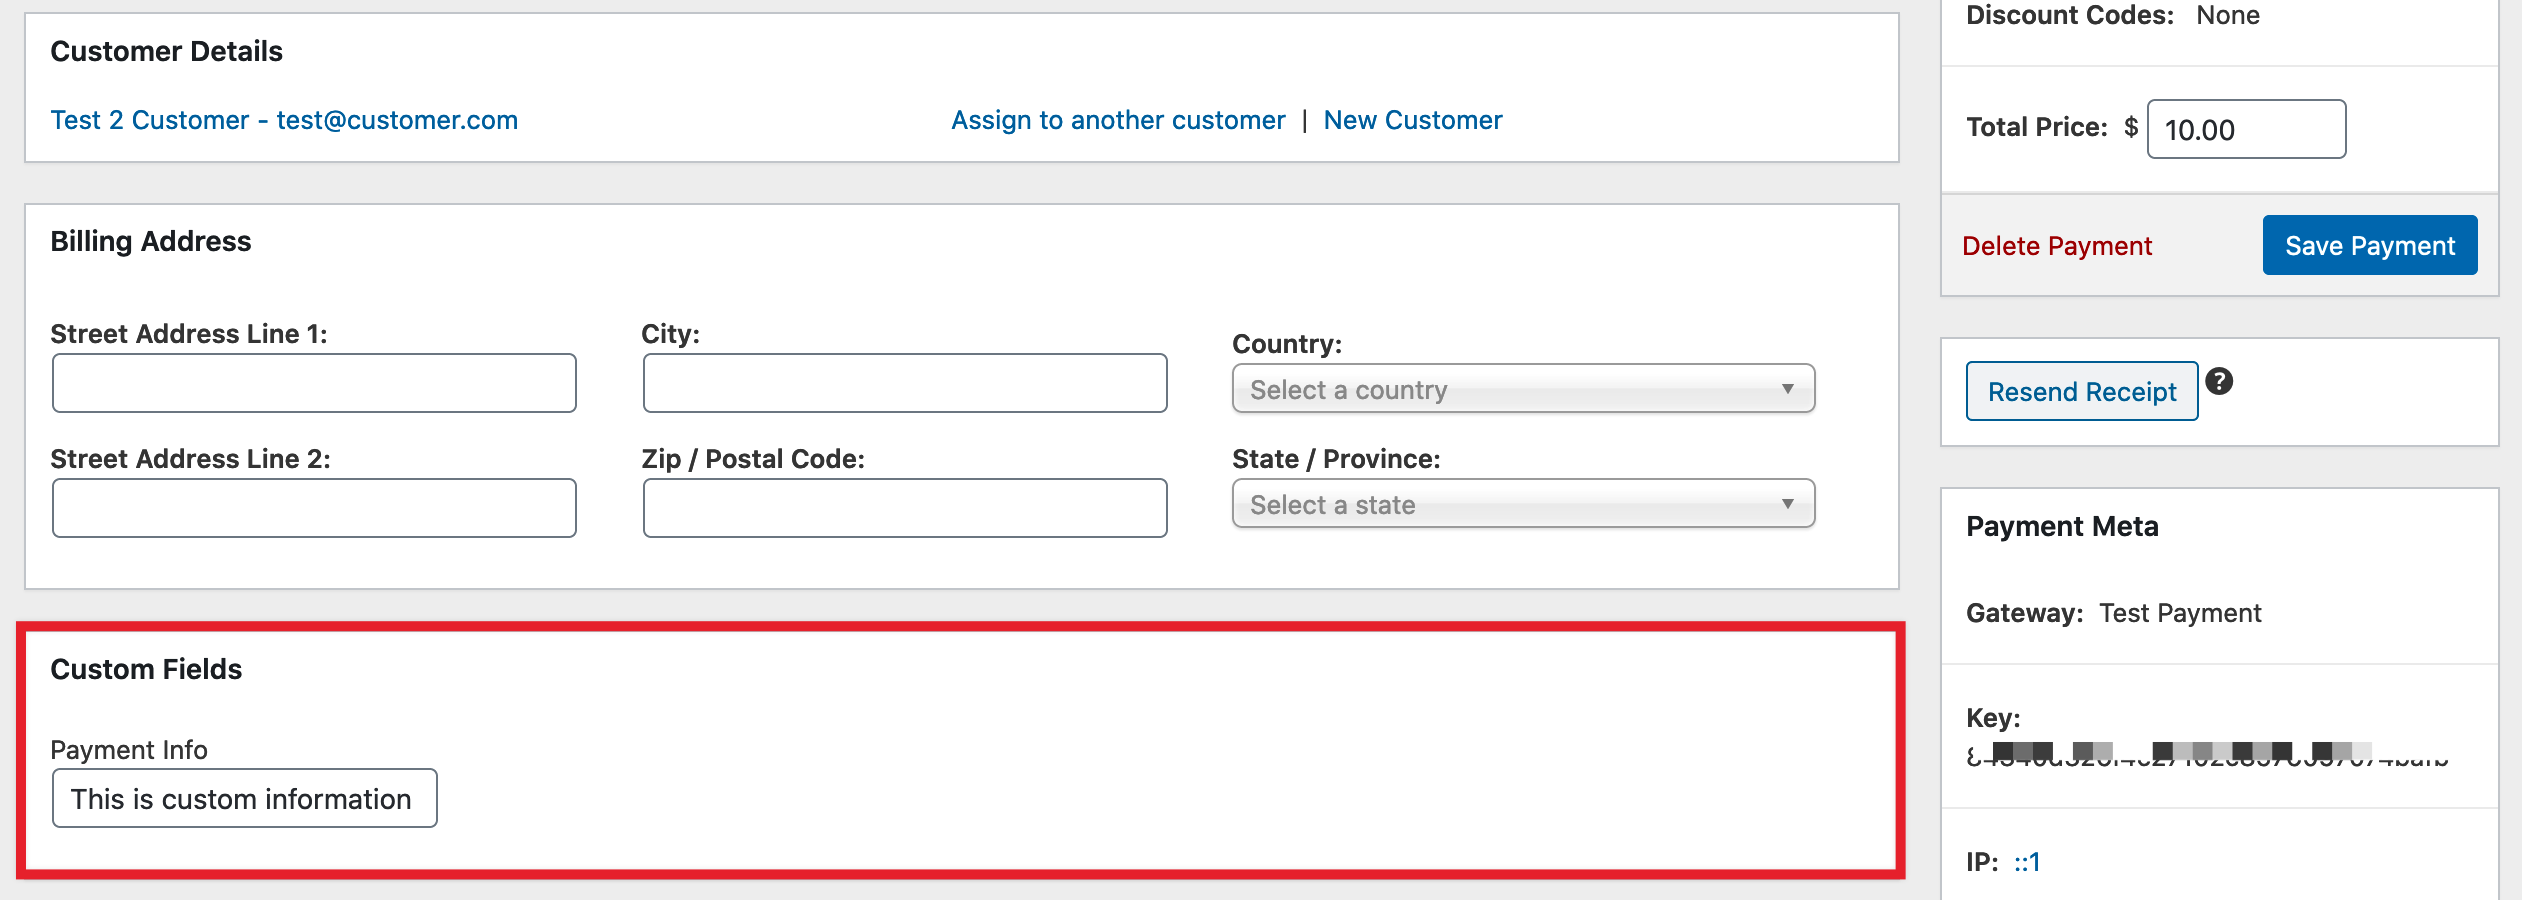
This field may be used by the administrator while the customer need never knows it exists.
Show in exported CSVs
You may choose to include this field in exported CSVs or not
Where should this meta be stored
You may choose to store this meta in the Payment Meta (different values for all orders by a particular user), or User Meta (same value for all orders by a particular user).
Note: If you do not have “Require Login” enabled in your settings, the option to store the data in User Meta will not appear because your users may not have user accounts in which to store the data. This setting can be found by navigating to Downloads → Settings → Misc → Checkout
Meta Key
This is the name of the meta field in which you wish to store this data. If you leave it blank when creating the field, one will be created for you based on the Field Label.
Note: Do not change the meta key after creating it. If you do, any data created with the former meta key will be lost.
Note: Meta keys may not have spaces. Convention is to replace spaces with an underscore, but a hyphen will also work.
CSS Class Name
This allows you to set a custom CSS class name just for this field.
Size
All fields that are text types have an option for size (width). Results may vary depending on theme used.
Storing data in user meta
As mentioned above, you have the option to store your field either in Payment Meta or User Meta. Any data stored in User Meta will be attached to the logged in user making the purchase and be available to that user for future use.
An example would be a customer phone number. Once stored in user meta during a transaction, when that customer returns and makes another transaction while logged in their phone number would be already filled in for them.
The customer will also have access to custom fields attached to their user in their Profile Editor, created by the [edd_profile_editor] shortcode.
Note: The option to store data in user meta will only be available if the “Require Login” option is enabled in in Downloads → Settings → Misc → Checkout.
Field Type Options
There are 22 field types to choose from:
Action Hook
This is for developers to add dynamic elements as they want. It provides the chance to add whatever input type you want to add in this form. The image below shows this field with a code example using the Hook Name “hookname”.
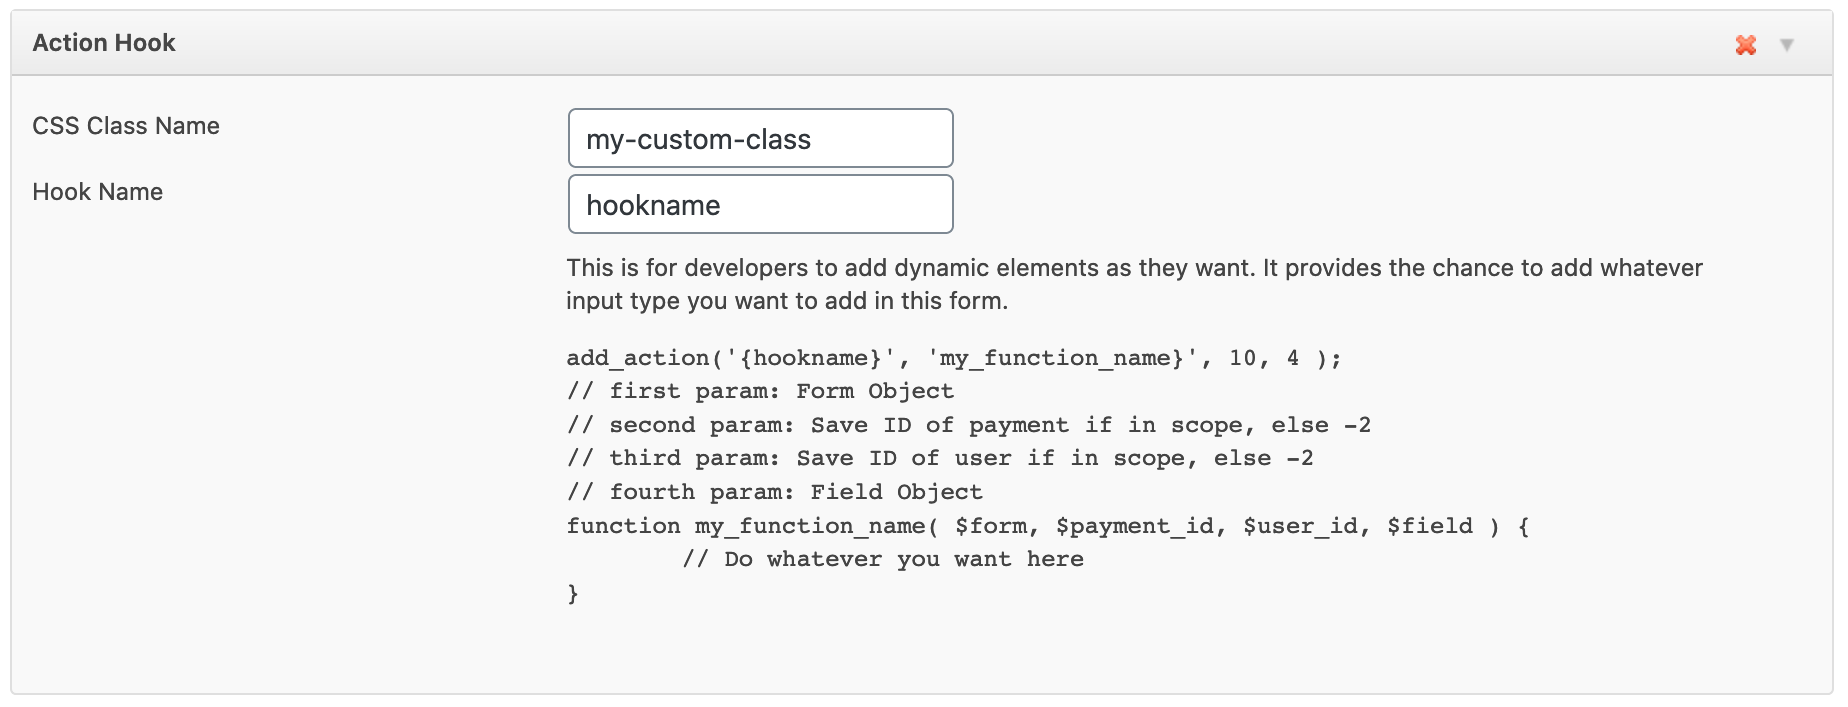
Code Example:
add_action('{hookname}', 'my_function_name}', 10, 4 );
// first param: Form Object
// second param: Save ID of payment if in scope, else -2
// third param: Save ID of user if in scope, else -2
// fourth param: Field Object
function my_function_name( $form, $payment_id, $user_id, $field ) {
// Do whatever you want here
}
Note: Easy Digital Downloads does not provide support for custom coding/development. If needed we recommend hiring a developer through Codeable make the custom changes you need.
Checkbox
Creates a standard generic set of checkboxes.

Country
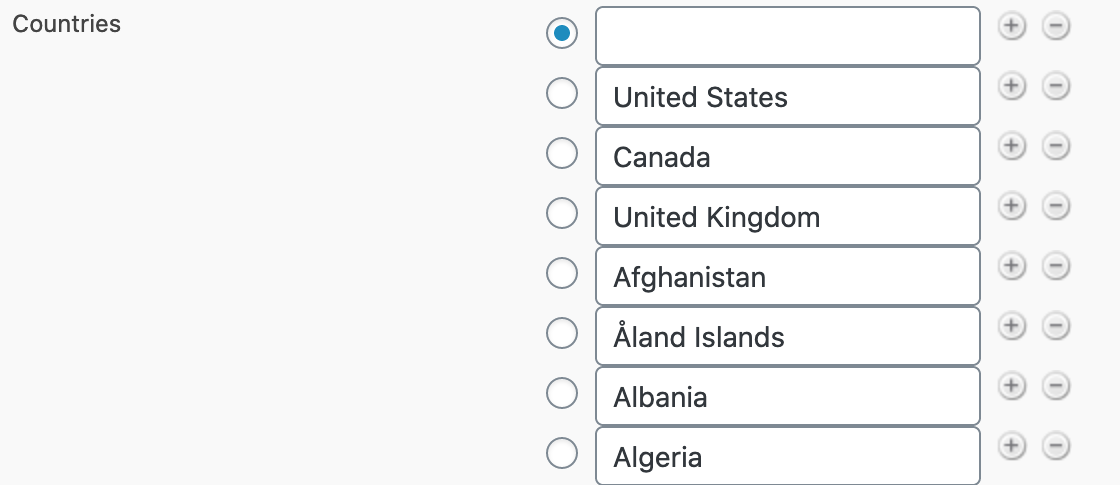
This field allows you to present a list of countries to the user. The field options include all current countries, and you have the option to add or remove to create a custom list if needed.
Date
This field allows the end user to enter a date, and optionally a time. You may choose whether time may be entered, and whether the start view should be Day, Month, or Year.

This field appears like a normal text field, but validates input, requiring a valid email address.
File Upload
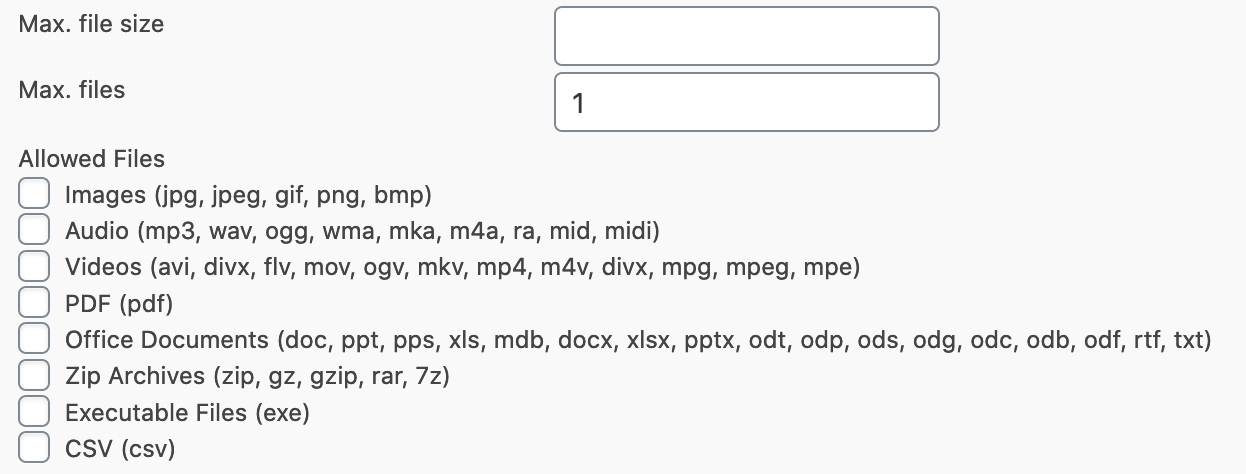
This field creates a file upload mechanism, and allows you to set a Max. file size, Max. number of files, and allows you to limit file types to these:
- Images (jpg, jpeg, gif, png, bmp)
- Audio (mp3, wav, ogg, wma, mka, m4a, ra, mid, midi)
- Videos (avi, divx, flv, mov, ogv, mkv, mp4, m4v, divx, mpg, mpeg, mpe)
- PDF (pdf)
- Office Documents (doc, ppt, pps, xls, mdb, docx, xlsx, pptx, odt, odp, ods, odg, odc, odb, odf, rtf, txt)
- Zip Archives (zip, gz, gzip, rar, 7z)
- Executable Files (exe)
- CSV (csv)
First Name
This field creates a text field with a default size of 40, and does not include options for meta_key or any of the import/export functions. You also may not create more than one First Name field in a form.
Hidden
This field creates a standard hidden form field. It has ONLY options for meta_key, meta_value, and whether or not to have it be front-end only or both front-end and back-end.
Honeypot
This field creates an empty field that only bots can see, and they will fill it out. If it’s filled out, form submission is rejected. More information about honeypot fields.
HTML
This field allows you to provide a title and arbitrary HTML.
Last Name
This field is a plain text field that is for Last Name.
Note: Forms come with a Last Name field that cannot be deleted, and you cannot add a second one, which means you probably will never use this option. Occasionally Last Name fields are removed by accident; this option allows you to restore it.
Multiselect
This field creates a standard multi-select select box. You may specify the default select text and create as many options as you wish.

Radio
This field creates a standard set of radio buttons. You may create as many as you wish.

reCAPTCHA
This field creates a reCAPTCHA v3 tool. In order for reCAPTCHA to work, you must insert your site key and secret key in the EDD settings panel. Please navigate to the Downloads > Settings > Extensions > Checkout Fields Manager page and add your API keys there.
If you do not have reCAPTCHA keys, you can obtain them here. Make sure that, when you create your API keys you select reCAPTCHA V3 from the list.
reCAPTCHA v3 works silently, so you will not see this field in your checkout form. reCAPTCHA is automatically disabled for off-site payments such as PayPal.
Repeat
This field creates a text field and presents the customer with the option to create as many more as they wish. Below is an example of the front-end view.

Section Break
This field creates a section break in the form. It allows for a title and description.

Select
This field creates a standard dropdown select field. It functions exactly like the Multi-select above except only one option may be chosen by the customer.
Terms & Cond.
This field allows you to print a block of html containing Terms and Conditions, and also provides a checkbox with a label for the customer to click to agree to.

Text
This field creates a standard html text input field.
Textarea
This field creates a standard html textarea. You may set a number of columns and rows, placeholder text, a default value, and choose between plain textarea, Rich textarea, or Teeny Rich textarea.

URL
This field creates a standard text input field but validates for a URL.
User Email
This field creates a standard text input field but validates for an email address. It is intended to take the email address of a WordPress user.
Note: Similar to Last Name, this field should already exist in your form, and you may not add a second. This option only exists so that you may replace your email field if it’s accidentally removed.
General Usage
Once a field type is clicked on, it will be added to the main column in the center of the screen and you will be presented with several options for the field. The exact options can vary from field type to field type, but all fields share a few common options:
- Required: Select “Yes” if you want customers to be required to fill out the fields, or “No” if it should be optional
- Field Label: This is the text shown as the primary label for the field on checkout
- Help Text: This is the text added below the field on checkout to serve as a helpful explanation of what the customer should enter
After you have added all of the fields you need, simply like the “Save” button located at the top right area of the screen. Once saved, your fields will now be displayed on the checkout.
Important Notes:
There are a few checkout fields that cannot be modified by this extension:
1. Billing Address fields. These are required by credit card payment gateways and by the EDD tax system, so these are not permitted to be modified.
2. The Credit Card form used by payment gateways that process credit cards. Since it is vital these fields appear exactly as expected by EDD, these fields are not allowed to be modified.