
Table of Contents
The Wish Lists extension for Easy Digital Downloads gives customers the ability to save and share their favorite products on your site.
Setup
After you have installed and activated the Wish Lists extension, you can find the settings area by navigating to Downloads → Settings → Extensions → Wish Lists.

Wish Lists Page: This is the page where users will view their own wish lists. This page must include the [edd_wish_lists] shortcode.
Wish Lists View Page: This is the page where users will view each wish list. This page must include the [edd_wish_lists_view] shortcode.
Wish Lists Edit Page: This is the page where users will edit a wish list that they own. This page must include the [edd_wish_lists_edit] shortcode.
Wish Lists Create Page: This is the page where users will create a wish list. This page must include the [edd_wish_lists_create] shortcode.
Add To Wish List Text: This is the text that will appear on the button or link to indicate the customer can click to add the item. The default is “Add to wish list“.
Add To Cart Text: When looking at a Wish List, each item has a button to allow adding that item to the cart. This field allows the store owner to indicate what text should be used. The default is “Add to cart”.
Allow Guests To Create Wish Lists: Choose whether guests (non logged in users) can create Wish Lists. If no, then only registered users can create wish lists.
Icon: The “Add” button may use a selection of different icons in addition to the “Add” text including a plus sign, bookmark, gift, heart, star or no icon.
Button Style: Choose whether the “Add” mechanism will be a button or a link.
Sharing: Customers with Wish Lists may share their lists through the following platforms:
- Google+
Usage
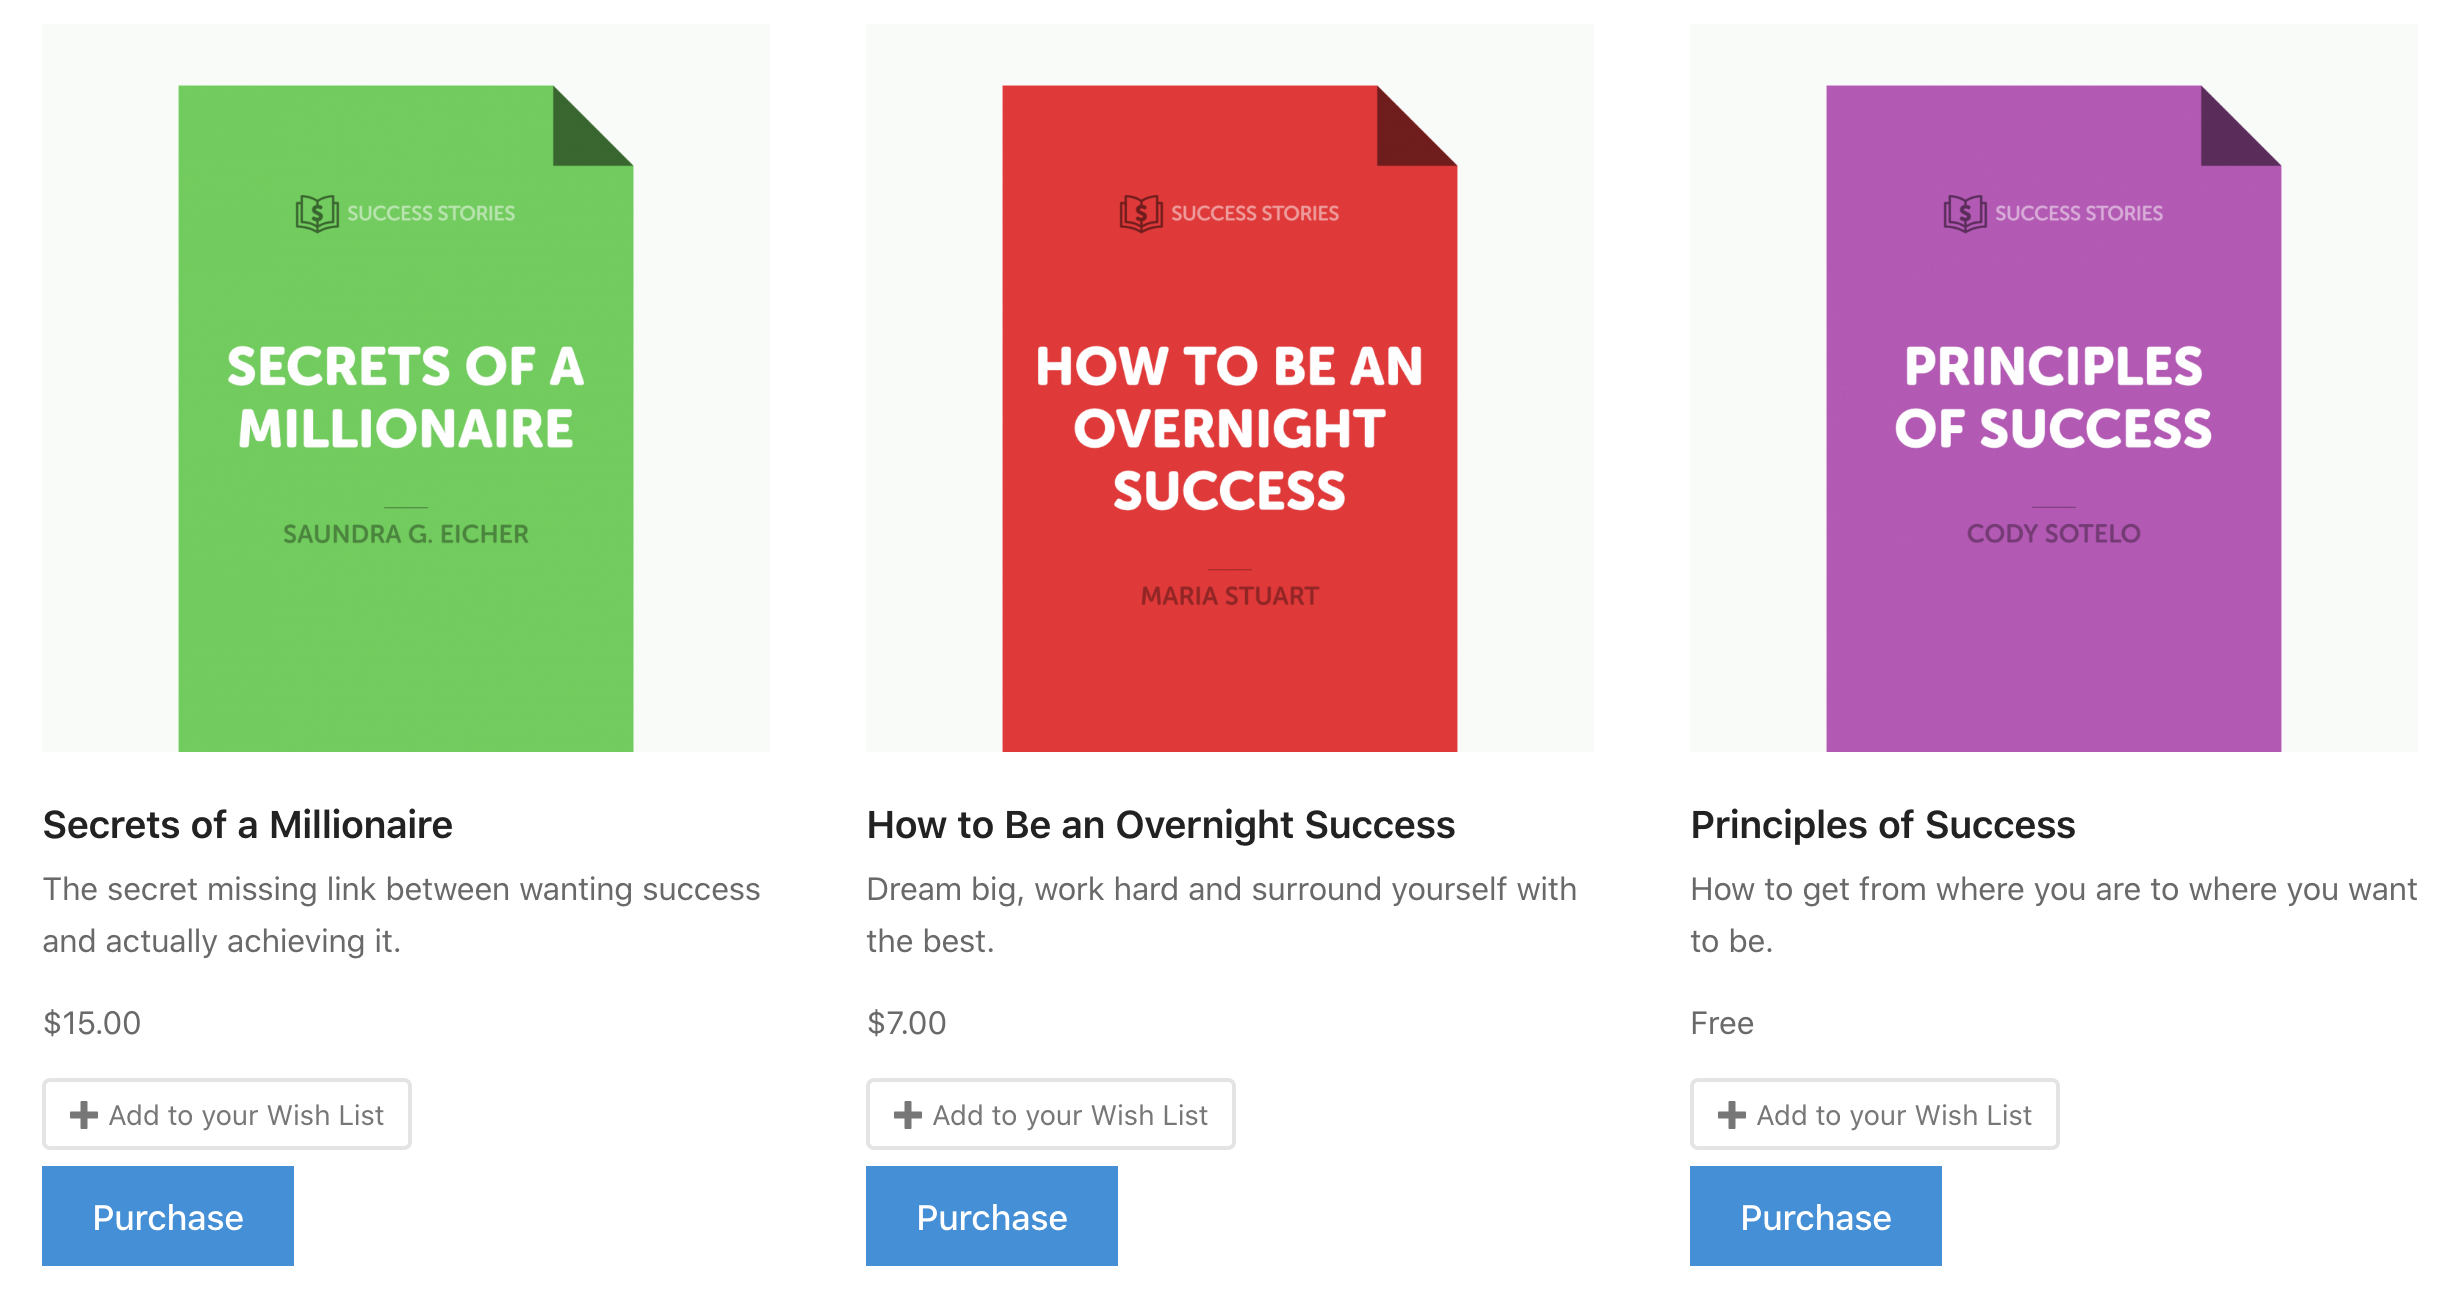
Once setup, each product will have a link or button (store owner’s choice) that communicates to the customer that they can add the product to a wish list.
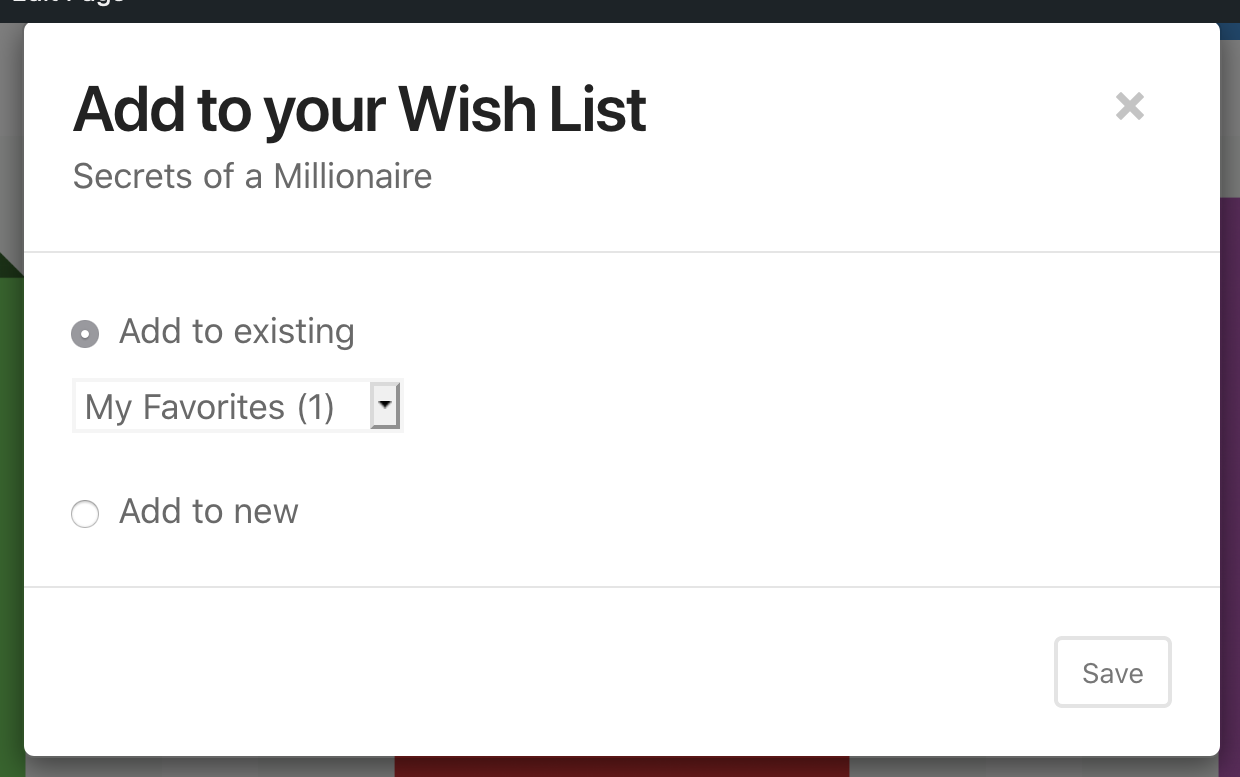
Once that button/link is clicked, a modal window appears asking the customer to either add the item to an existing list or create a new list.
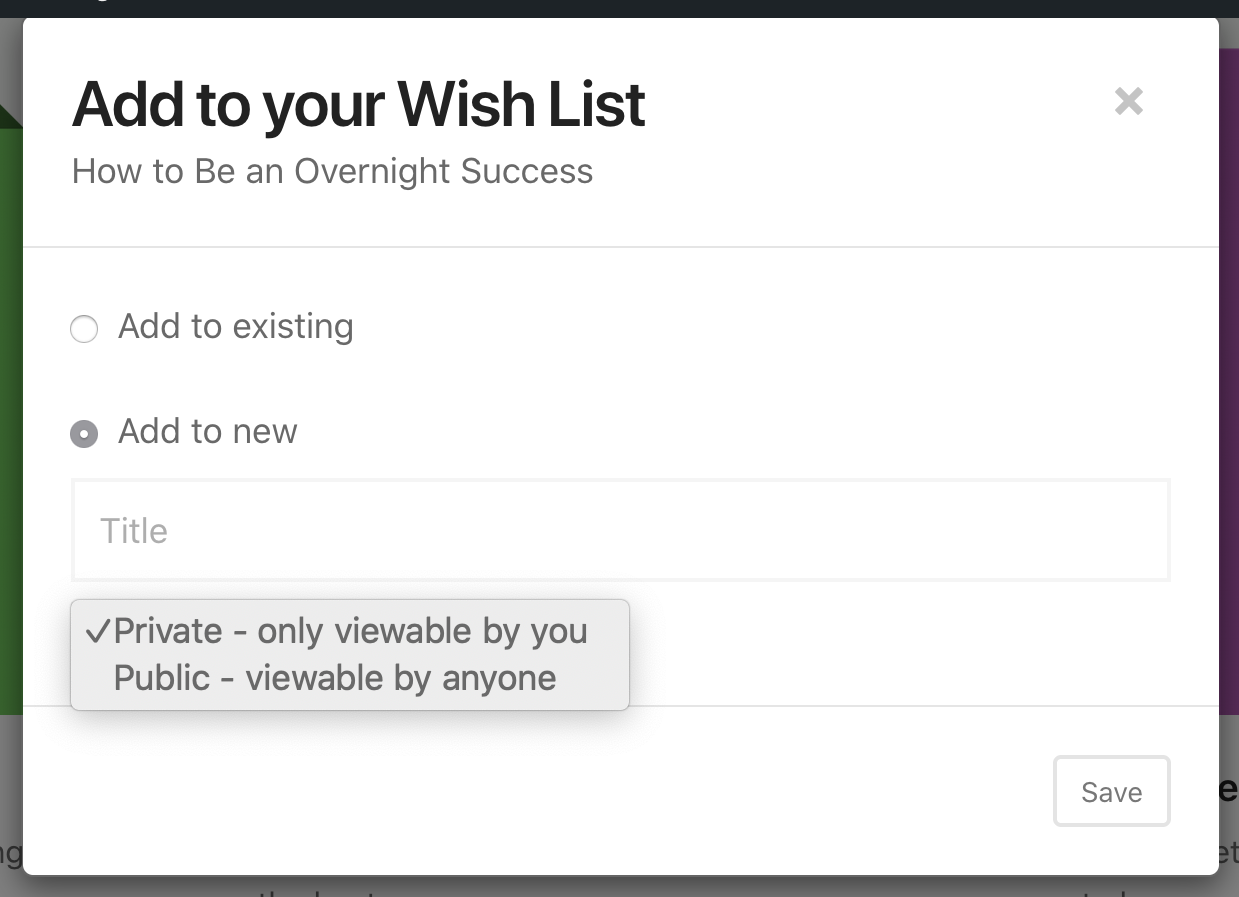
If selecting “Add to new”, the user will be presented with the option to name the list as well as choose whether the list is Public or Private (only viewable by the user).
List Management
Wish List Page
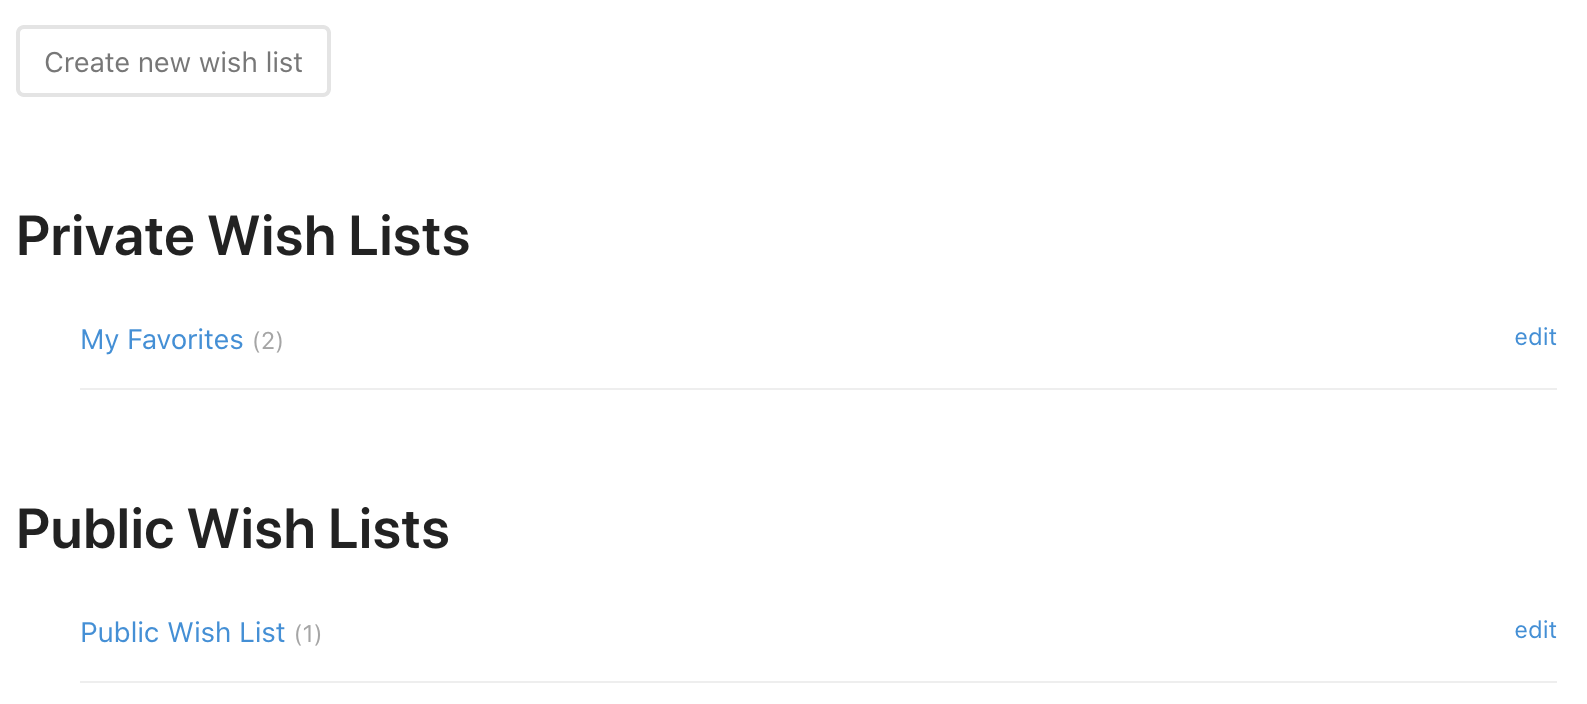
The main Wish list management page shows only content related to the customer currently logged in, or the customer that created lists in the current session. It offers a button to create a new list, and then shows each list created by the customer.
Creating a List
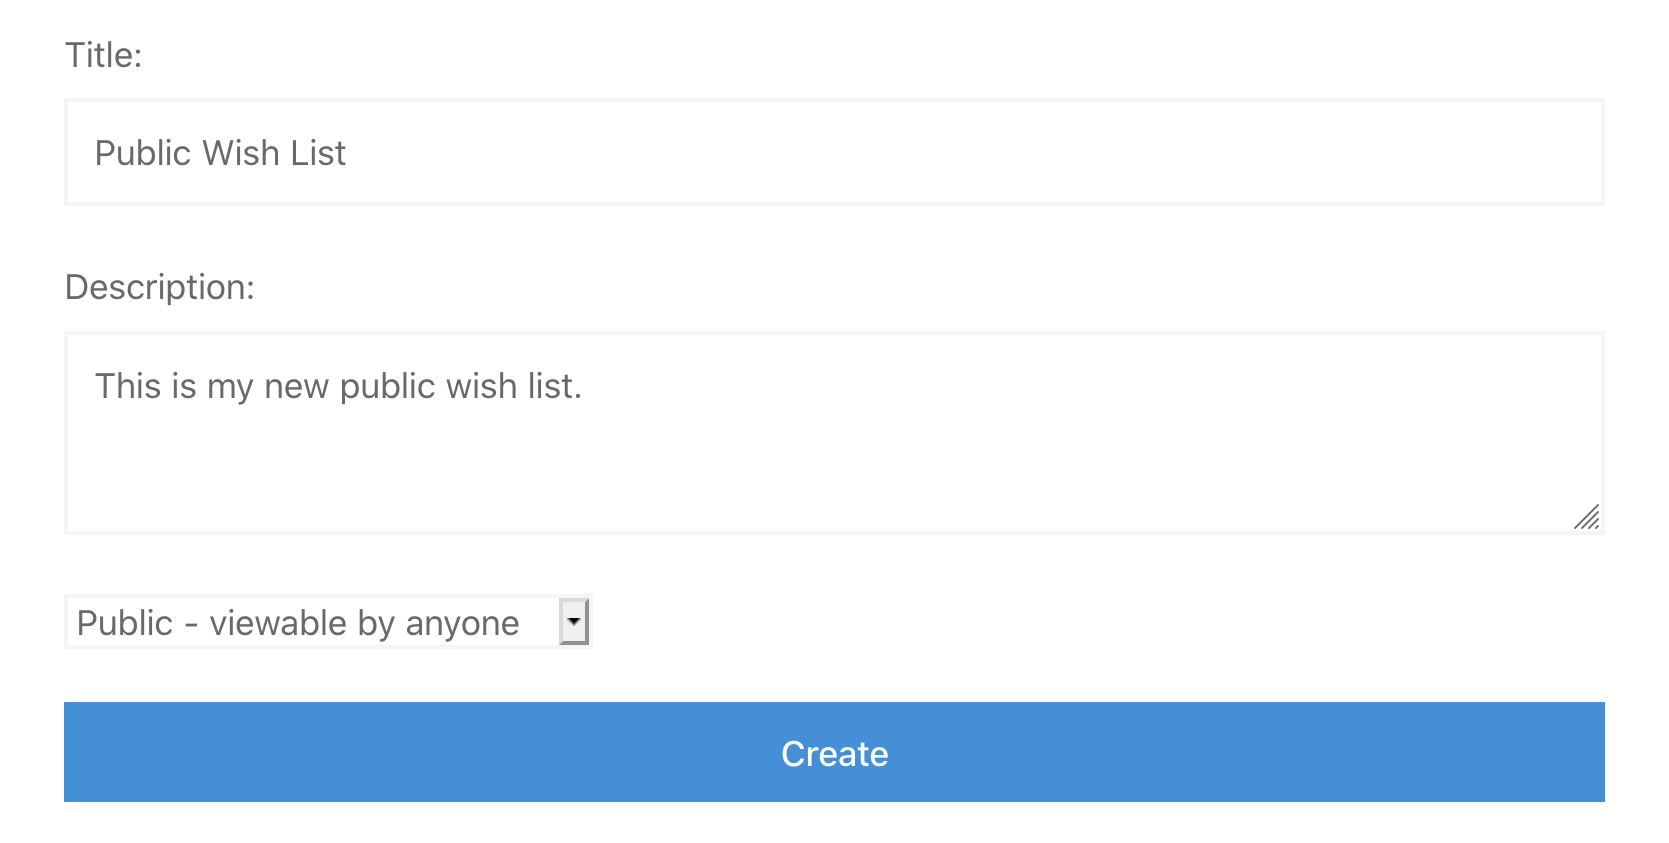
When on the main Wish List management page, the customer may click the Create new wish list button. This will take the customer to a new page where they will be asked for a List Name, List Description, and have the option of making the list Public or Private.
The customer may also create a new list immediately after clicking an Add to wish list button or link from the main store listings page.
Editing a List
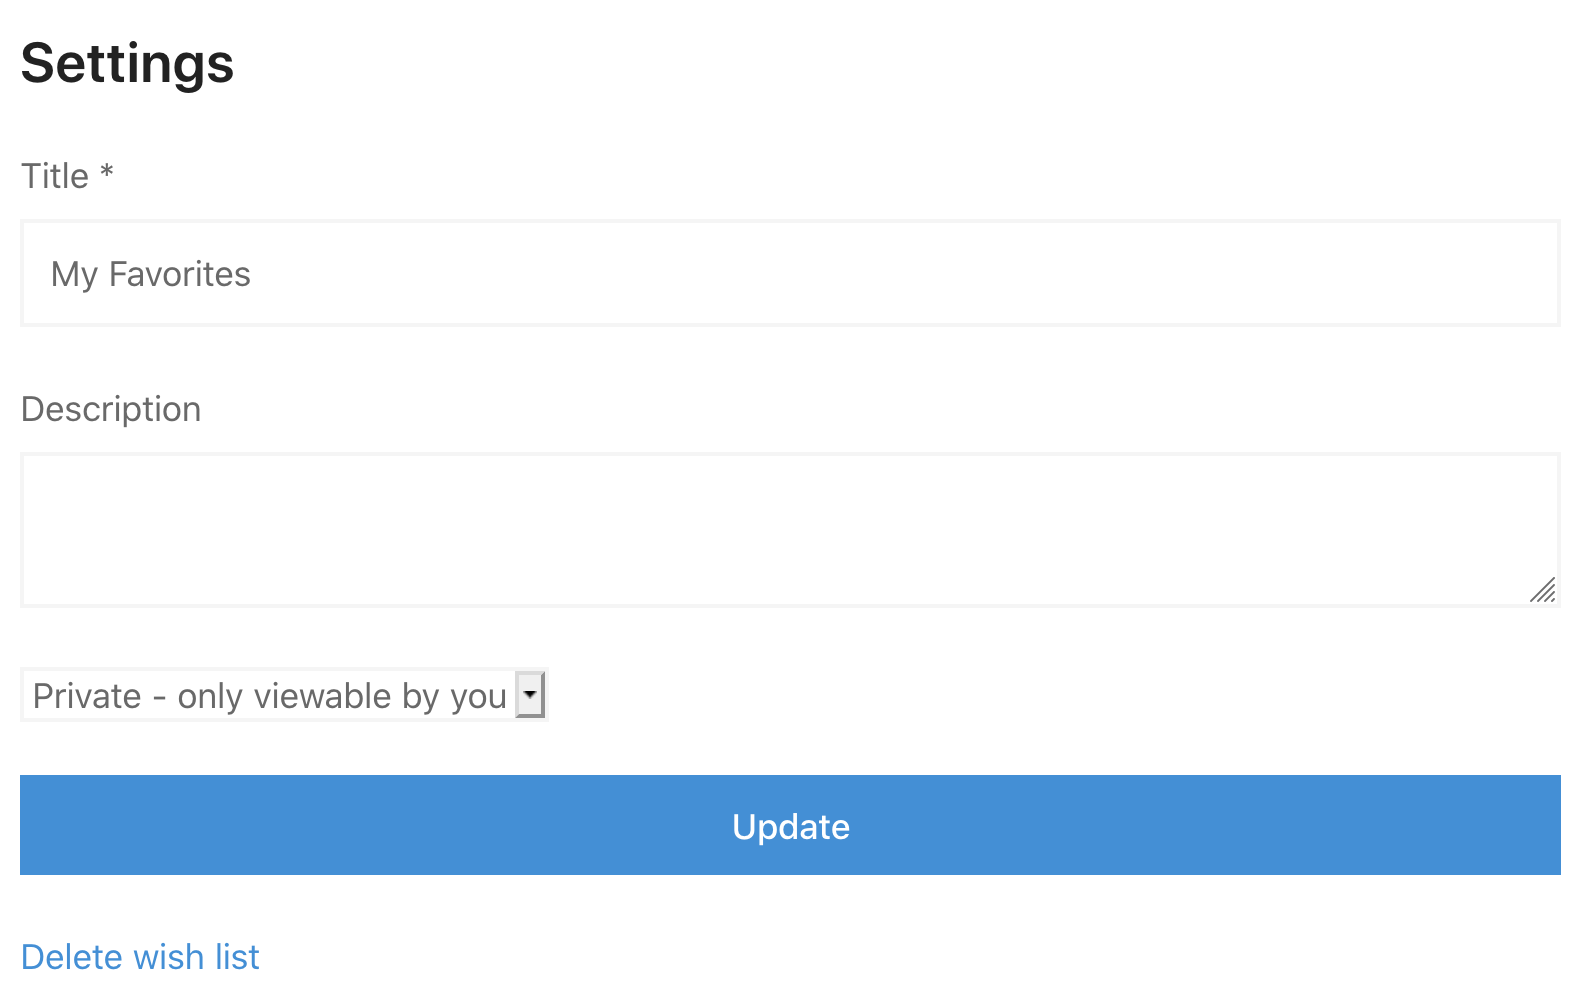
When on the main Wish List page, on the right of every list is an edit link.

Clicking that link will take the customer to a page where they can rename the list, change the description, change its visibility permissions, or delete the list.
Deleting a List
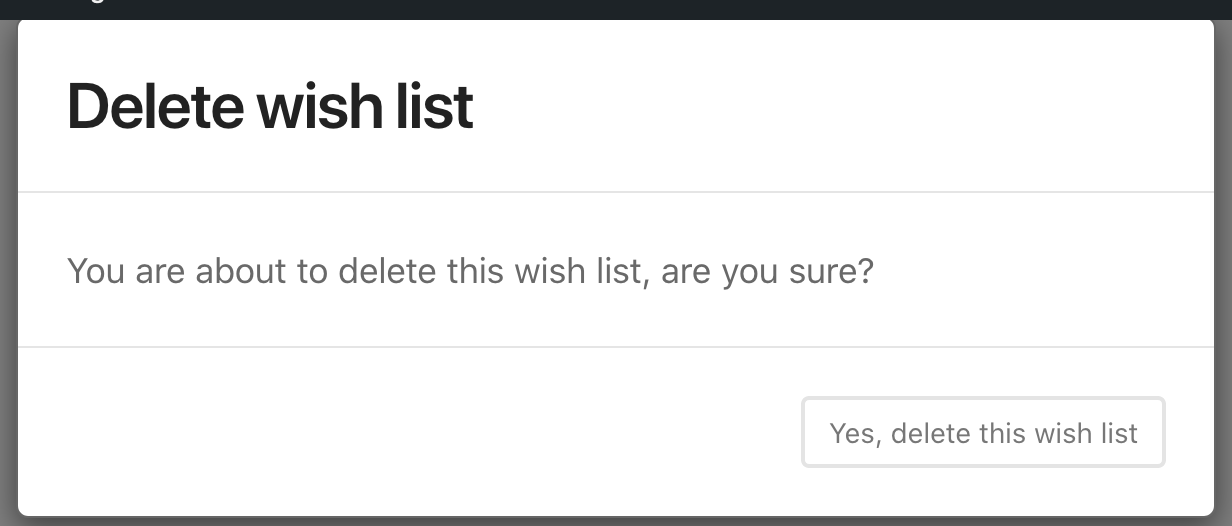
The edit screen also has a Delete wish list link, as seen in the screenshot immediately above. Clicking it will bring up a modal window, asking the customer if they’re sure they want to delete the list.
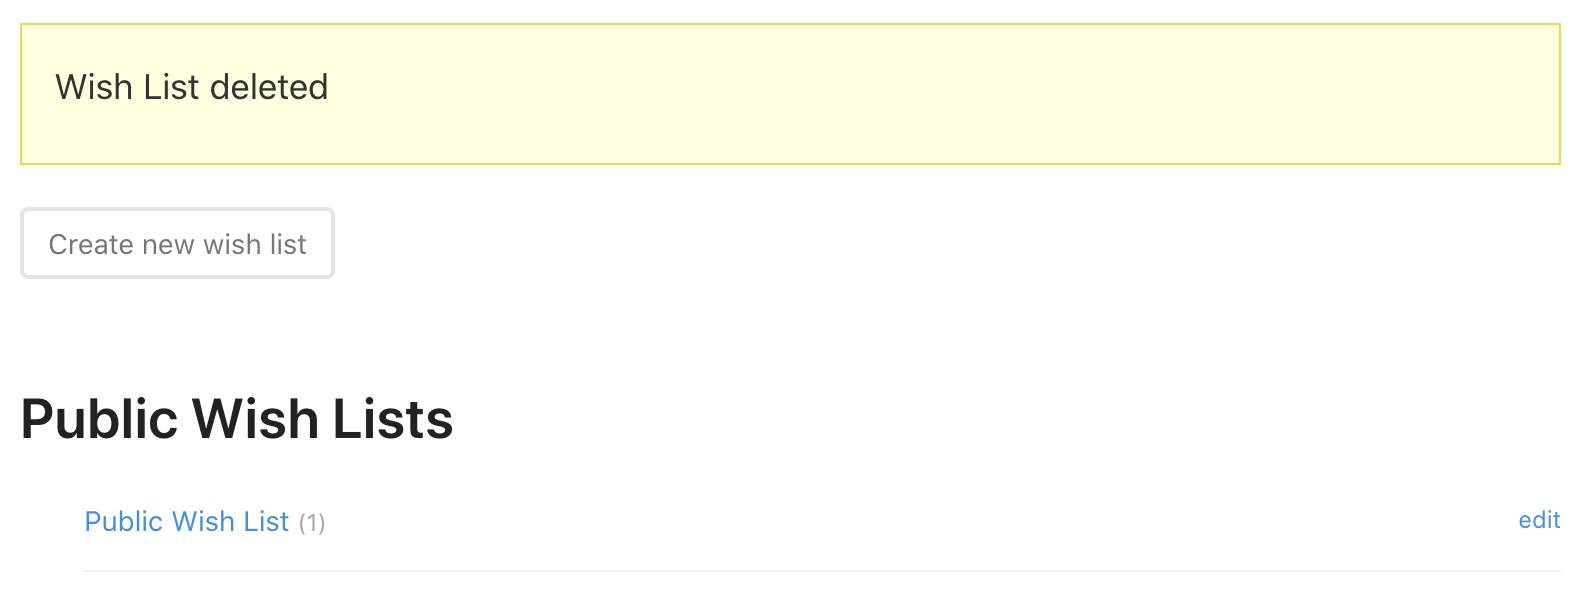
Once the customer confirms the deletion, the list is removed. The customer is returned to the main Wish List management page and a message is displayed indicating that the list has been deleted.
Templates
EDD Wish Lists has 4 templates you can edit, located in the plugin’s templates folder, just like EDD. Copy each template into your child theme’s edd_templates folder and edit accordingly.
Note: Do not edit the templates in the plugin folder as your modifications will be lost when the plugin is updated.
Click here to read documentation on how to properly move templates.
- wish-lists.php
The main wish lists page where users view all of their lists. - wish-list-view.php
The page where users view/share an individual wish list. - wish-list-edit.php
The form for editing a wish list - wish-list-create.php
The form for creating a wish list.
Modifications
Changing the default labels
By default, the standard singular label in the Wish Lists extension is “Wish List” and the plural is “Wish Lists”. You might want to change these labels to better represent your website.
The example below shows how you can change both the singular and plural labels to “Light Box” and “Light Boxes” – Perfect if you sell stock photography.
Modifying the default message
It’s possible to change the default messages that appear throughout EDD Wish Lists.
Copy and paste the following function (mind the opening PHP tag) into your child theme’s functions.php or custom plugin and modify each of the messages accordingly.
 <?php

function sumobi_edd_wl_messages( $messages ) {

	$messages = array(
		'must_login'                   => sprintf( __( 'Sorry, you must login to create a %s', 'edd-wish-lists' ), edd_wl_get_label_singular( true ) ),
		'list_updated'                 => sprintf( __( '%s updated', 'edd-wish-lists' ), edd_wl_get_label_singular() ),
		'list_created_guest'           => sprintf( __( '%s created and saved for 30 days. If you wish to keep it longer, please create an account.', 'edd-wish-lists' ), edd_wl_get_label_singular() ),
		'list_created'                 => sprintf( __( '%s created', 'edd-wish-lists' ), edd_wl_get_label_singular() ),
		'list_deleted'                 => sprintf( __( '%s deleted', 'edd-wish-lists' ), edd_wl_get_label_singular() ),
		'no_lists'                     => sprintf( __( 'You currently have no %s', 'edd-wish-lists' ), edd_wl_get_label_plural( true ) ),
		'list_delete_confirm'          => sprintf( __( 'You are about to delete this %s, are you sure?', 'edd-wish-lists' ), edd_wl_get_label_singular( true ) ),
		'no_downloads'                 => sprintf( __( 'Nothing here yet, how about adding some %s?', 'edd-wish-lists' ), edd_get_label_plural( true ) ),
		'lists_included'               => __( 'This item has already been added to: ', 'edd-wish-lists' ),
		'modal_option_save'	           => __( 'Save', 'edd-wish-lists' ),
		'modal_option_close'           => __( 'Great, I'm done', 'edd-wish-lists' ),
		'modal_option_add_new'         => __( 'Add to new', 'edd-wish-lists' ),
		'modal_option_add_to_existing' => __( 'Add to existing', 'edd-wish-lists' ),
		'modal_option_title'           => __( 'Title', 'edd-wish-lists' ),
		'modal_delete_title'           => sprintf( __( 'Delete %s', 'edd-wish-lists' ), edd_wl_get_label_singular( true ) ),
		'modal_button_delete_confirm'  => sprintf( __( 'Yes, delete this %s', 'edd-wish-lists' ), edd_wl_get_label_singular( true ) ),
		'modal_share_title'	           => sprintf( __( 'Share this %s', 'edd-wish-lists' ), edd_wl_get_label_singular( true ) ),
		'modal_share_success'          => __( 'Successfully shared', 'edd-wish-lists' ),
		'list_option_private'          => __( 'Private - only viewable by you', 'edd-wish-lists' ),
		'list_option_public'           => __( 'Public - viewable by anyone', 'edd-wish-lists' ),
		'list_title_required'          => __( 'You need to enter a title', 'edd-wish-lists' ),
		'item_already_purchased'       => __( 'Already purchased', 'edd-wish-lists' ),
	);

    return $messages;
}
add_filter( 'edd_wl_messages', 'sumobi_edd_wl_messages' );
Change the icon’s position
In the Wish Lists addon here’s how you can globally change the icon’s position to appear to the right of the text on all add-to wish list links.
Move the wish list button to the download details widget in the Marketify theme
If you’re using the Marketify theme with EDD Wish Lists there’s a way to move the “add to wish list” button from it’s default location, and position it inside EDD’s “Download Details” widget.
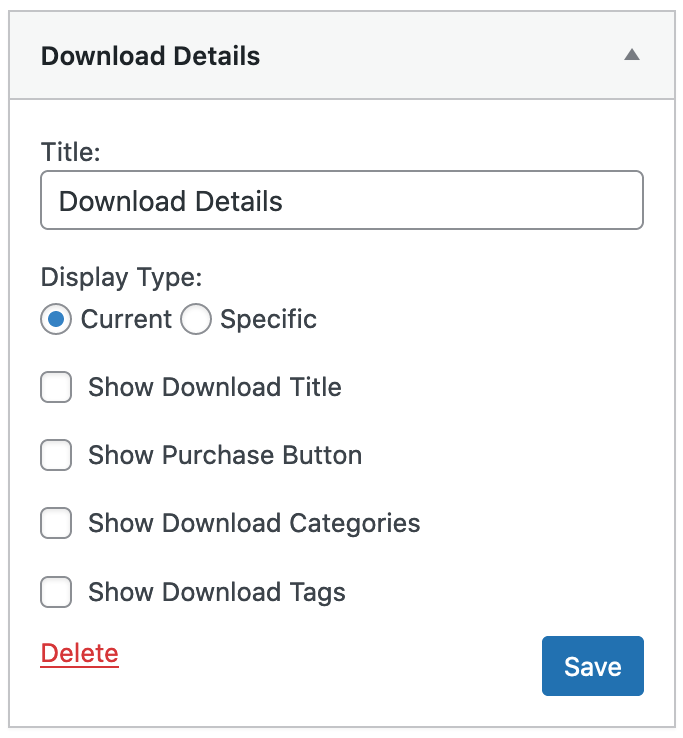
This is the widget you’ll end up with, which you can now freely position within your sidebar.

Drag the “Download Details” widget into the “Download Single Sidebar” widget area where you’d like it to appear. Clear out all the options if you don’t need them.
That’s it!


