Do you want to learn how to create a WordPress product comparison table? It’s easy.
By comparing features, prices, and other important aspects of products and services, a comparison table can help shoppers make informed decisions. A visual, side-by-side comparison can minimize confusion and enhance the customer’s shopping experience.
With the right tools, you can create and customize one in no time.
🔎 In this post, we’ll cover:
Why Use a Product Comparison Table?
A product comparison table is a handy tool you can use to compare your products and/or services with those of your competitors. You can also use one to provide an overview of your own offerings so customers can better understand the differences between various products, packages, or plans:
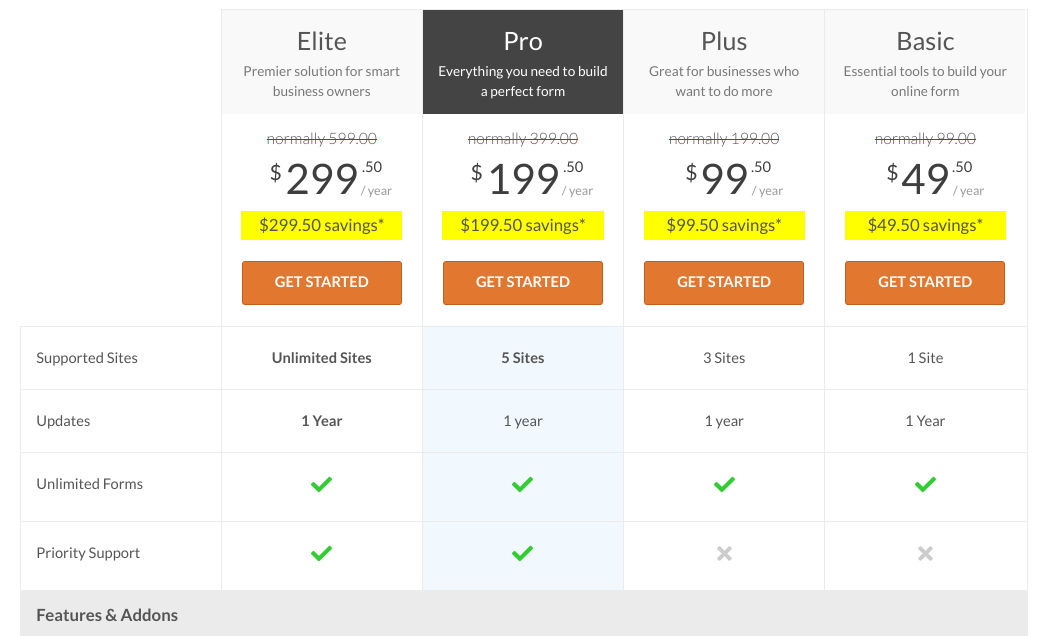
Also known as a product matrix, feature comparison chart, or in some cases a pricing table, a comparison table lets customers evaluate their options and decide which product(s) will best meet their needs. They can quickly learn about different products and see how they stack up based on criteria like price, features, and more.
A WordPress product comparison table doesn’t just benefit your customers, either. It can give you insight into what features your customers value most in a product. You can use this information to improve your offerings and increase conversion rates.
Finally, displaying a product comparison table prominently on your WordPress website shows you are confident in your products. It may give visitors extra incentive to purchase from you.
How to Add a WordPress Product Comparison Table
There are a few methods you can use to create and add a WordPress product comparison table. One is to use a plugin that lets you sell products and compare product features, like Easy Digital Downloads. Another is to manually create one using the WordPress block.
We’ll walk you through both.
Method 1: Add a Product Comparison Table With EDD
In the following tutorial, we’ll show you step-by-step how to create a WordPress product comparison table using Easy Digital Downloads:
- Install Easy Digital Downloads
- Add Your Digital Products
- Install the Compare Products Extension
- Configure the Comparison Products Settings
- Test the WordPress Product Comparison Table
Step 1: Install Easy Digital Downloads
If you’re already an Easy Digital Downloads user, you can go ahead and skip to Step 3. Otherwise, the first step is to download and install the Easy Digital Downloads (EDD) plugin:

EDD isn’t a dedicated table builder plugin. It’s a complete eCommerce solution that lets you easily sell digital products and downloadable files in WordPress. This includes software, eBooks, spreadsheets, themes, and much more.
You can also use it to display product reviews and star ratings to help promote your digital assets and downloads. Users of all experience levels can use it to create an online store. This includes bloggers without any HTML or CSS knowledge and seasoned developers looking to save time while increasing revenue.
There is a free version of Easy Digital Downloads available. However, I recommend grabbing an Extended Pass (or higher). A paid EDD plan unlocks access to a range of extra features and functionalities, including premium extensions like the one we’ll use in this post.
Setting Up Your Store
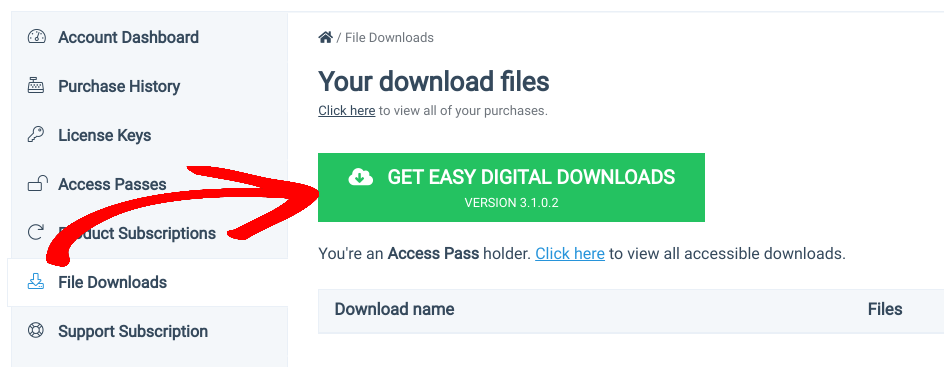
Once you select and purchase your plan, go to your EDD account dashboard. Under File Downloads, click on Get Easy Digital Downloads:
Next, you can upload the zip file to your WordPress website. You can do this the way you would any other WordPress plugin (Plugins » Add New » Upload Plugin).
🔌 If you need help, follow this helpful guide on installing WordPress plugins.
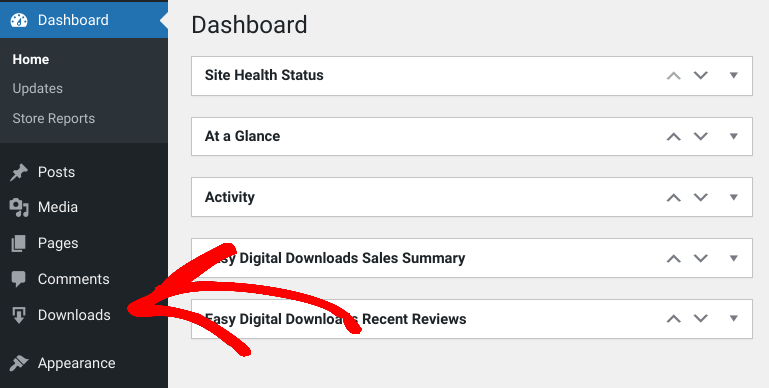
Install and activate the EDD plugin. Now you should see a Downloads menu item in your admin area:
You can go to Downloads » Settings » General to enter your business details. Under the Payments tab, you can select a payment gateway:
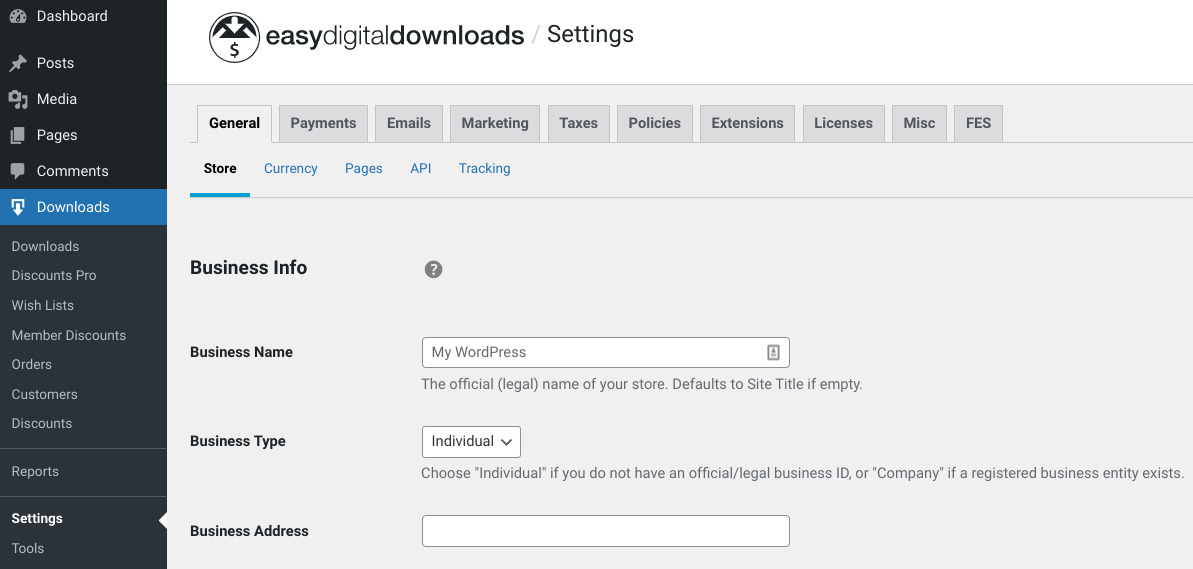
📝 These are just two initial steps you can take to set up your online store. For detailed guidance on getting started, feel free to refer to:
Step 2: Add Your Digital Products
After you get the basic settings out of the way, you can begin adding your digital products. Any files or products added and sold with Easy Digital Downloads are referred to as ‘downloads’.
Go to Downloads » Add New to create your first product page:
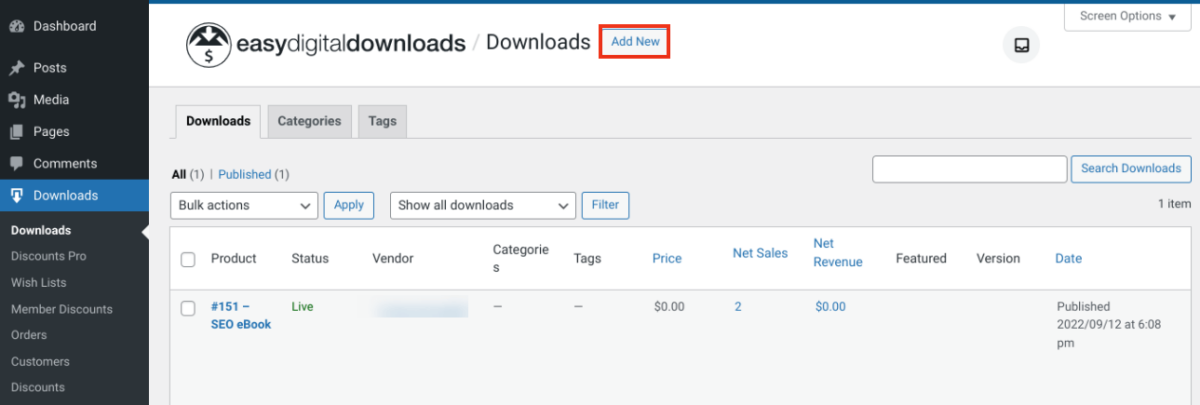
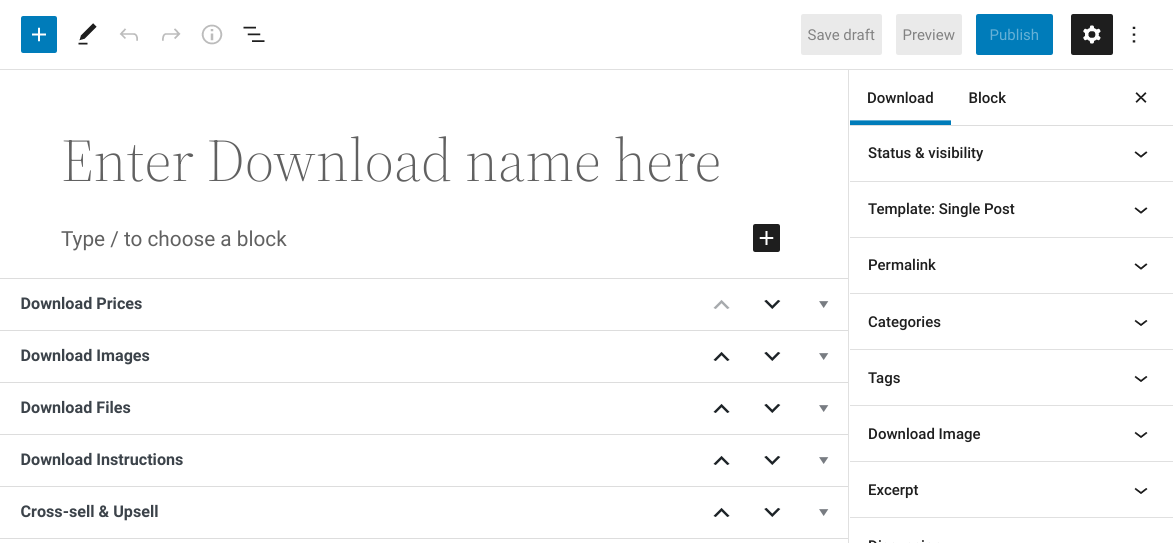
As you can see, the page is similar to the standard WordPress page interface. You can add a name, description, image, and price:
Under Download Files, you can enter a File Name. This will be the download link text customers click to access your digital prouct. Then you can select the chainlink icon under File URL to upload your download file:
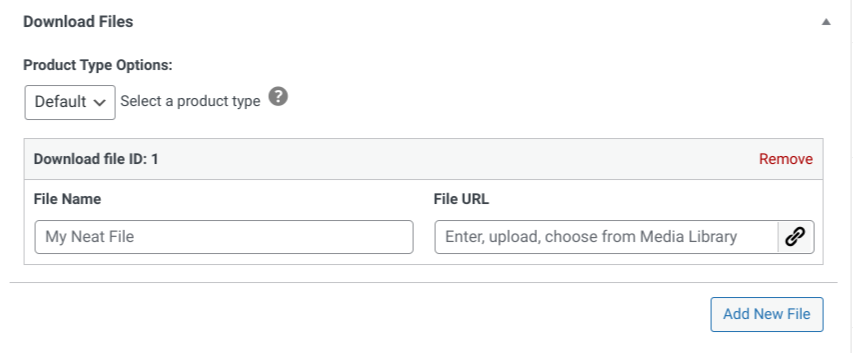
When you’re done, Publish your product. You can repeat this process for as many products as you want.
🛒 For help configuring products in EDD, you can refer to our introduction documentation.
Step 3: Install the Compare Products Extension
Next, we’re going to install the EDD Compare Products extension:

WordPress comes built-in with a Table block, which I’ll cover in a moment. But if you’re selling digital products with EDD, I recommend using the Compare Tables add-on.
It allows you to automate much of the process, like selecting products to compare and configuring the data. You can generate side-by-side comparisons and link them to orders so your customers can visualize important differences.
Perhaps most notably, this extension lets your customers create product tables on their own. They can choose which items to compare to help facilitate better buying decisions.
To get started, go to Downloads » Extensions » All from your WordPress dashboard. Next, on the EDD Downloads page, search for “Compare Products” and select Download Now:
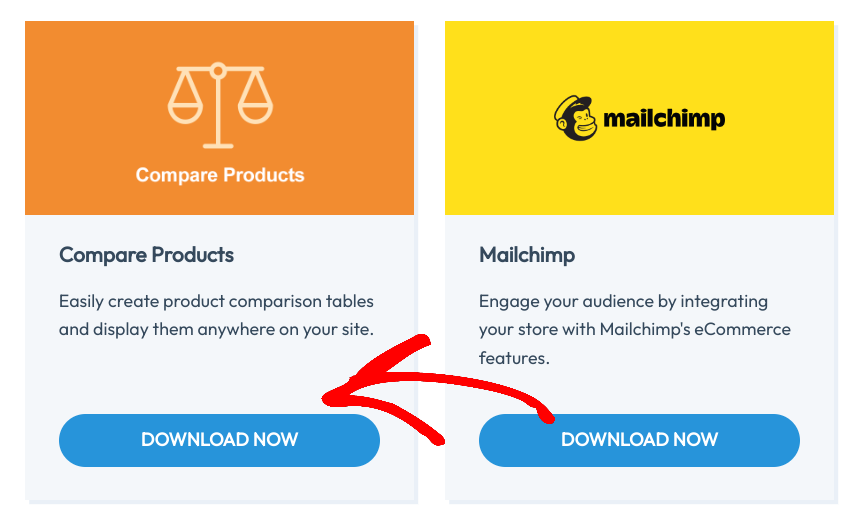
Install and activate the add-on on your WordPress site.
Next, go to Pages » Add New. Add a page title and the [edd_compare_products] shortcode:
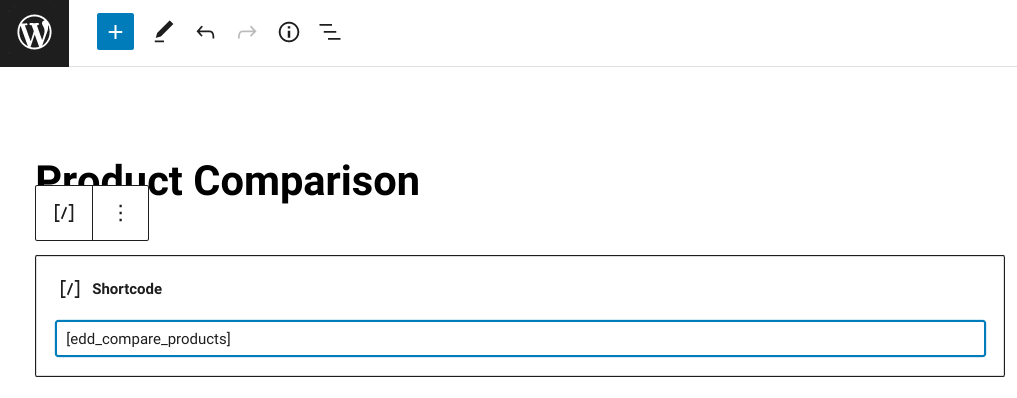
This is where customers are directed when they’re ready to compare products. Select the Publish button.
Step 4: Configure the Compare Products Settings
Next, let’s configure the Compare Products settings. First, go to Downloads » Settings » Extensions » Compare Products:
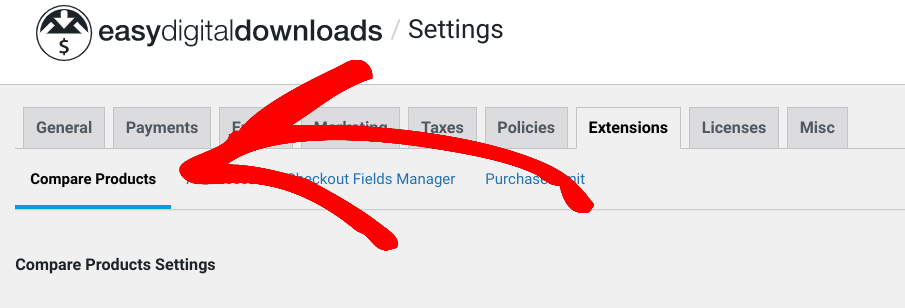
To start, you can select your Default Comparison Page. From the drop-down menu, click on the title of the page you just created:
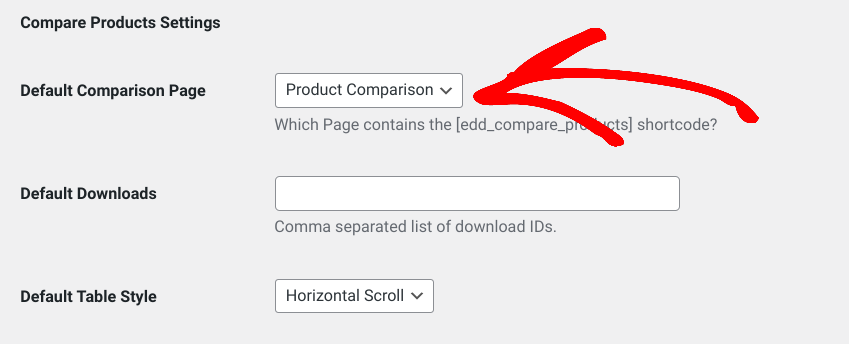
In the Default Downloads text field, you can specify any products/downloads you want to include in the comparison table by default. Enter the download ID. This is the number following the # symbol that appears when you hover over the product name under Downloads. If you’re adding multiple, separate the IDs with a comma.
The Meta fields section is essentially your product comparison table builder. You can find, add, and remove any custom fields that are attached to a download:
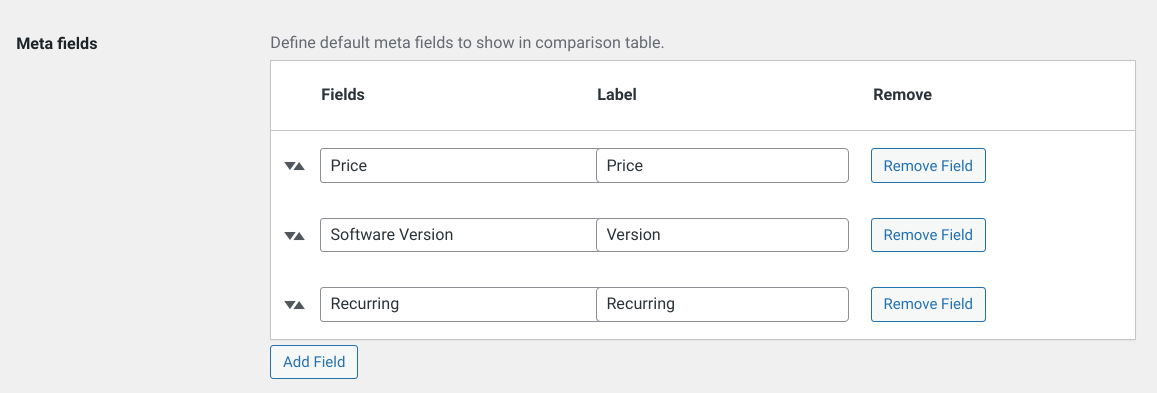
Next is the Compare Button Text option. You can leave it as the default “Compare” or change the button text to something else:

The same goes for the Go Button Text. This is the button customers use when they’re ready to see the WordPress product comparison table showcasing their list of selected items.
When you’re done, click on Save Changes.
⚙️ For more guidance on configuring the extension, refer to our Compare Products Documentation
Step 5: Test the WordPress Product Comparison Table
The only thing left to do is to preview your WordPress product comparison table from the front end of your site to see what your customers will experience. It’s important to ensure the table looks and functions as expected.
Visit your WordPress site and go to your Shop/Products page. Assuming you use the downloads shortcode on the page, the EDD extension automatically adds a new Compare button to each product:

When you click on the Compare button under a product, it gets added to a list. The list is then used to generate the comparison table. You can see it by selecting the View Comparison button:

Depending on your meta field settings, your product comparison table will look something like this:
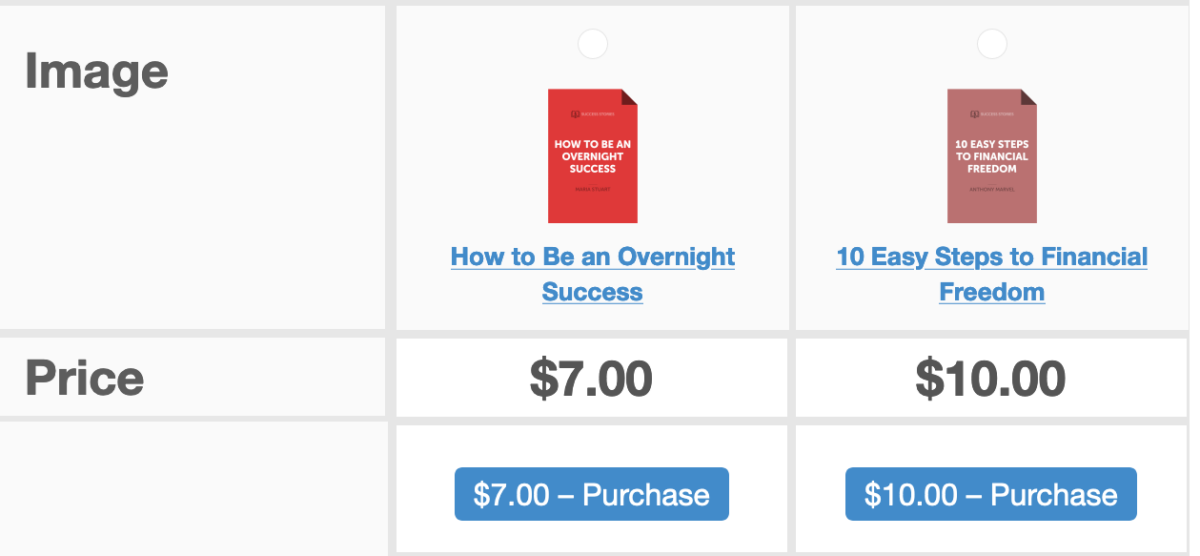
If you’re happy with it, you’re all done!
Method 2: Add a Comparison Table Without a Plugin
Don’t want to install a comparison table plugin? You can use the built-in WordPress Gutenberg block functionality to present a side-by-side comparison. As I mentioned, this approach is a bit more hands-on. But for certain use cases, that level of control may be preferred.
Navigate to the WordPress page where you want to insert the table.
Enter any content you want to display with the table (text, images, Calls To Action, etc.). Next, click on the + button, then search for and select Table:
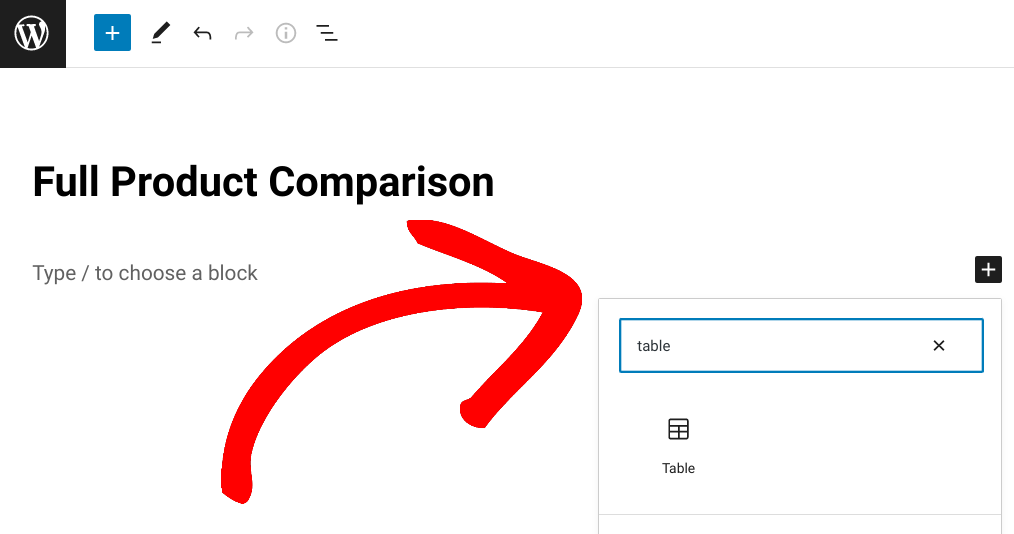
Once you insert the Table block, you can enter the number of columns and rows you want. Then click on Create Table:
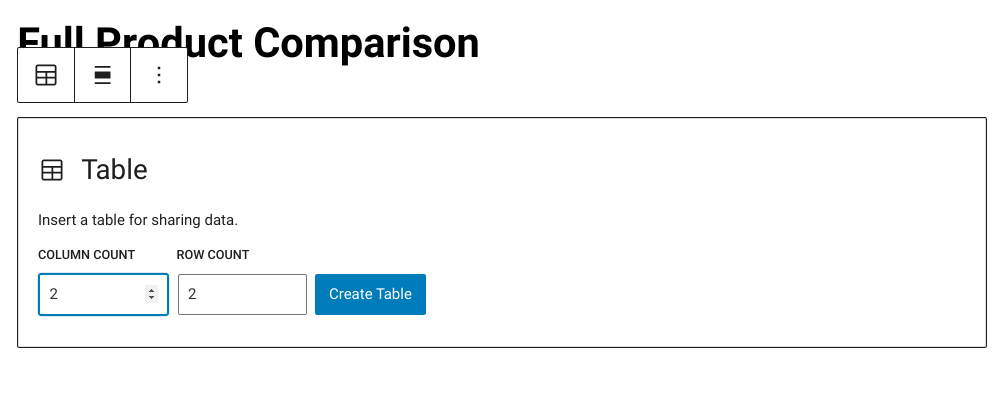
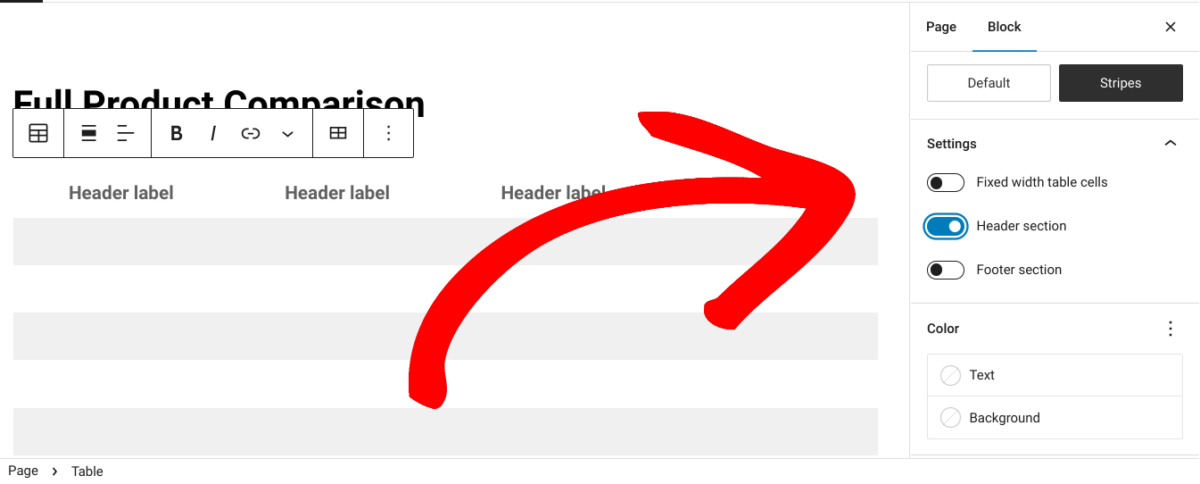
To the right of the screen are the table’s appearance settings. For instance, you can change the default style to Stripes, insert a header label field, add a background color, and change the typography:
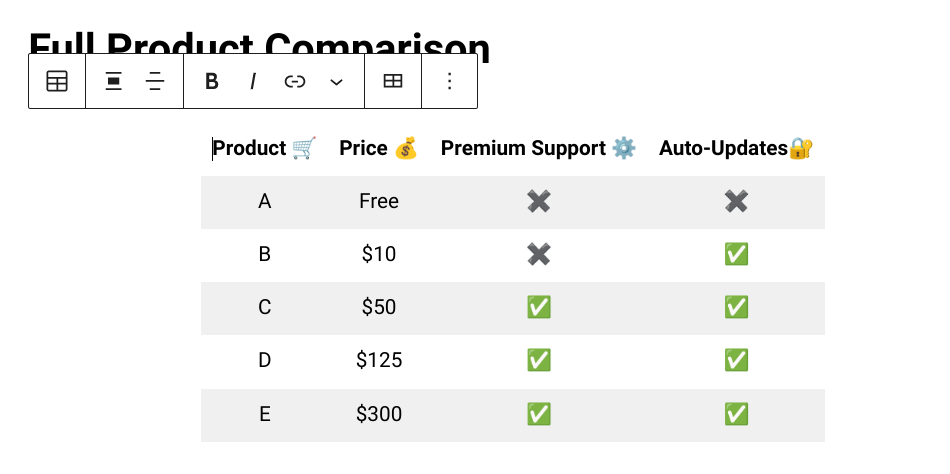
Fill in your table content. In the text fields, you can modify the positioning, add links and emojis, etc.:
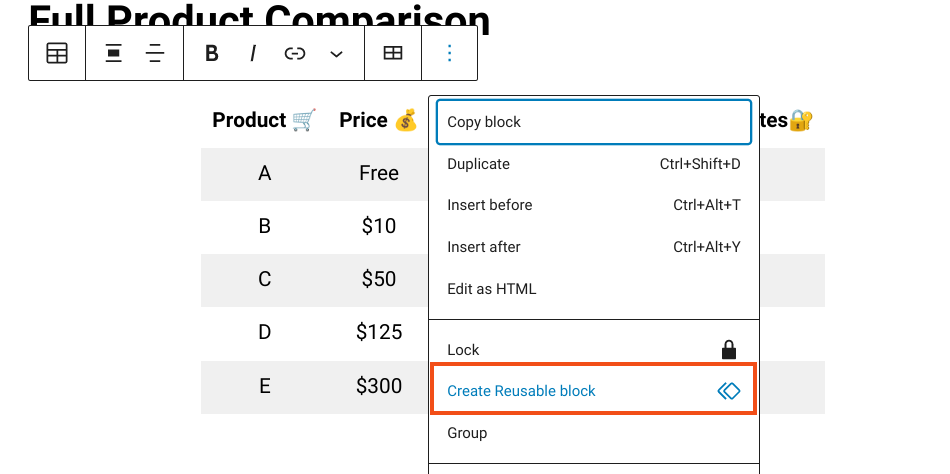
Suppose you want to use this same product comparison table on other areas of your site, or essentially save it as a template. Click on the three vertical dots along the Table toolbar menu, followed by Create Reusable block:
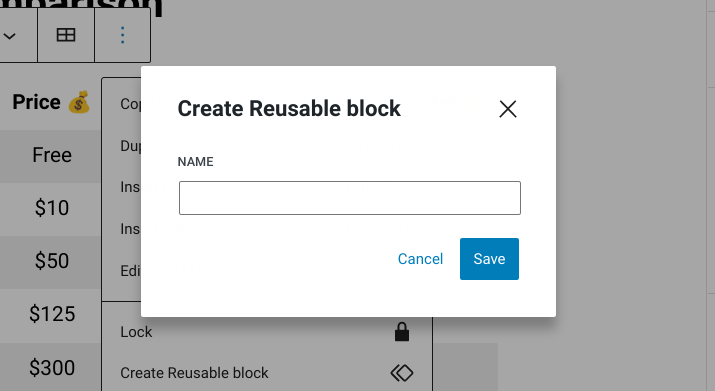
Enter a name, then select Save:
When you’re done, click on Publish in the top right-hand corner. That’s it!
Create Your WordPress Product Comparison Table
Using a WordPress product comparison table on your eCommerce site can be a great way to help customers find the right product for their needs. By comparing features and prices in an organized manner, you can give your shoppers more confidence when making a purchase decision.
Ready to create your product comparison table in WordPress?
📣 P.S. Be sure to subscribe to our newsletter and follow us on Facebook or Twitter for more WordPress resources!
Using WordPress and want to get Easy Digital Downloads for free?
Enter the URL to your WordPress website to install.
Disclosure: Our content is reader-supported. This means if you click on some of our links, then we may earn a commission. We only recommend products that we believe will add value to our readers.
Good evening,
I have a doubt about the Wordpress Blocks tables. Can you add an image or a htlm to them so that customers can visualize the product?
Hi Eddie, Yes – if you’re using the WordPress Table Block, you can insert an inline image using the block toolbar or edit it as HTML. The EDD Compare Products extension lets you include images as thumbnails. Feel free to contact our support team if you need further assistance!