
The Checkout Fields Manager extension allows you to add custom fields to the checkout page of your store. Common uses are to collect VAT, phone numbers or other customer questions relevant to your business and/or product.
Once it is installed and activated, a new menu called Checkout Form will be added to the primary Downloads menu. After navigating to Downloads > Checkout Form, you will be presented with a screen that has a drag-and-drop interface for adding and arranging checkout fields.

To add a field, simply click on the field type you wish to add from the box on the right and it will be added to your form.
Storing Field Data
When creating a new field you’ll usually be asked if you want to store the data in User Meta or Payment Meta. Here’s a brief description of each.

User Meta
User Meta is information about a user. A common WordPress example would be Last Name. If you’re making a new custom field for information related to the user, Secondary Email for example, you should store it in User Meta. This will make that information visible in the Customer Information tab in EDD as well as the Customer Profile Editor for customers to update themselves.
Note: The option to save meta to user will not be available unless Require Login is enabled. To enable go to Downloads → Settings → Misc → Checkout and enable “Require Login”.
Payment Meta
Payment Meta is information about a payment. An example would be quantity. If you’re making a new custom field for information relating to the payment, a field for comments about the product for example, you should store it in Payment Meta. This will make that information visible and editable in the Payment History.
Viewing Custom Fields
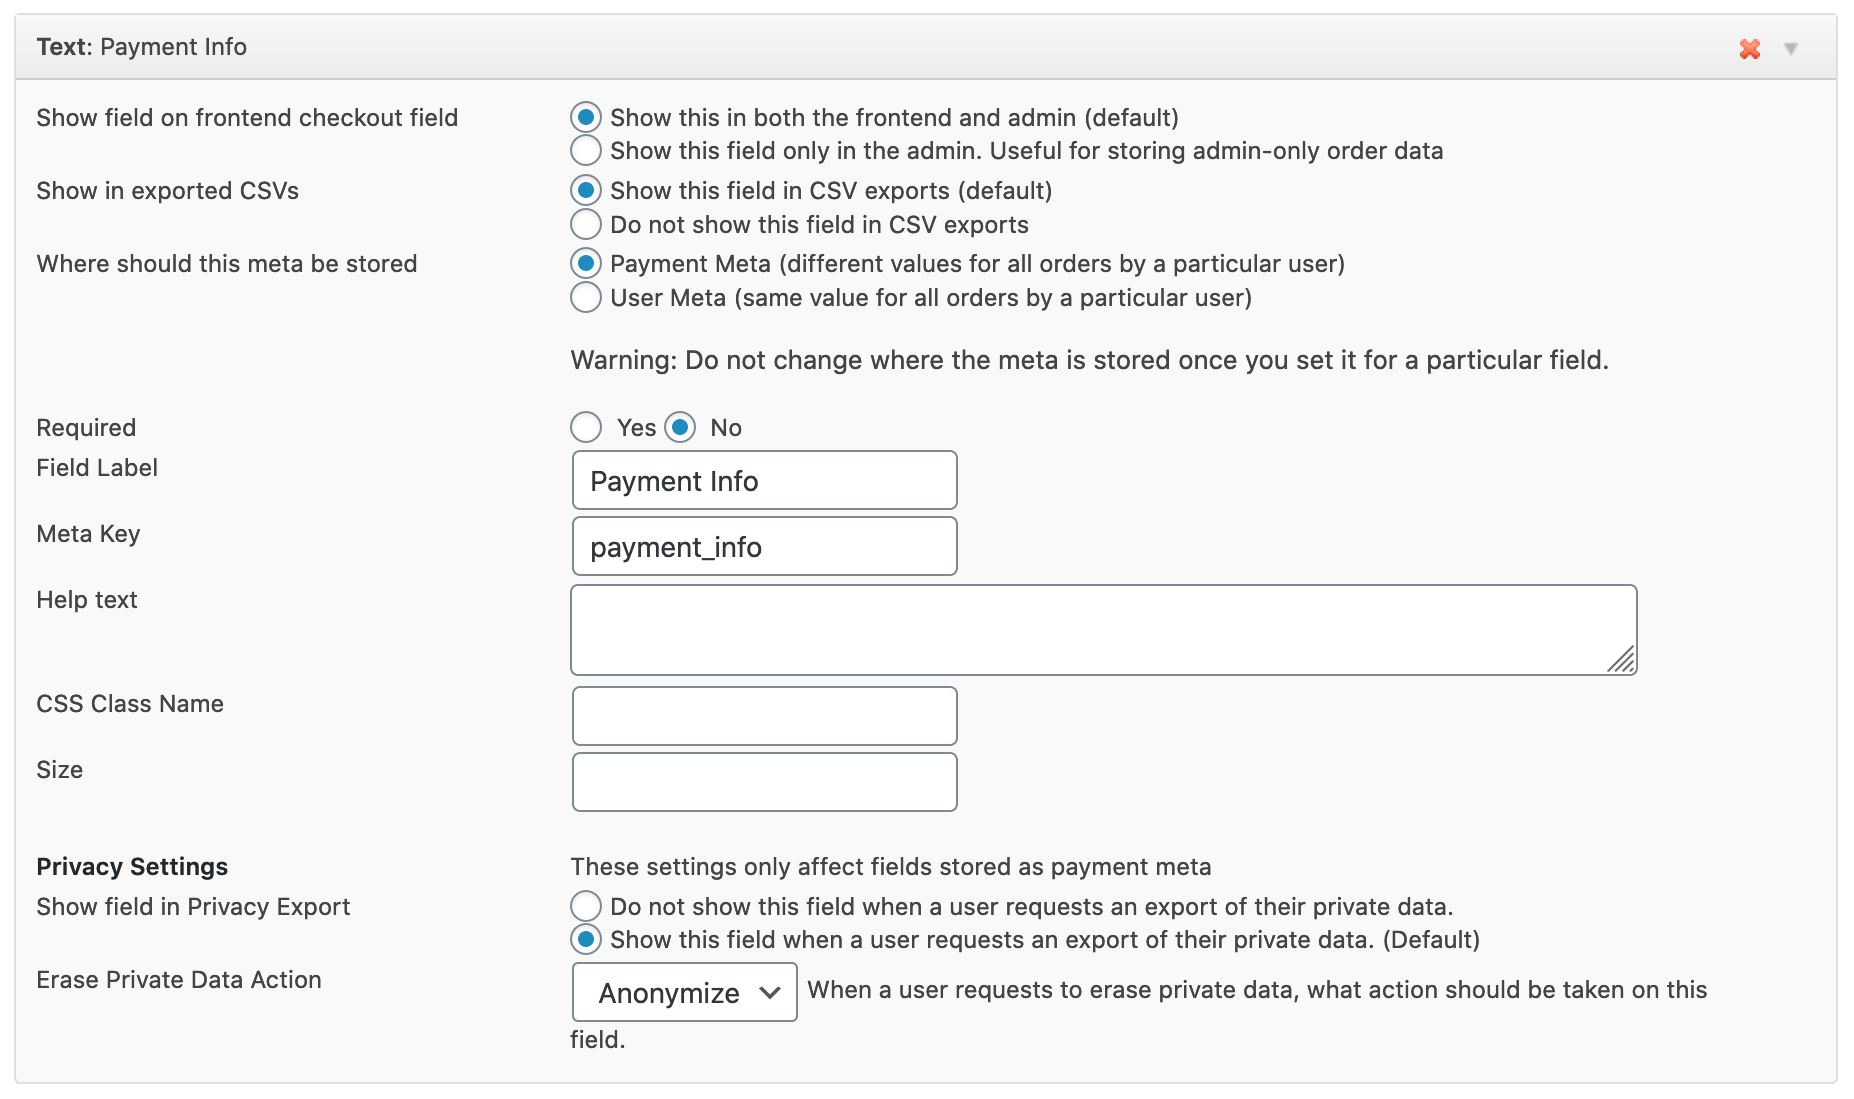
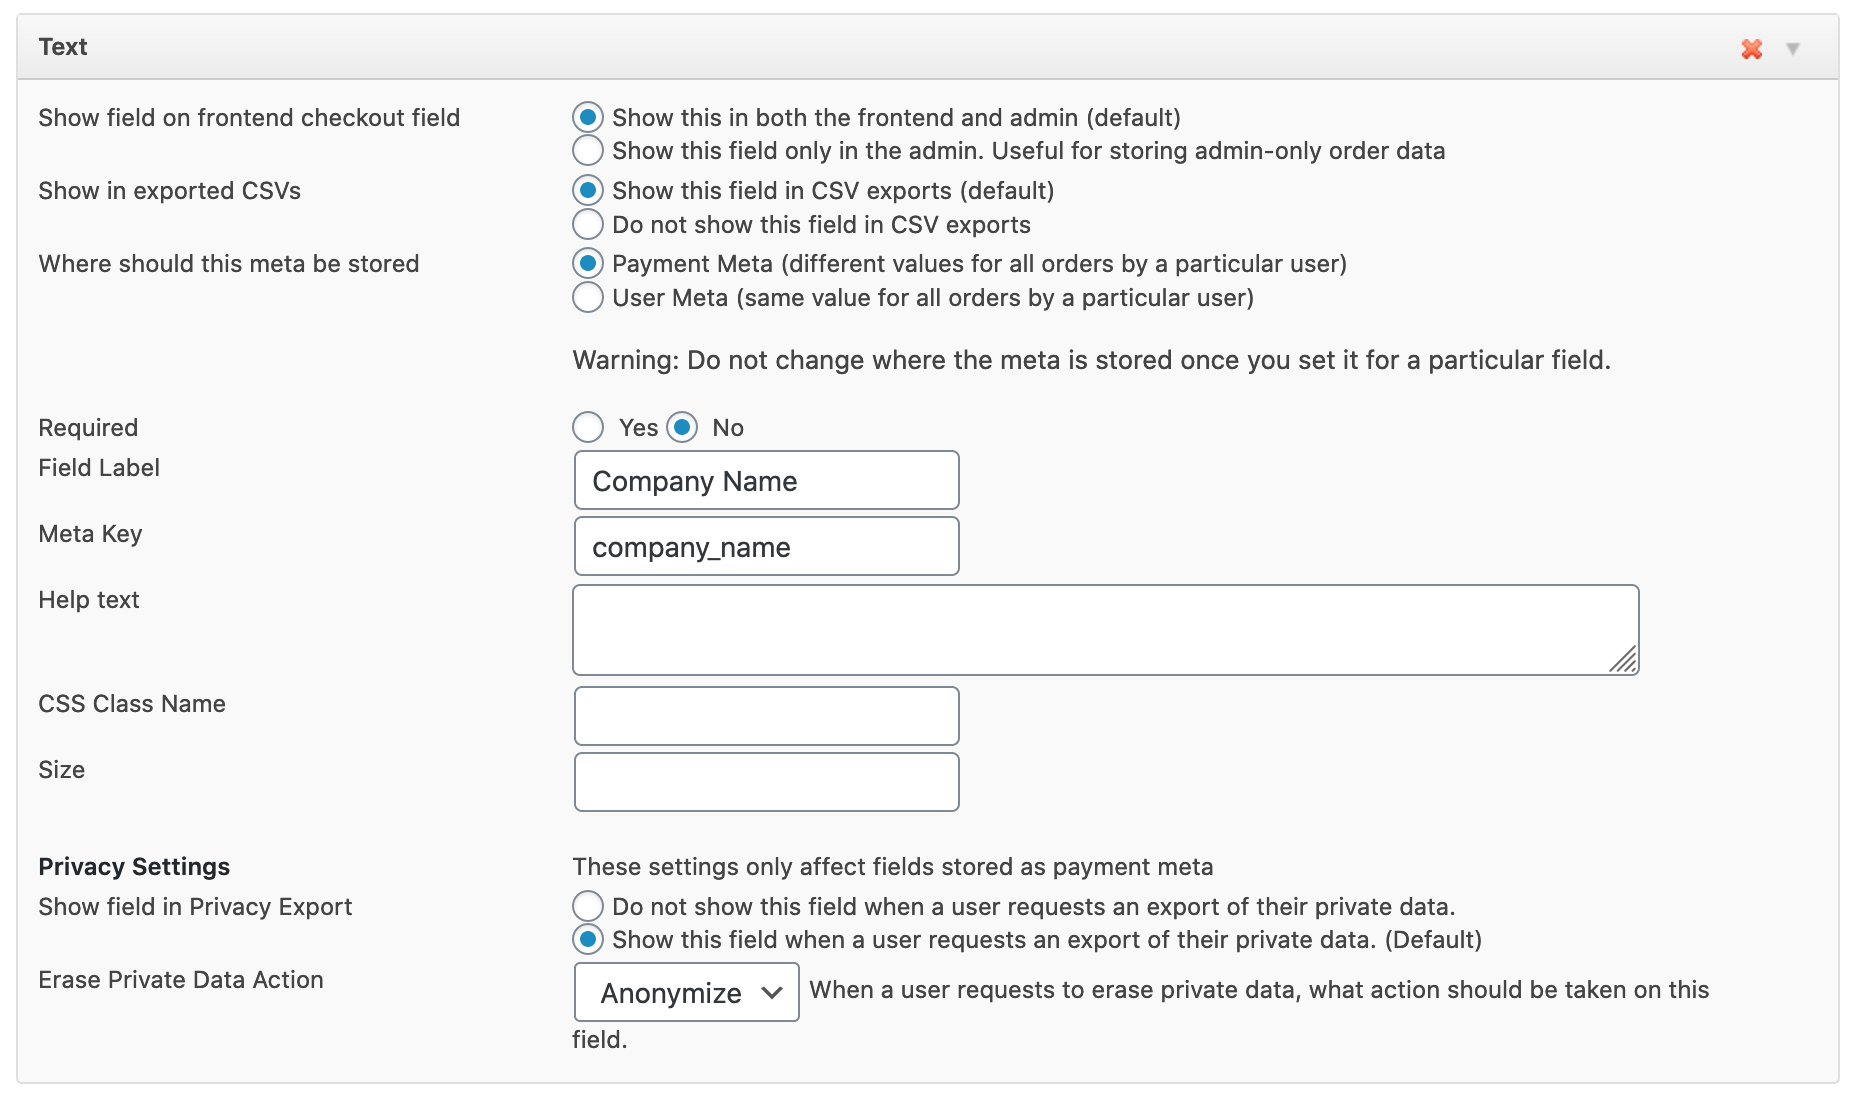
For the examples shown below, we’re adding an email text field called Customer Secondary Email. This first image is an example of the setup for all of the User Meta output examples below.

Help Text: This will be shown on the checkout page for this field.
CSS Class Name: You can add custom CSS class for the field in order to style it. (Example: my-custom-class)
Size: You can determine the width of the custom field (results may vary depending on the theme used)
Conditional Logic: Checkout Fields can be shown or hidden based on conditional logic rules either tied to the cart contents or the user. See the Checkout Fields Manager Conditional Logic doc for details on setting up conditional logic rules.
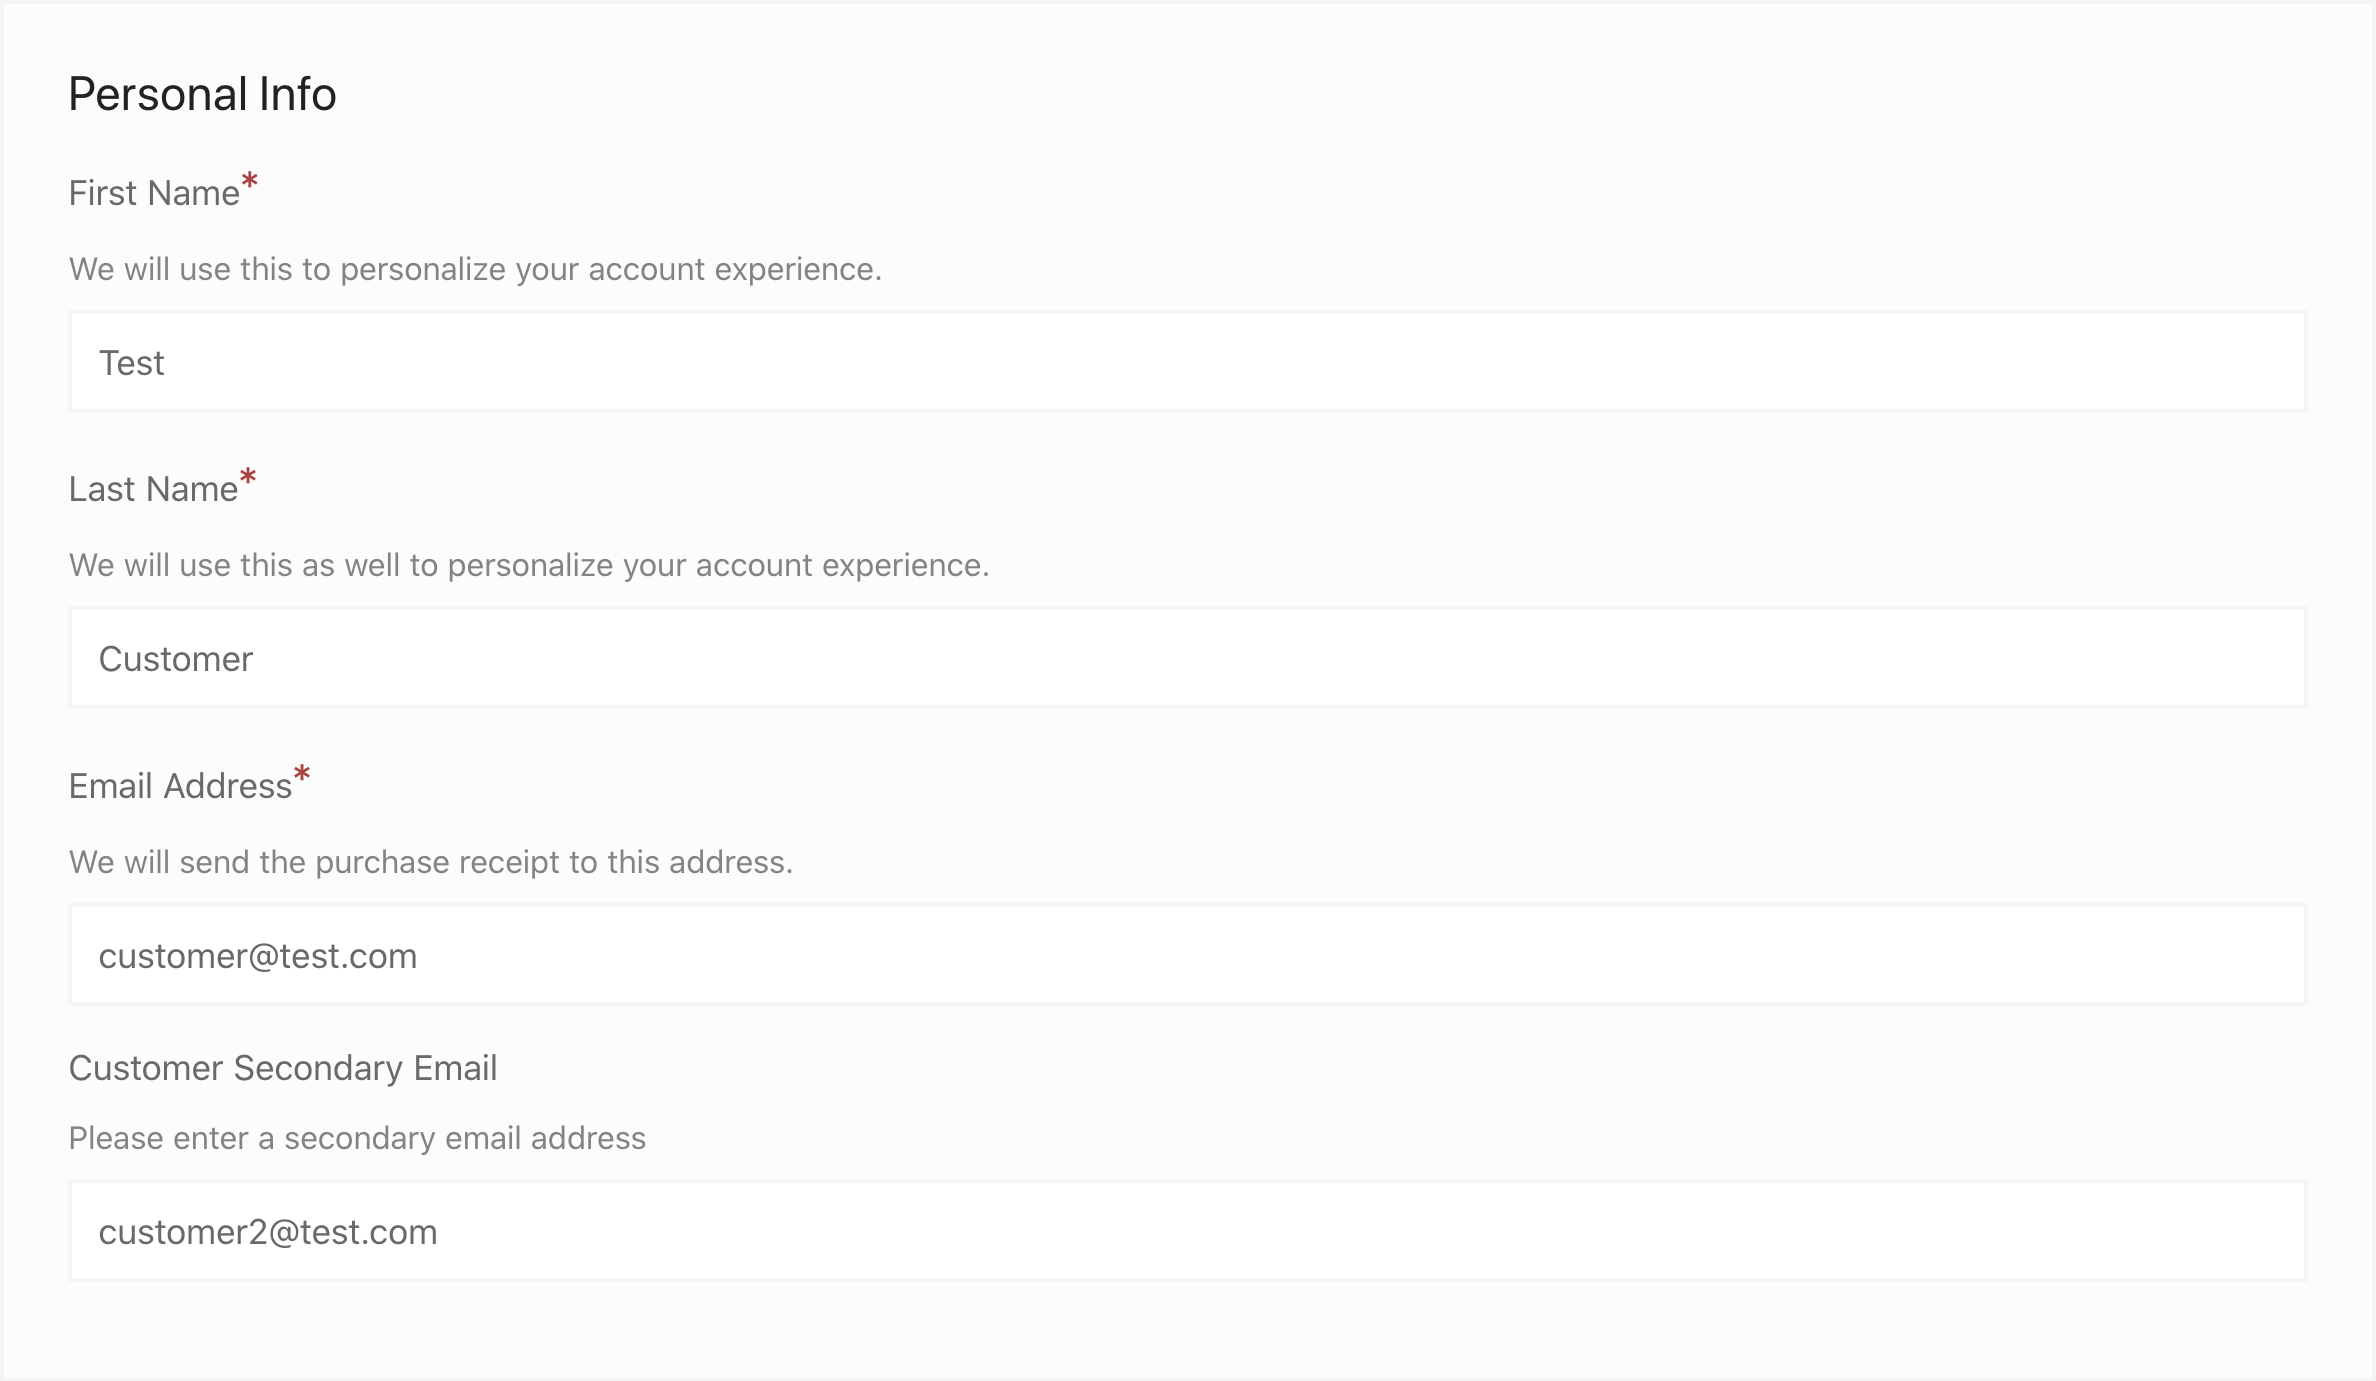
Field Display In Checkout
Once a field is added, and it’s set to show on the checkout form, it will look like this on the checkout form:
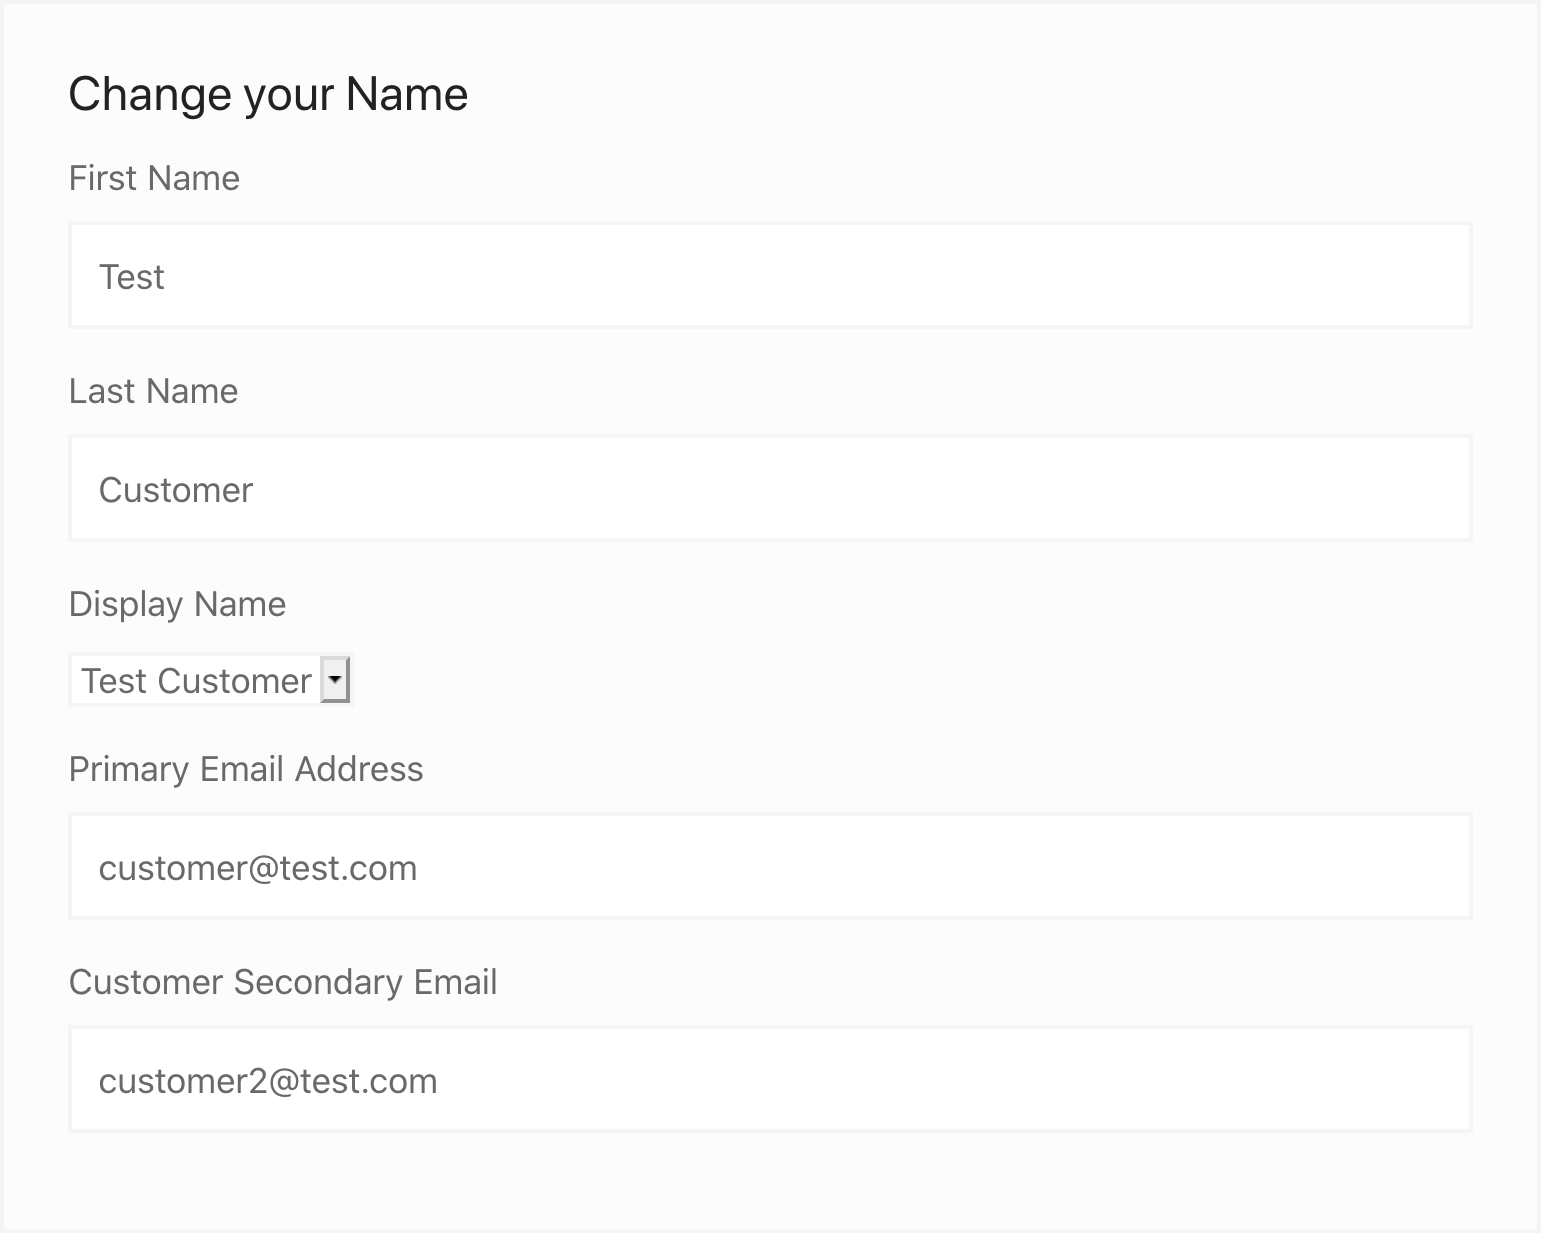
Field Display In Profile Editor
If the metadata is stored in User Meta then the field will appear on the customer-facing profile editor which is created by the [edd_profile_editor] shortcode. It will then look like this:
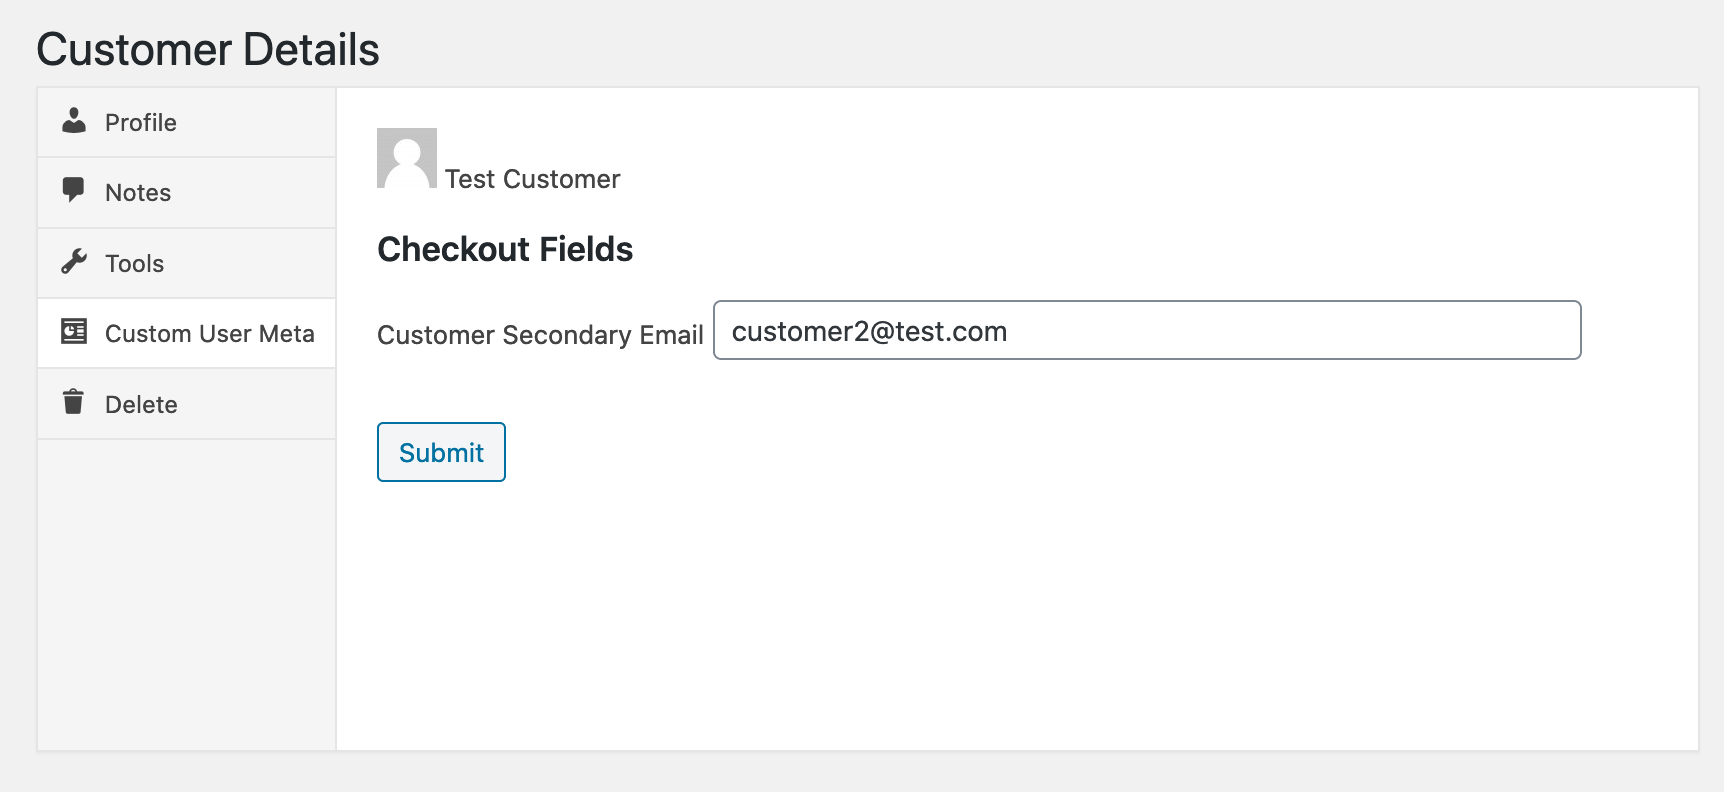
Field Display in Customer Information
If the metadata is stored in User Meta you’ll be able to see it in the Customer Details by navigating to
Downloads > Customers.
Field Display in Payment History
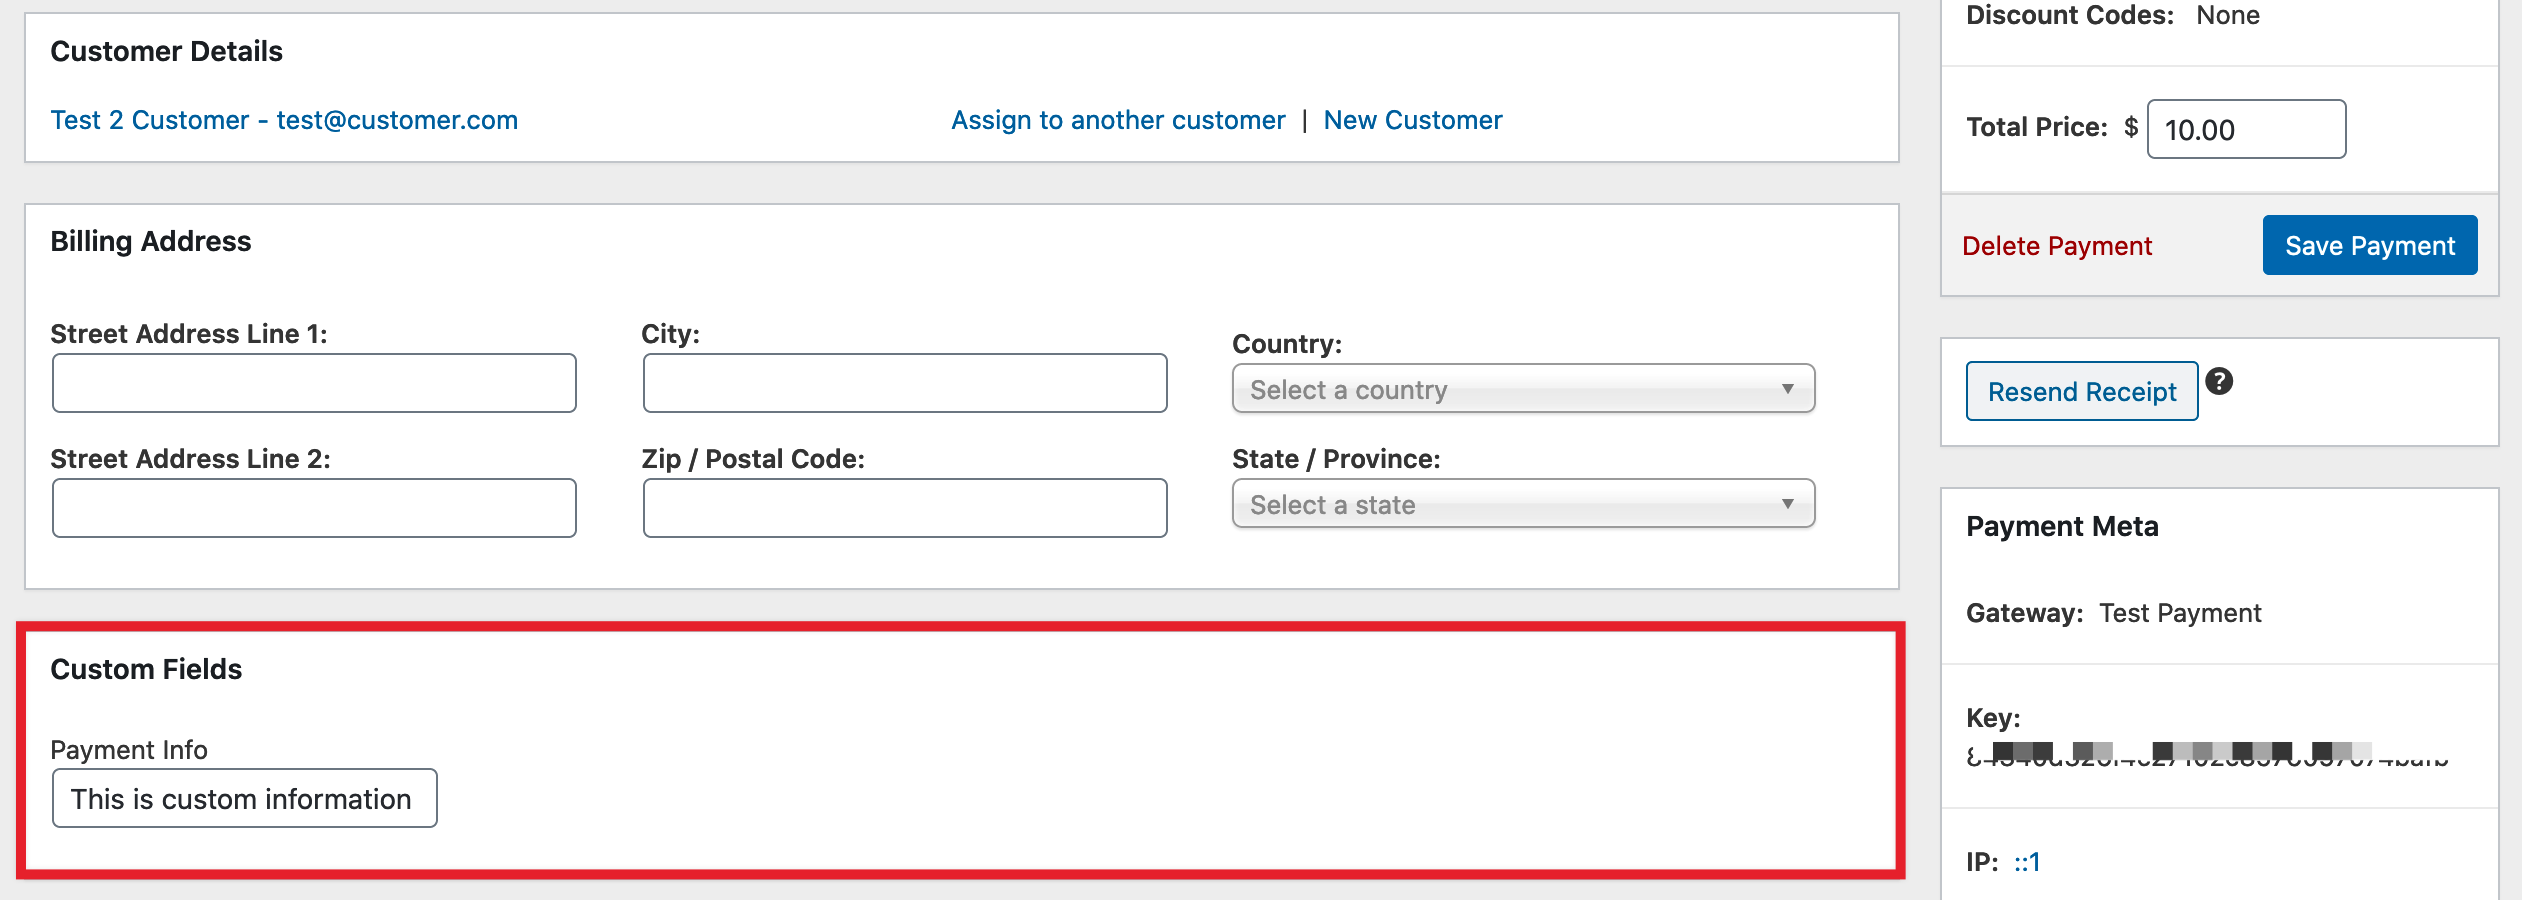
If the metadata is stored in Payment Meta, you’ll be able to see it on the Payment History page for the transaction. This example uses a custom field titled “Payment Info”.
Adding Field Values to Purchase Emails
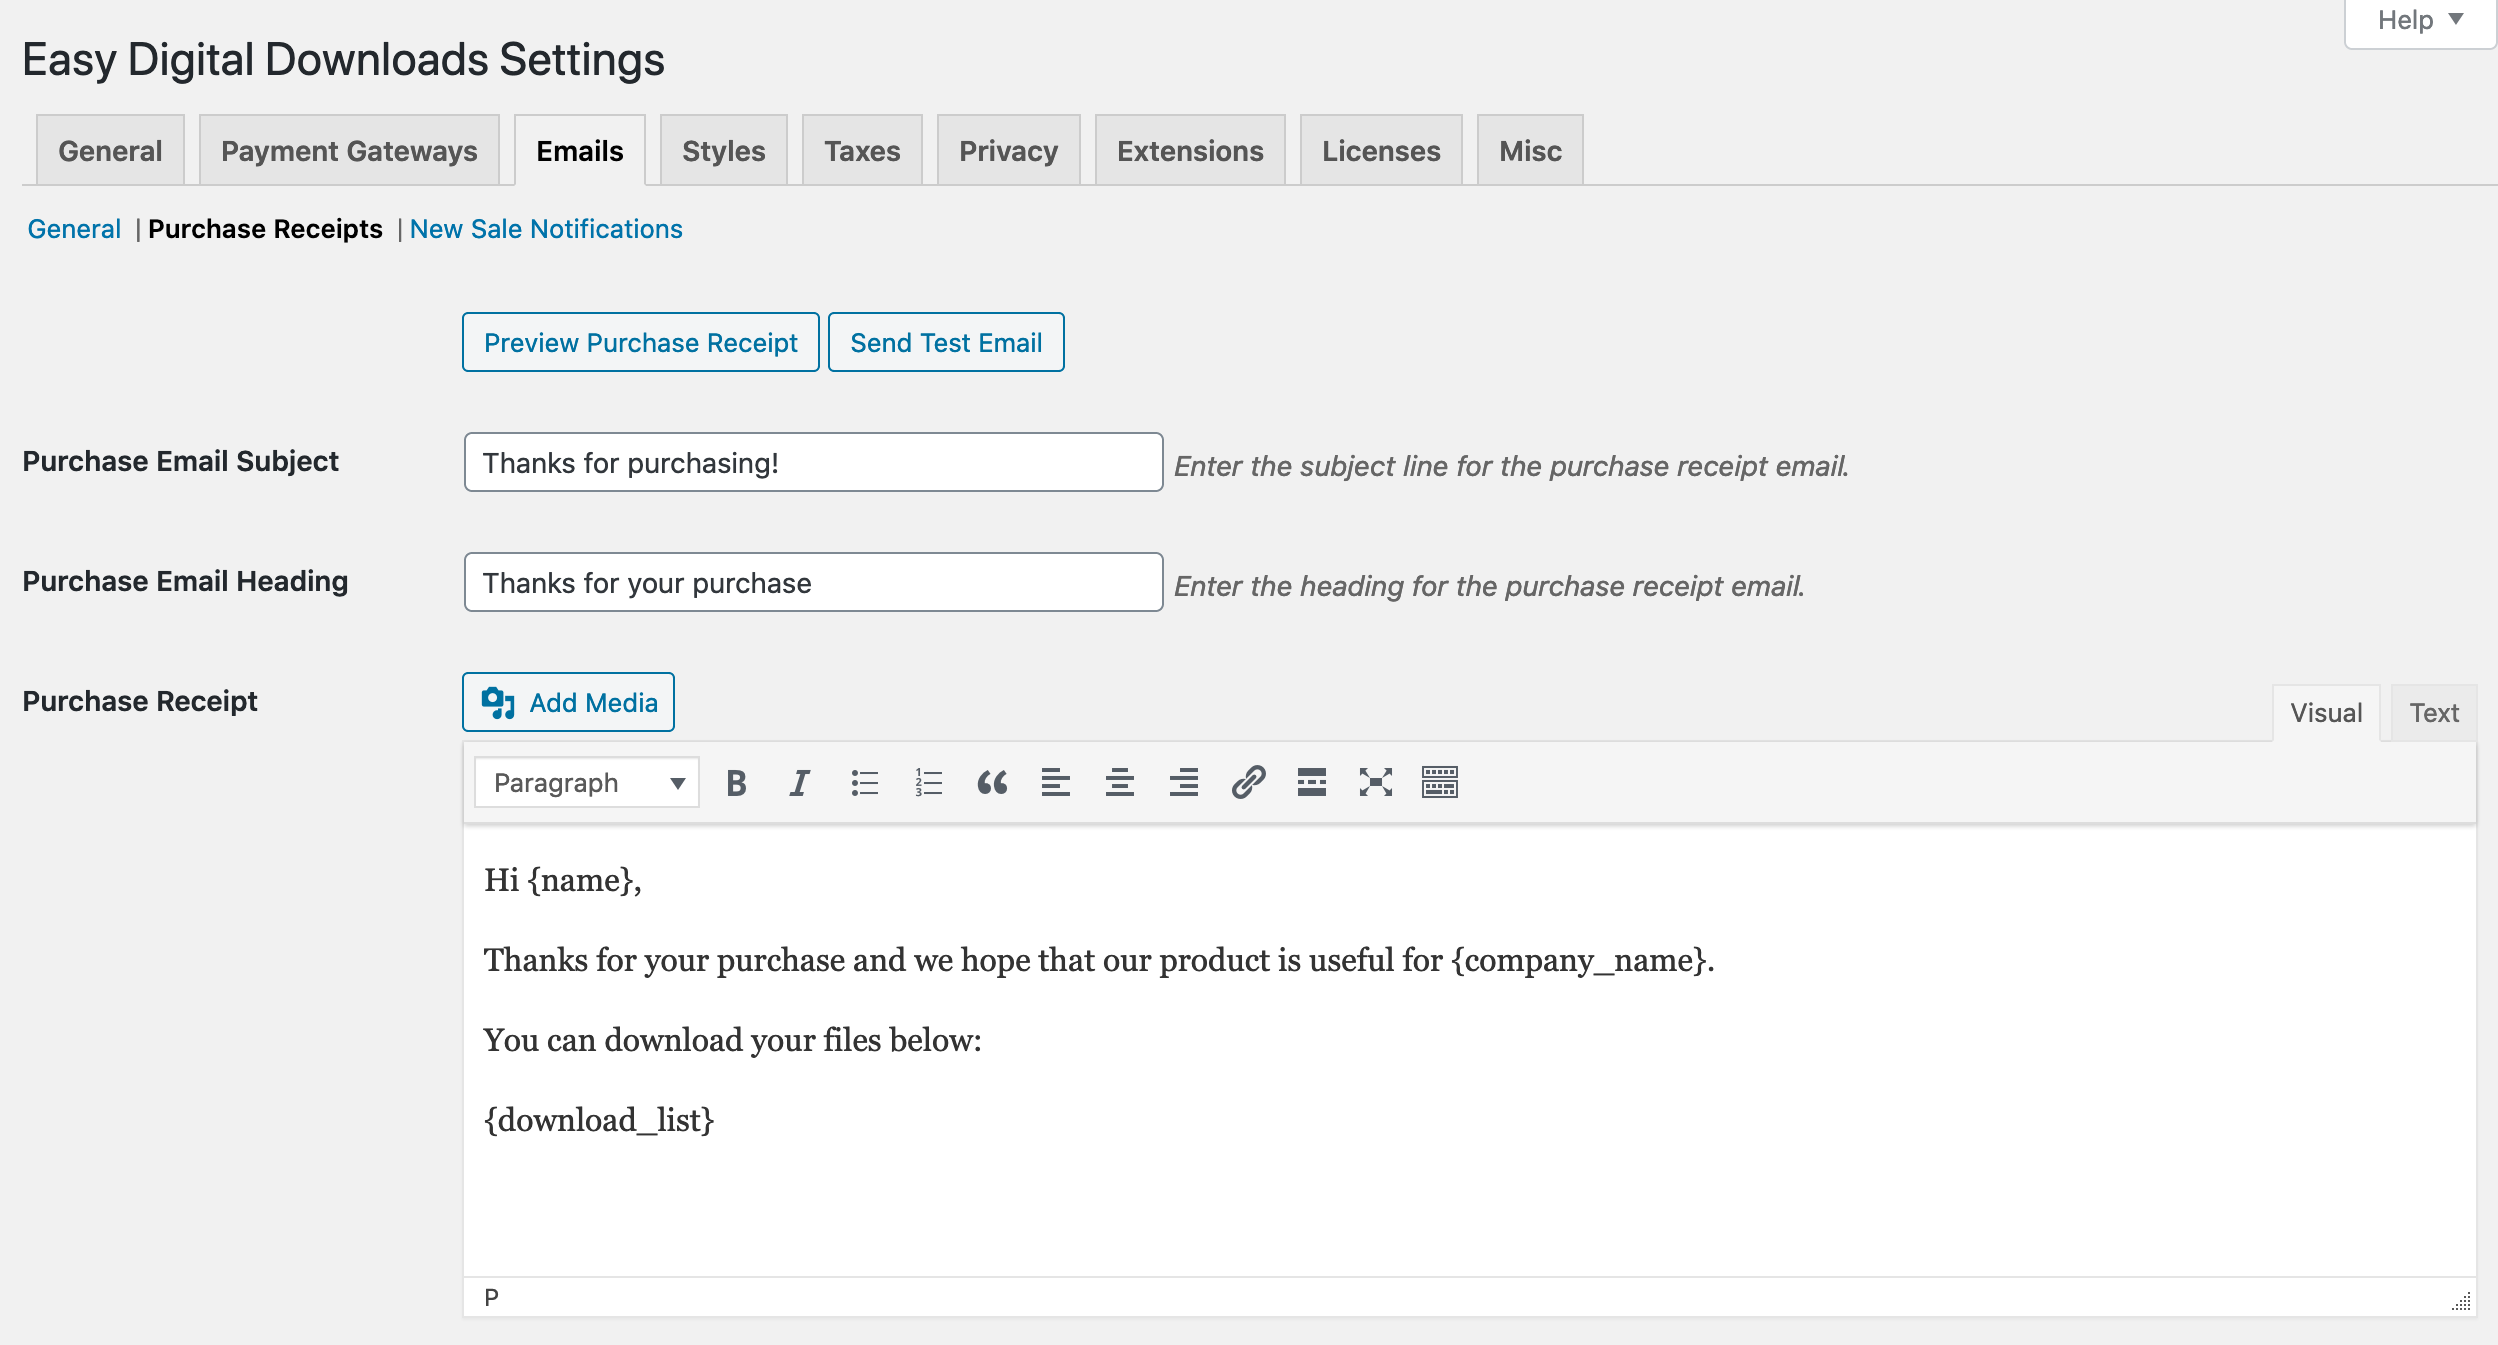
The checkout field customer responses can be added to the purchase receipt emails and also the admin sale notification emails via template tags.
The template tags that are used for each field are automatically generated based on the “meta_key” field given for each checkout field.
For example, if you have a field called “Company Name” that has a meta_key of “company_name”, you will use {company_name} as the template tag in the emails.
Amazon S3 Integration
If you have the EDD Amazon S3 extension installed, the Checkout Fields Manager ‘File Upload’ field will upload your customer’s files into a folder named ‘cfm’ inside of your Amazon S3 bucket.
Note: Checkout Fields Manager does not integrate with the Free Downloads extension.


