
Do you want to easily accept donations on your WordPress website?
Whether it’s to raise money for a cause you care about or give your visitors an opportunity to support you, accepting donations on your website can be incredibly useful.
Fortunately, with the right plugin, you can add the functionality to your site in a few simple steps.
🔎 In this article, I’ll cover:
Why Accept Donations in WordPress?
There are many reasons why online sellers might want to accept donations on their WordPress site. For instance, perhaps you want to support a cause such as a non-profit organization that you care about. Using your platform to accept donations toward fundraising can be an excellent way to do that.
Accepting donations also gives customers a way to show their appreciation for your products and services. You can use donations to generate additional revenue to support and grow your online business.
Finally, accepting online donations can be a good way to build goodwill and relationships with your customers and the eCommerce community.
What to Look for in Donation Plugins
When choosing a WordPress donation plugin, there are a few key factors to consider.
First is ease of use. The plugin should be easy for you to install and configure, and for donors to use. It’s also smart to choose a plugin that supports payment gateways used on your eCommerce site.
Consider what features are important to you, such as the ability to create multiple campaigns, track donations, and send receipts.
As with any business tool, cost is another factor to consider when looking for a donation plugin. WordPress donation plugins range in price from free to premium. Choose a plugin that fits your budget and needs.
Best WordPress Donation Plugins
There are a handful of quality WordPress plugins you can use to accept donations on your website. The best option depends on a handful of factors, like what features you need, your budget, and the type of site you have.
Below is a summary of some of the best WordPress donation plugins.
| Plugin | Summary | Key Features | Pricing |
|---|---|---|---|
| WP Charitable | A WordPress donation plugin to create unlimited fundraising campaigns, track donations, & send receipts to donors. | Supports PayPal, Stripe, Authorize.Net, & more | $99 – $499/yr |
| WPForms | The best WordPress form builder plugin that can be used to create donation forms. | Easy to use drag-and-drop form builder Supports all major payment gateways | $49.50 – $299.50/yr |
| WP Simple Pay | A WordPress Stripe payment plugin that lets you accept one-time payments & donations. | Supports PayPal, Stripe, Authorize.Net, Braintree, & other payment gateways Easy to use & configure Create multiple payment forms & track payments | $49.50 – $299.50/yr |
| GiveWP | A freemium WordPress donation plugin that allows you to create and manage donation campaigns. | Supports all major payment gateways Powerful features such as recurring donations, donor management, & reporting Recurring donations | $149 – $499/yr |
How to Accept Donations in WordPress
Ready to start accepting donations on your WordPress site? Below is a step-by-step guide on how to go about it in a few simple steps.
1. Install Your WordPress Donation Plugin
The first step is to download and install our WordPress donation plugin. For this tutorial, I’ll be using the WP Charitable plugin. Even if you use a different extension, the general process will be largely the same.
WP Charitable is a popular WordPress donation plugin that is easy to use and has a wide range of features:

There is a free version available. However, you can upgrade to a Pro plan for more advanced features. There are multiple pricing tiers to choose from:
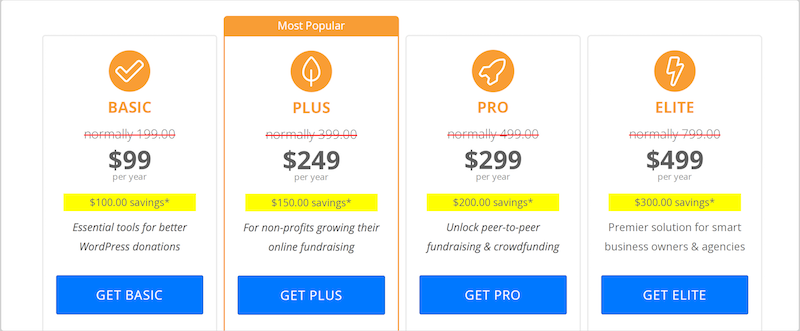
Once you select your plan and create your account, download the Charitable plugin. Then add it to your site by going to Plugins » Add New from your WordPress dashboard:

Install and activate the plugin.
If you use Easy Digital Downloads to power your online store, you can also install the Easy Digital Downloads Connect addon.
Under Charitable » Addons, search for “Easy Digital Downloads”:
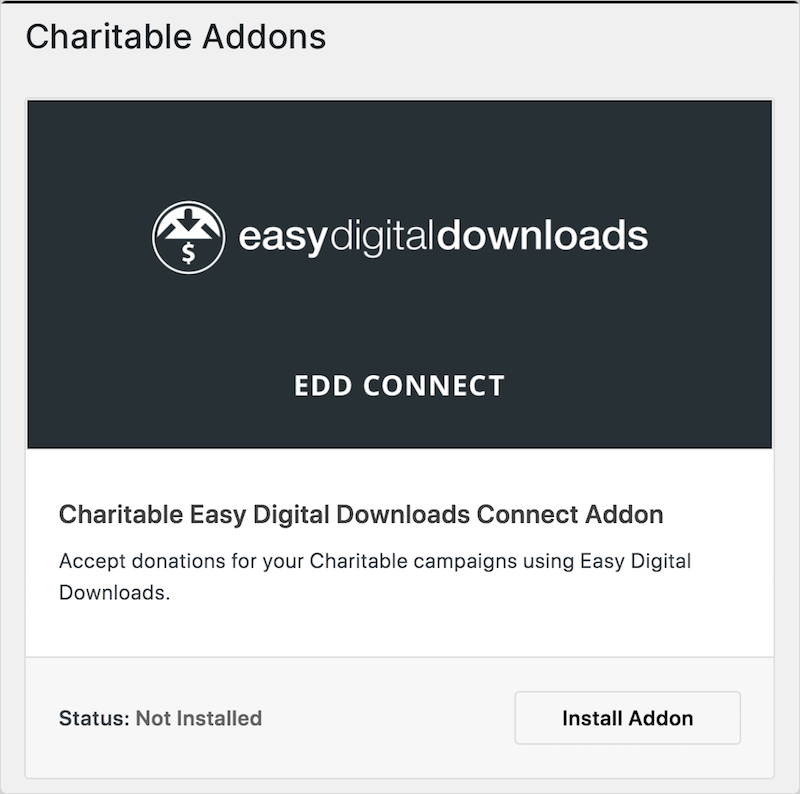
Then select Install Addon under the extension. This will make it so future donations made on your site will go through the Easy Digital Downloads checkout.
2. Configure the Plugin & Payment Settings
Once the plugin is activated, go to Charitable » Settings. Under General, there are a variety of options to configure the plugin’s core settings:
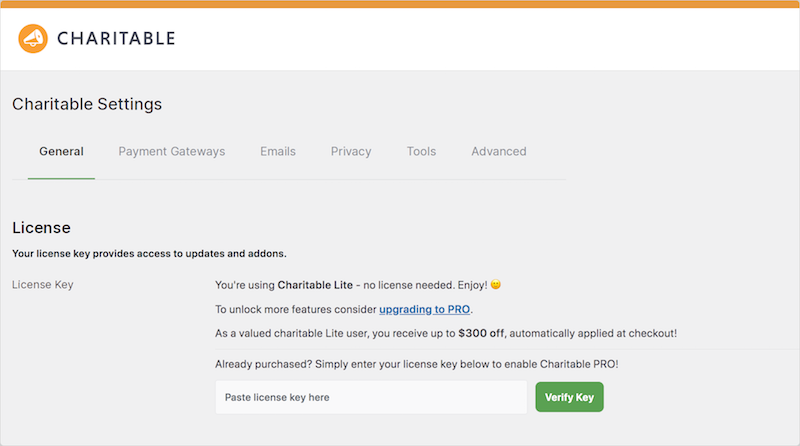
You can select your base country, currency, and other optional settings:
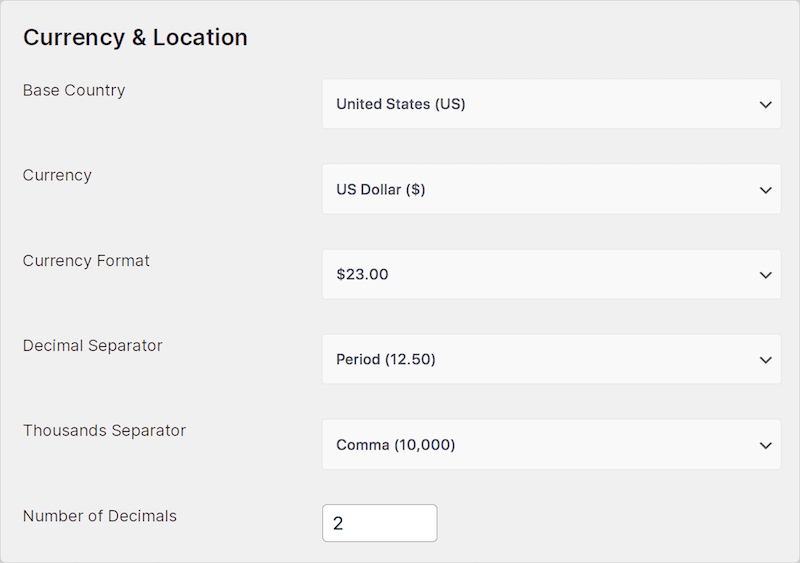
When you’re done, click on Save Changes.
Next, go to Charitable » Settings » Payment Gateways to configure the payment gateways that you want to use:
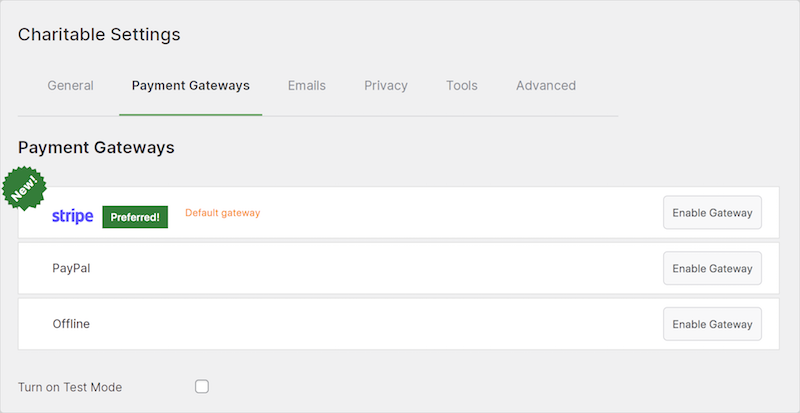
Charitable supports Stripe (default gateway), PayPal, and more. I recommend using Stripe.
Select Enable Gateway. Then click on Connect With Stripe:
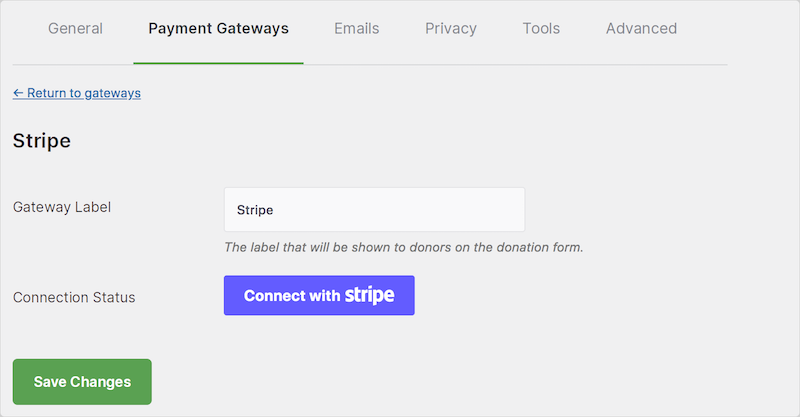
Follow the on-screen instructions to log into your Stripe account. If you don’t have one yet, you can create one for free on the Stripe website.
3. Create Your Donation Campaign
Next, go to Charitable » Add Campaign to create your first donation campaign:
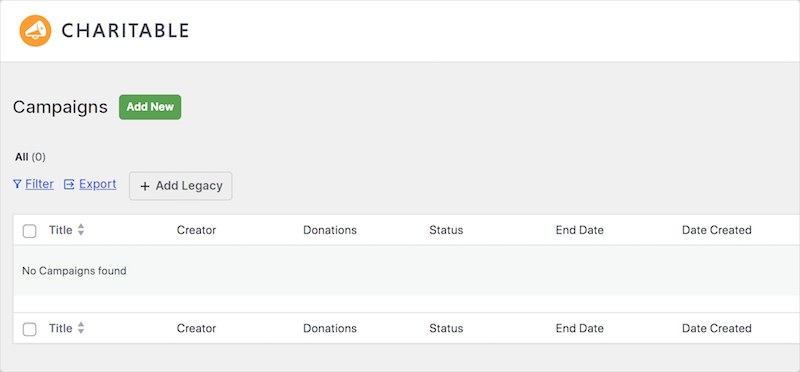
You’ll need to give your campaign a name, description, and goal. There are pre-designed templates to choose from to design your campaign page:
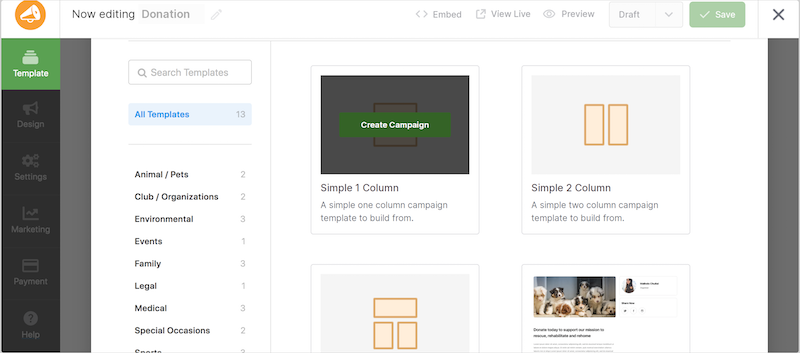
Then use the drag-and-drop builder to design your donation form and landing page:
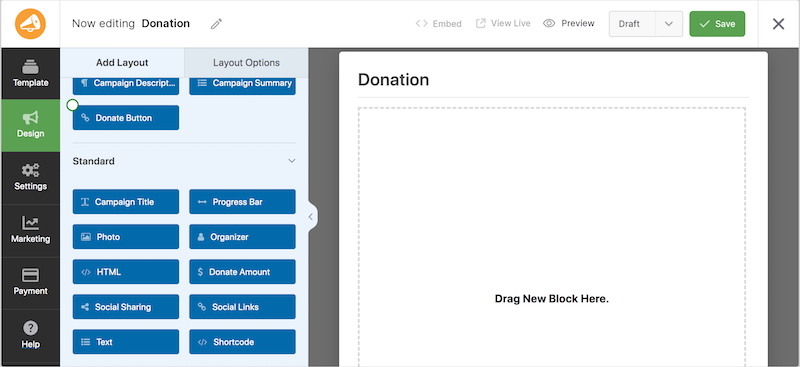
Use the modules on the left to add images, videos, and other content to your campaign page.
There are a variety of settings to explore and configure, including:
- Form, Donation page & Donate button design
- General Settings
- Donation Options (Donation Amount, etc.)
- Recurring Donations
- Email Marketing Integrations
Feel free to refer to WP Charitable documentation for in-depth guidance on any of these settings.
When you’re done, select Save » Publish and return to your dashboard.
4. Customize & Add Your Donation Form
Once you have created your campaign, you can customize your donation form. Go to Charitable » Settings and scroll to the Donation Form section of the General tab:
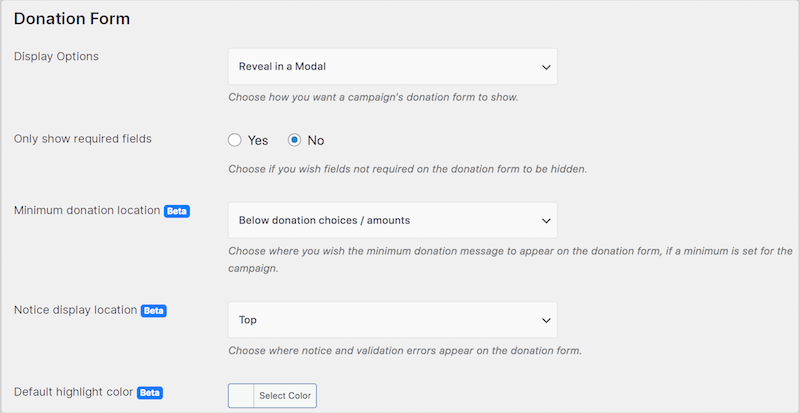
You can select how you display the campaign’s donation form, whether to only show the required fields and more.
Once you are happy with your donation form, you can add it to your website. Add the form to a page or post, or a widget area.
For instance, if you want to add it to an existing page, you can do so by adding the Charitable block within the editor:
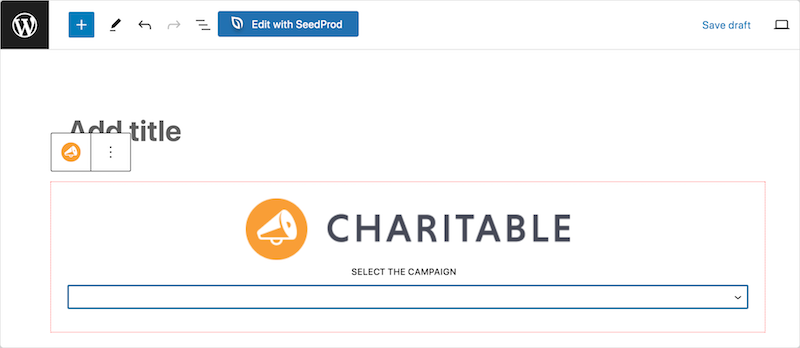
Simply select the donation campaign from the dropdown menu. Then click on Save/Update/Publish.
5. Publish & Accept Donations in WordPress
Once you publish your donation form or page, preview it from the front end of your website:
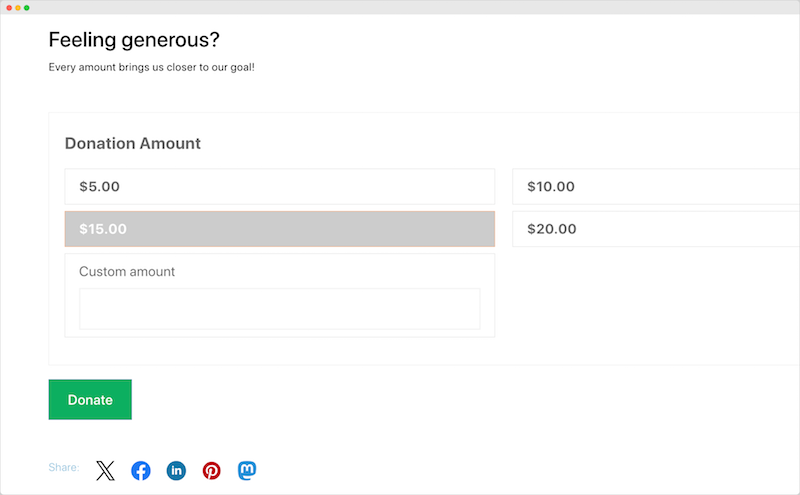
If you’re happy with it, that’s it! Now you can accept donations in WordPress.
FAQs About Accepting Donations in WordPress
Let’s wrap up with some frequently asked questions.
Which is the best WordPress donation plugin to use?
There are many different donation plugins available for WordPress, each with its own features and benefits. Some of the most popular plugins include GiveWP, Charitable, and WPForms. The best plugin for you will depend on your specific needs and budget.
How do I send donation receipts?
Most donation plugins, including Charitable, will automatically send donation receipts to your donors. However, you can also manually send receipts if you prefer.
How do I promote my donation page?
You can promote your donation page by sharing it on social media, adding it to your email signature, and linking to it from your website.
Accept Donations on Your eCommerce Site
Accepting donations on your WordPress site is a great way to support your business, generate additional revenue, and build goodwill with your customers. By following the steps in this guide, you can easily accept donations on your WordPress site using WP Charitable.
Don’t have your online store set up yet? Download Easy Digital Downloads today to get started:
📣 P.S. Be sure to subscribe to our newsletter and follow us on Facebook or Twitter for more WordPress resources!
Using WordPress and want to get Easy Digital Downloads for free?
Enter the URL to your WordPress website to install.
Disclosure: Our content is reader-supported. This means if you click on some of our links, then we may earn a commission. We only recommend products that we believe will add value to our readers.