
Would you like your checkout page to look like the rest of your store instead of a default form? Easy Digital Downloads works with the Elementor page builder, so you can restyle every part of your checkout without touching code.
This guide walks you through the EDD Checkout block, the EDD Checkout widget in Elementor, and the individual checkout widgets you use to restyle and rearrange the page.
Requirements: The Elementor widgets below require the Elementor plugin installed and activated, and the Contain feature set to Active under the Elementor Editor » Settings » Feature screen.
Starting From a Checkout Template
If you’d rather not build a checkout from scratch, you can import a ready-made checkout template and then edit it with everything above. Each imported template places the four checkout widgets for you, so the styling and reordering steps in this guide apply to it directly.
Templates arrive with placeholder headings and sample wording around the live payment fields, so replacing that text with your own is usually the first edit you’ll make.
Configuring the EDD Checkout Block
The Checkout page is created for you when you activate Easy Digital Downloads. It sits in your WordPress Pages list as Checkout, and it uses the EDD Checkout block.
Note: The EDD Checkout Block and its settings are available to every user, whether or not you use Elementor.
Open the Checkout page and the block settings appear on the right.
Start with the Preview as Guest setting, which lets you check the experience both first-time visitors and returning customers get. You also get a real-time preview of the checkout page and credit card form right in the editor.
Pick one of your products from the Select a Download menu to see how the form looks with something in the cart.
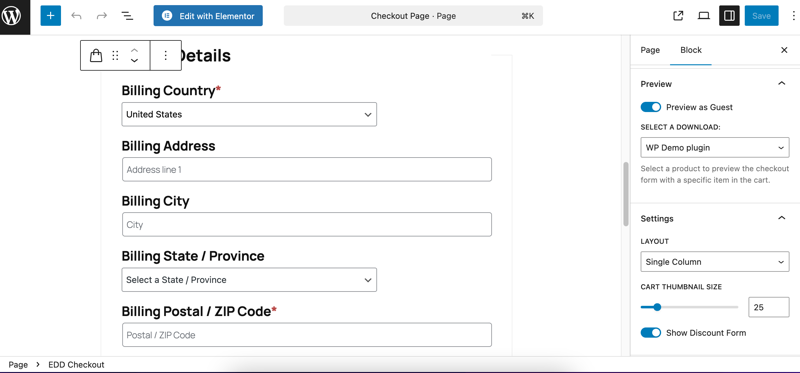
The block’s own settings let you change the layout, adjust the cart thumbnail size, and show or hide the discount form.
Editing Your Checkout With Elementor
Elementor builds its own EDD Checkout widget, which gives you far deeper design control than the block alone.
Accessing the Elementor Editor
With the Elementor plugin installed and activated, your Checkout page offers an Edit with Elementor option.
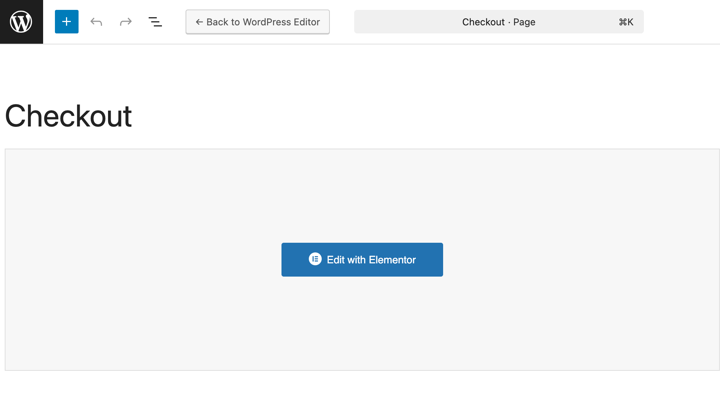
Selecting it opens the Elementor editor.
Adding the EDD Checkout Widget
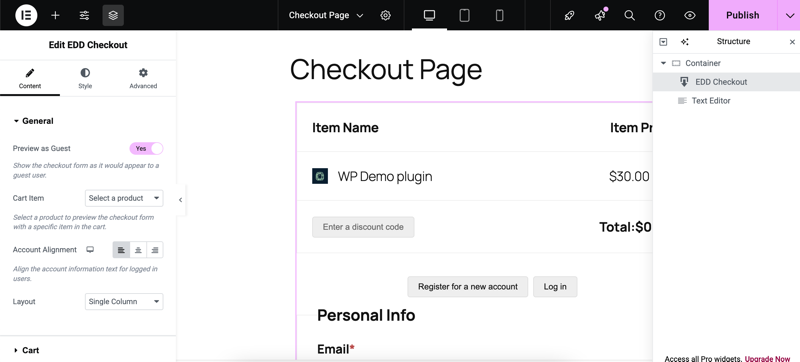
In the elements panel on the left, search for EDD Checkout, then drag it onto your page.
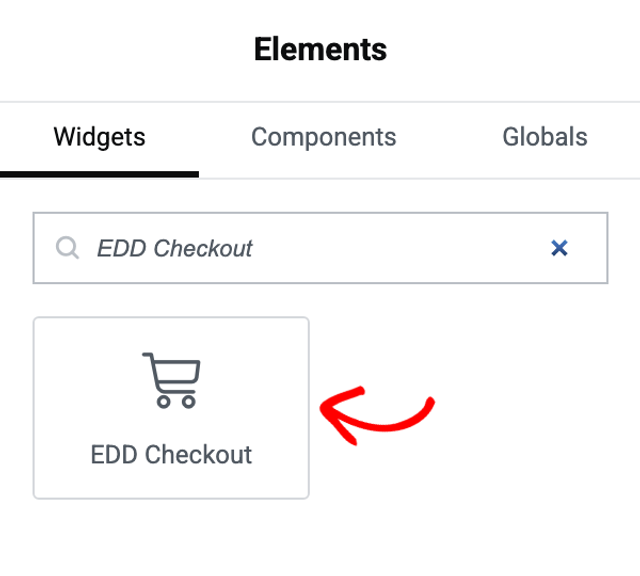
A newly added widget stays empty until you choose a layout, which is the next step. Once you have, it renders a live preview of your checkout form, so you can see your changes as you make them rather than publishing and checking the front end.
This widget is the container for your whole checkout. Its own settings sit under three tabs: Layout, Style, and Advanced.
Choosing a Checkout Layout
On the Layout tab, open Checkout Layout. You get five ready-made arrangements to choose from, covering single column and two column designs, and toggles to show or hide the cart and the discount form.
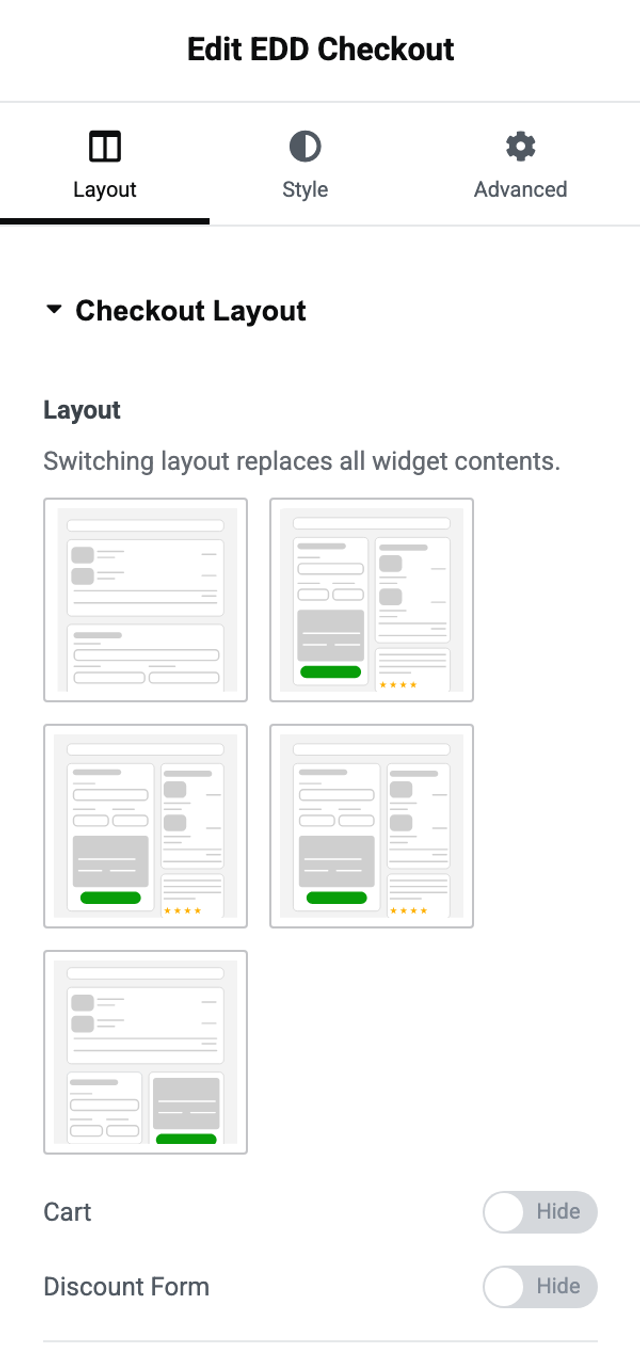
Note: Elementor warns you that switching layout replaces all widget contents. Pick your layout before you invest time in styling, so your work carries forward.
Styling the Checkout Container
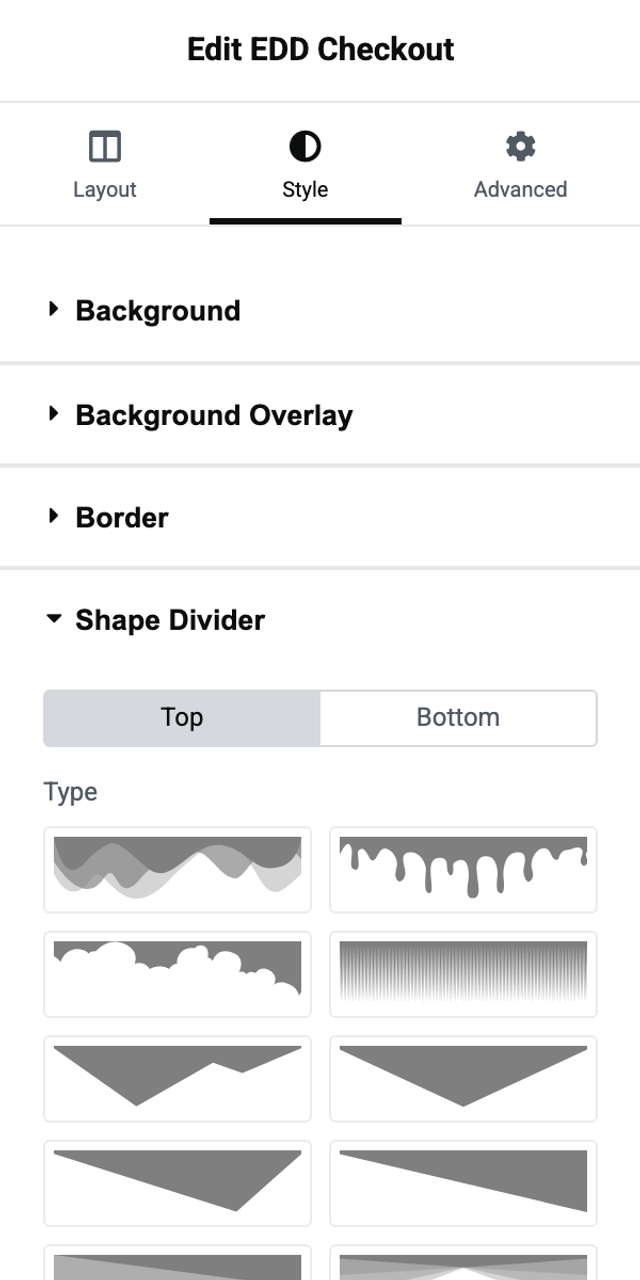
The Style tab handles the checkout as a whole, with sections for Background, Background Overlay, Border, Shape Divider, and Form Elements.
Shape Divider is the one worth knowing about, because it adds a decorative shape to the top or bottom edge of your checkout instead of a flat boundary. Choose an edge, then pick a shape.
Customizing the Individual Checkout Widgets
Your checkout is built from four separate widgets: the cart, personal info, payment info, and the discount form. Each one carries its own settings, which is what lets you style one part of the checkout without disturbing the rest.
You won’t find these four in the elements panel, because you don’t add them by hand. They arrive as part of the EDD Checkout widget. To reach their settings, select the piece you want directly on the page.
The Cart Widget
On the Content tab, the cart gives you a Cart Header toggle, a Cart Thumbnail toggle, and a Size slider for those thumbnails.
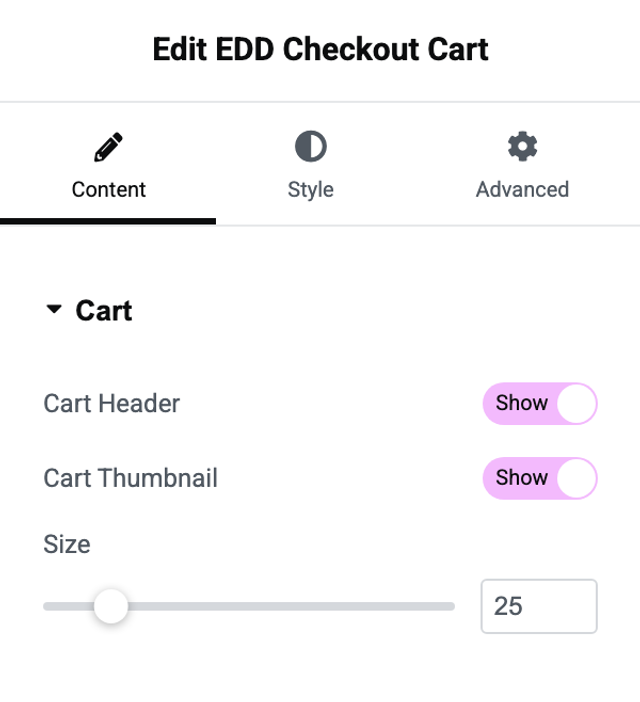
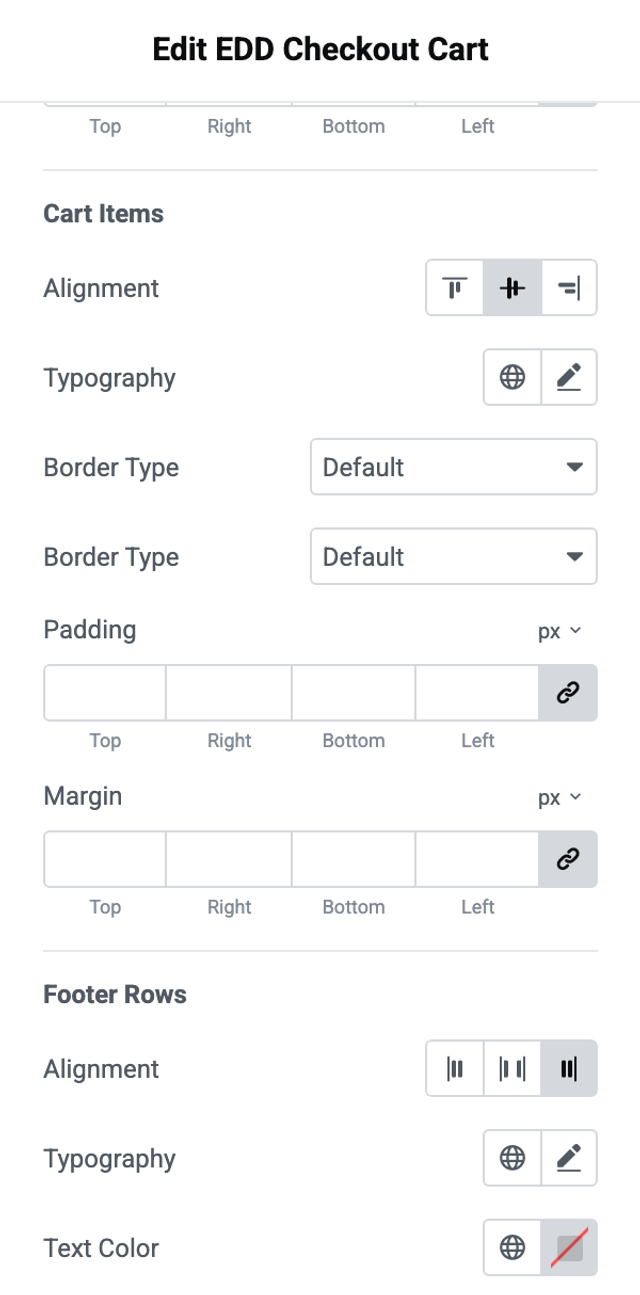
Its Style tab is the deepest of the four. Controls are grouped into Cart Header, Cart Items, and Footer Rows, so you can style the totals differently from the line items above them.
The Personal Info Widget
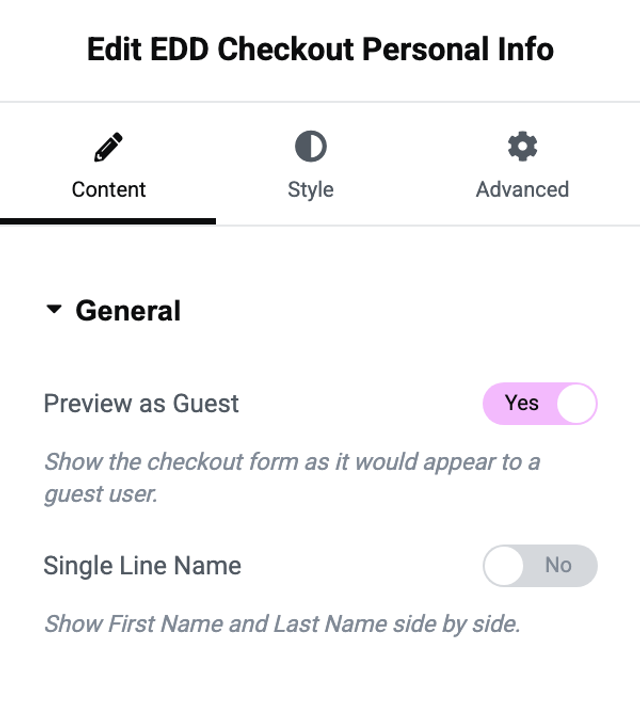
This widget covers the name and email fields, plus the log in and register links. Its Content tab includes Preview as Guest, Account Alignment, and a Single Line Name option that puts first and last name on one row.
The Payment Info Widget
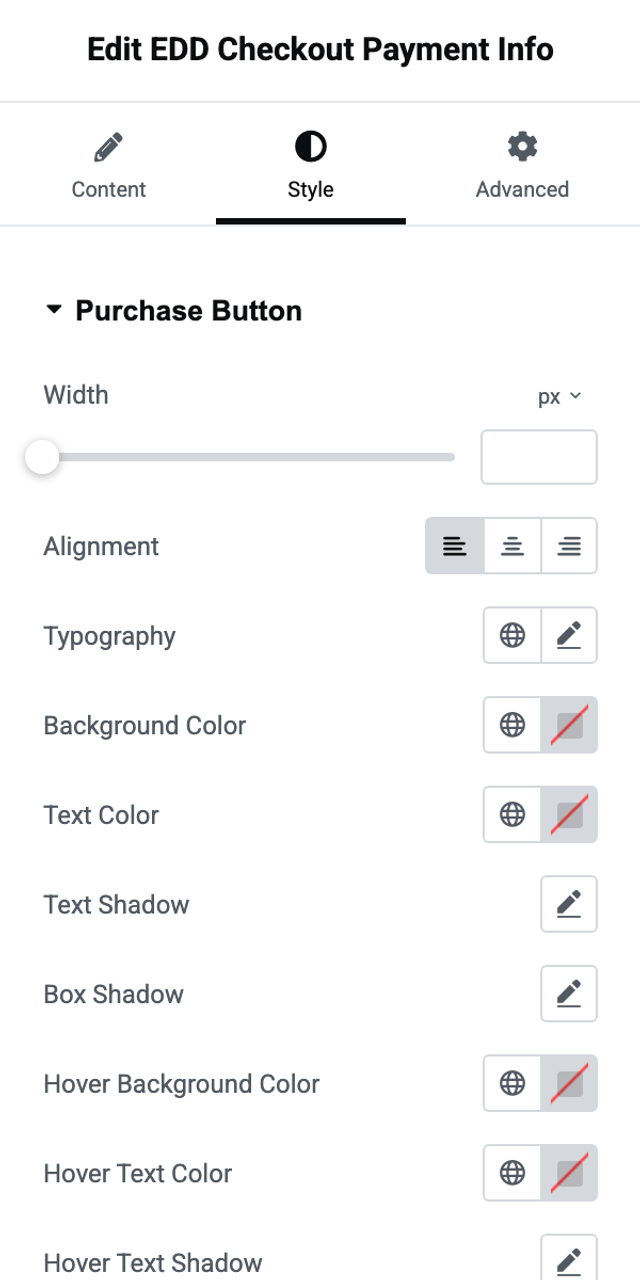
This one owns the payment area. Its Style tab groups controls into Purchase Button, Gateway Selector, Payment Method, and Card Details, so the button your customers click can be styled on its own.
The Discount Form Widget
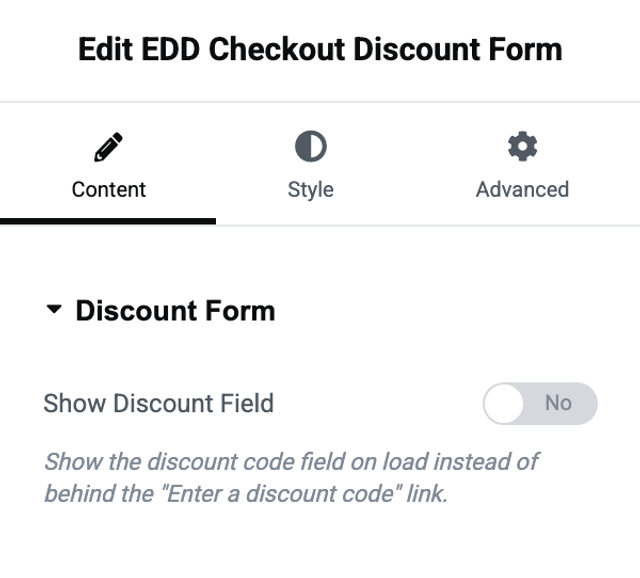
The discount form has a single content setting, Show Discount Field, and a deep Style tab covering the toggle link, the field itself, and the apply button.
Rearranging Your Checkout
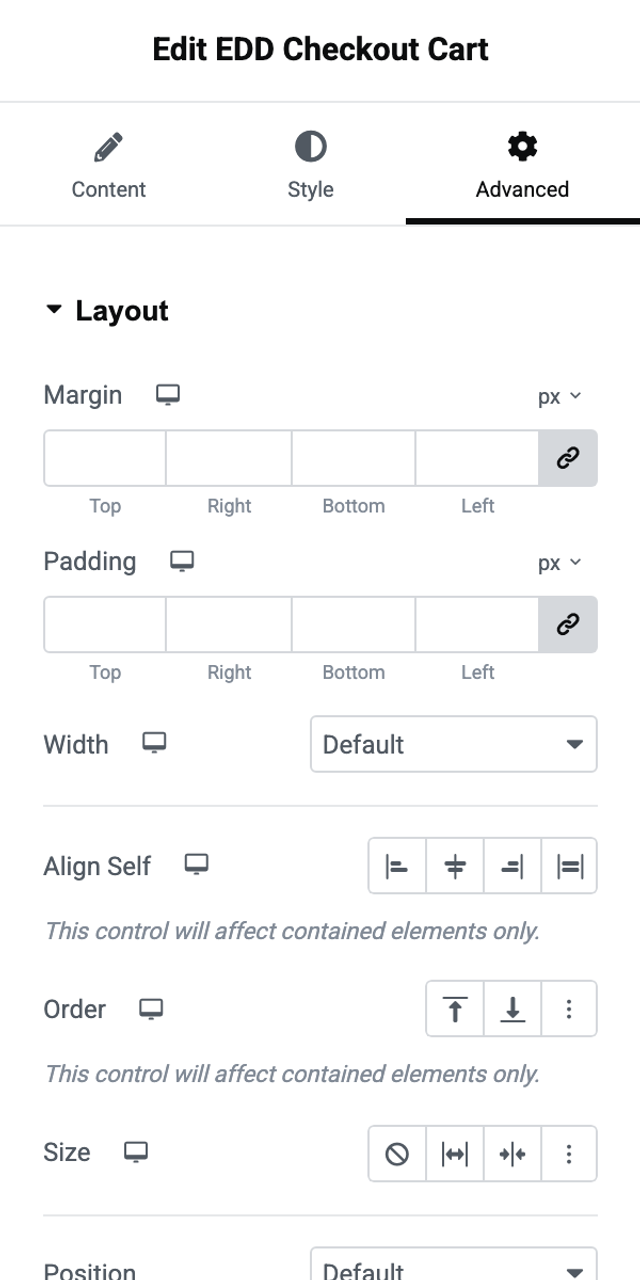
Because each part of the checkout is its own widget, you can change the order things appear in. Select a widget, open the Advanced tab, then open Layout. The Order control moves that element to the start or the end of its container, and a custom option lets you set an exact position.
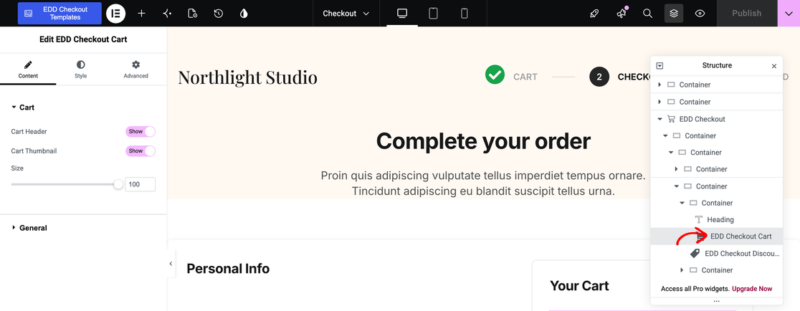
The quickest way to select the piece you want is Elementor’s Structure panel, which lists every element on the page. Selecting one there highlights it on the canvas and loads its settings.
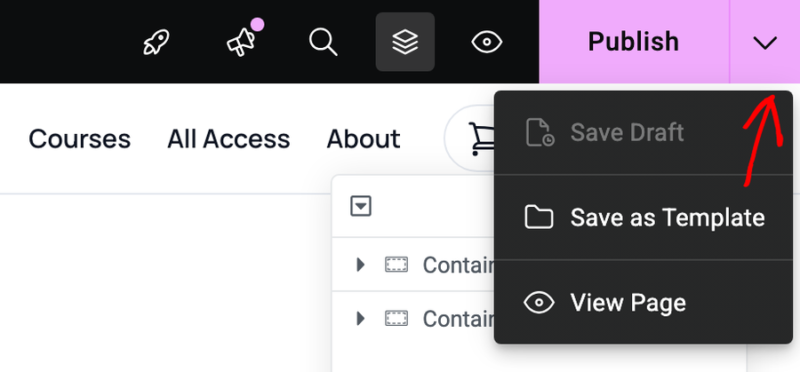
When you’re happy with the result, select the arrow beside Publish, then choose Save Draft, Save as Template, or View Page. Select Publish itself to make your changes live.
Troubleshooting
If you don’t see the EDD Checkout block or the widget settings described above, there are a few options to try.
The first is to verify whether the Elementor’s Flexbox Container experiment is turned on. From the Elementor » Editor » Settings » Features and make sure the Container option is set to Active.
Also, be sure to confirm that your Easy Digital Downloads plugin is up to date. Check for updates under Dashboard » Updates.
The individual checkout widgets and the layout picker need Easy Digital Downloads 3.7.0 or higher. Elementor’s own widgets need Elementor 3.35.0 or higher. Otherwise, you may see a widget named EDD Checkout (Legacy). It keeps working, and its settings sit together on one widget rather than being split across the four described above. Add the current EDD Checkout widget to a page to move over to the newer settings.
For anything specific to Elementor’s own controls, the Elementor widget knowledge base covers them in detail.
FAQs: Customizing EDD Checkout With Elementor
Here are answers to some common questions about customizing the EDD checkout in Elementor.
Do I need the paid version of Elementor?
No. The free Elementor plugin is enough for the EDD Checkout widget and all of the settings covered here.
Why can’t I find the cart or discount form in the elements panel?
Those four widgets are not added by hand. They come as part of the EDD Checkout widget, so you reach their settings by selecting them on the page rather than dragging them in.
Will switching the checkout layout undo my styling?
It can. Elementor warns that switching layout replaces all widget contents, so choose your layout first and style it afterwards.
Can I change the order of the checkout sections?
Yes. Select the widget you want to move, then use the Order control on the Advanced tab under Layout.
Does the checkout still work without Elementor?
Yes. The EDD Checkout block handles your checkout on its own, and its settings are available to every user. Elementor adds design control on top of it.