Do you want to learn how to integrate ClickBank with WordPress?
Integrating ClickBank with your WordPress eCommerce website can help you maximize visibility and profits. You can leverage the powerful customization features of WordPress with the reach of ClickBank to promote your digital products and boost your success.
🔎 In this article, we’ll cover:
Overview of ClickBank & WordPress for eCommerce
Before getting into why you might integrate ClickBank with WordPress, I first want to introduce each platform. While both are used for eCommerce, there are some key differences. Understanding their individual advantages and use cases can help you better understand the power of combining them.
Using ClickBank for eCommerce
If you’re unfamiliar, ClickBank is an online marketplace that allows digital content creators to help sell their products and services to a global audience. It’s also a popular tool for affiliate marketing.

The ClickBank Marketplace provides various ways for online retailers to create and/or promote products and provide info about their offerings. It supports a handful of payment options such as credit cards and PayPal. This makes it easy for customers worldwide to easily buy products.
In addition to sellers, ClickBank affiliates can promote products for commissions without worrying about inventory or packing/shipping product orders. Sellers can include promotional materials for affiliate programs, product information, and sales statistics. Then affiliates can use the marketplace to discover affiliate products they’re interested in promoting.
But to sell your products via ClickBank, you must have your own website with a registered domain name. You can’t use ClickBank for building a website or registering a domain. That’s where WordPress comes in.
Using WordPress for eCommerce
WordPress is a powerful and popular platform for eCommerce websites. You can use WordPress to create just about any type of website, including online stores.
One of the many benefits of using WordPress to start an online store is that it’s easy to use and customize. You can choose from thousands of themes, including templates designed for eCommerce.
You can also choose from a plethora of extensions that let you add new features and functionality to the core WordPress software. Known as plugins, these addons help with everything from marketing your products to increasing your search engine visibility.
It’s also incredibly easy to set up an online store via WordPress, even as a beginner. All you need is a domain name (your web address URL), an eCommerce plugin like Easy Digital Downloads (to add a shopping cart), and a quality web host (to store and secure your site files). If you don’t already have a WordPress website, I recommend using a SiteGround Managed EDD Hosting plan.
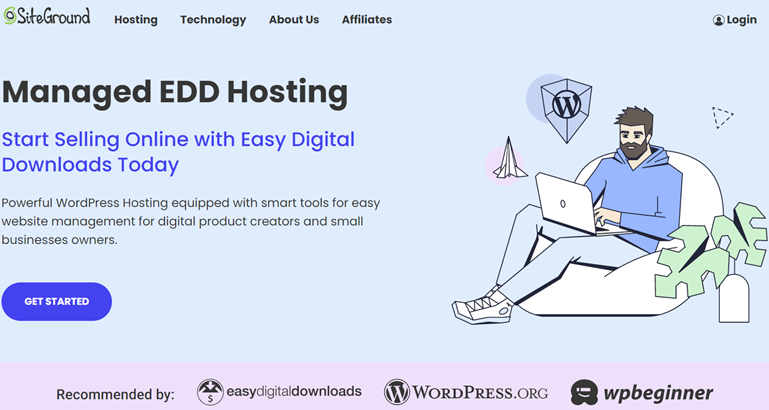
You get everything you need in one package. This includes a managed hosting plan, WordPress installation, free SSL, and a handful of eCommerce and growth tool plugins pre-installed. For instance, you get plugins for SEO, forms, analytics, and email marketing integrations. It’s the easiest way to start a WordPress eCommerce site. Learn more here.
Why Integrate ClickBank With WordPress?
There are many reasons to integrate ClickBank with WordPress. First, it’s a great way to combine the powers of each to easily expand your reach and increase sales.
Leverage the full functionality of EDD/WordPress to create and optimize your online storefront. You can use customization tools (including plugins and themes) to control how your products are presented.
Then you can connect the products in your store to those listed on ClickBank. Having access to ClickBank’s large network of affiliates allows you to generate more sales from your product offerings.
Using your WordPress theme of choice and unique product display, you can seamlessly create the pages required by ClickBank. This makes promoting ClickBank products simple.
How to Integrate ClickBank With WordPress
Ready to learn how to integrate ClickBank with WordPress? In this step-by-step tutorial, we’ll walk you through the process:
- Create Your ClickBank Account
- Get Easy Digital Downloads
- Install the ClickBank Gateway Extension
- Add Your Products
Step 1: Create Your ClickBank Account
If you’re already a ClickBank user, feel free to skip this step. Otherwise, the first step is to create a ClickBank account to list your products.
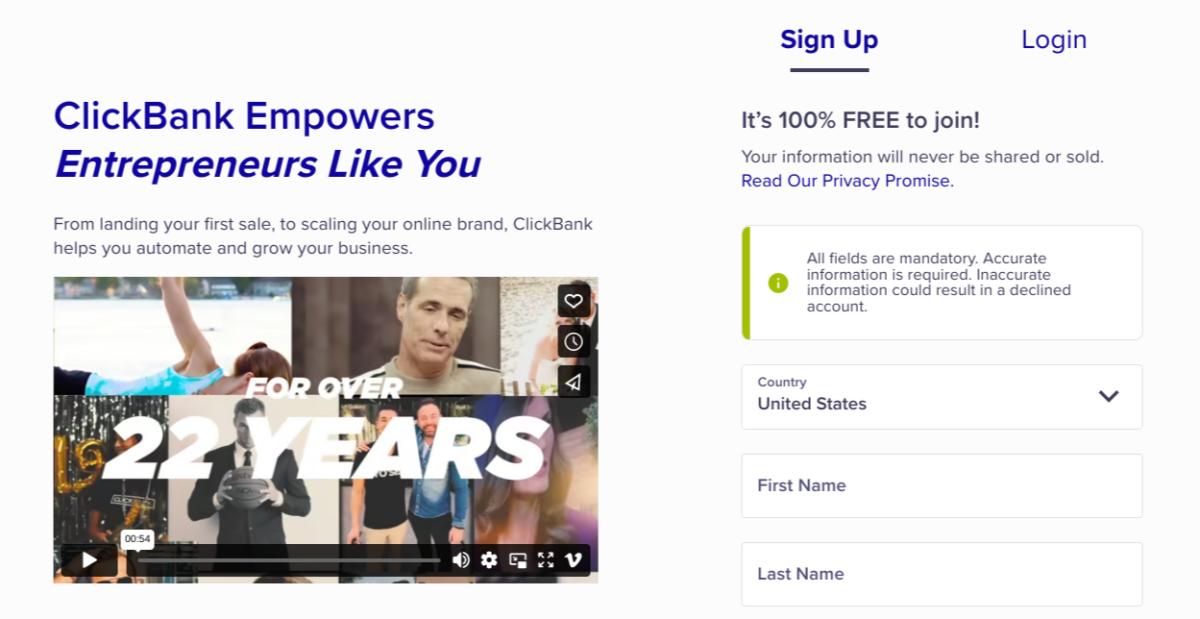
ClickBank is free to join. You can visit the signup page to create your account:
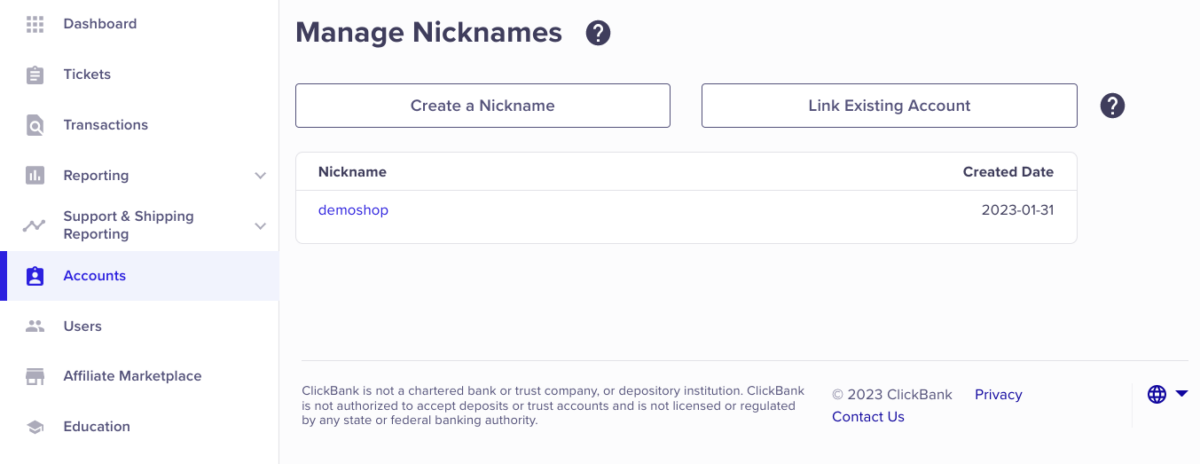
Once you create your account, you’re prompted to give your shop a nickname. Then you can choose the type of account (seller, affiliate, combination, etc.):
Next, you’ll want to create a ClickBank Secret Key. From your ClickBank account, go to the top right navigation and click on Vendor Settings » My Site:

Scroll to the bottom of the page. Locate the Advanced Tools box, then click Edit in the top right-hand corner:

Enter a Secret Key in the respective text field. Note: It must be all uppercase and contain fewer than 16 characters:

When you’re done, click on Save Changes.
Step 2: Get Easy Digital Downloads
The next step is to install and activate the Easy Digital Downloads (EDD) plugin:
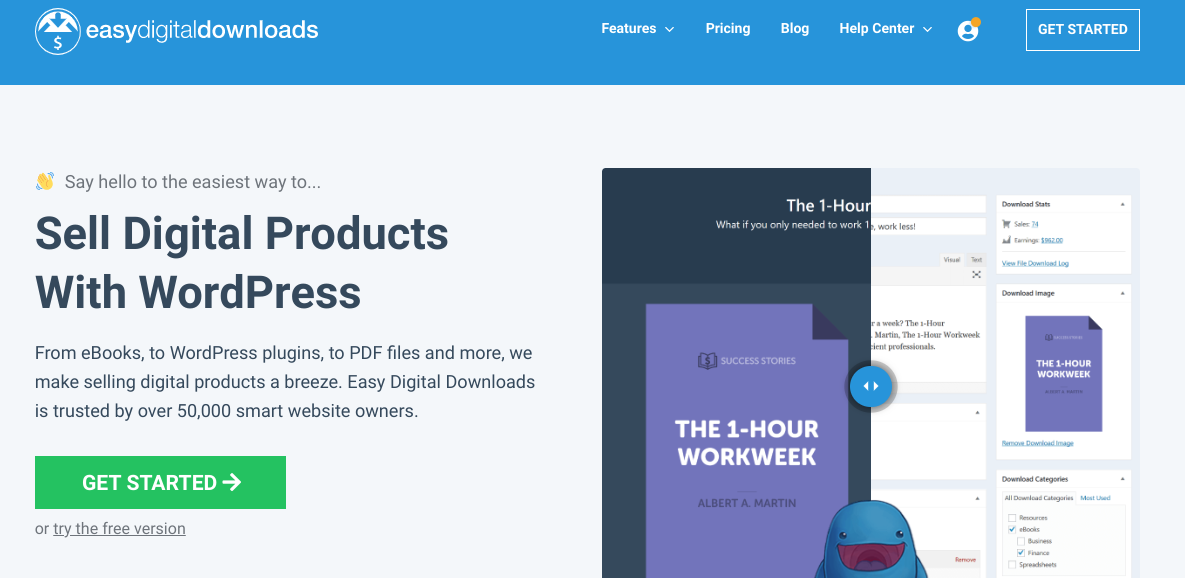
This WooCommerce alternative is the best WordPress plugin for selling digital products. If you only have the free version of Easy Digital Downloads installed, you’ll want to upgrade to a pro version.
This lets you access the ClickBank Gateway extension and many other advanced features. For instance, if you want to start a membership site, you can find membership plugins and tools for boosting subscribers.
I recommend grabbing an Extended pass or higher from the EDD pricing page.
eCommerce without limits!
That is our promise. Most eCommerce solutions limit your creativity
…not Easy Digital Downloads!
Once you have your pass, you can install the Easy Digital Downloads Pro plugin. Visit your EDD account dashboard. Next, under the File Downloads tab, click on Get Easy Digital Downloads:
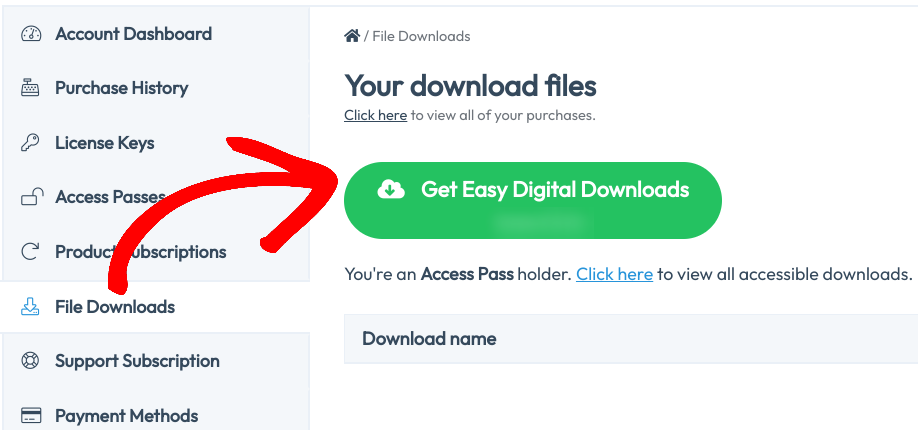
The plugin zip file will download. Next, go to your WordPress dashboard. Then go to Plugins » Add New » Upload Plugin » Choose File:
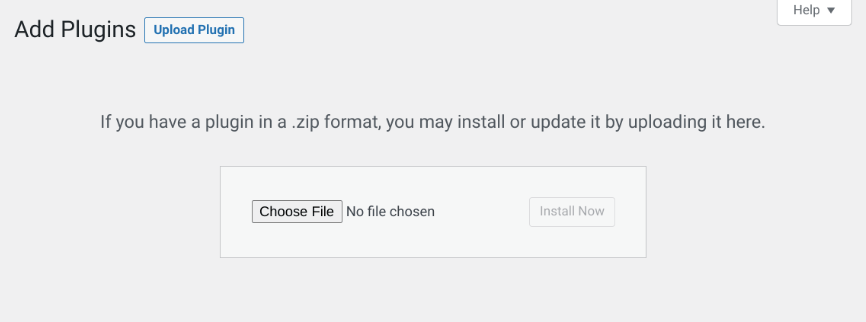
Select the EDD plugin. Then click on the Install Now and Activate Plugin buttons. If you need help with this process, use WPBeginner’s great guide on installing WordPress plugins.
Upon activation, a new Downloads menu item appears on your WordPress admin dashboard:
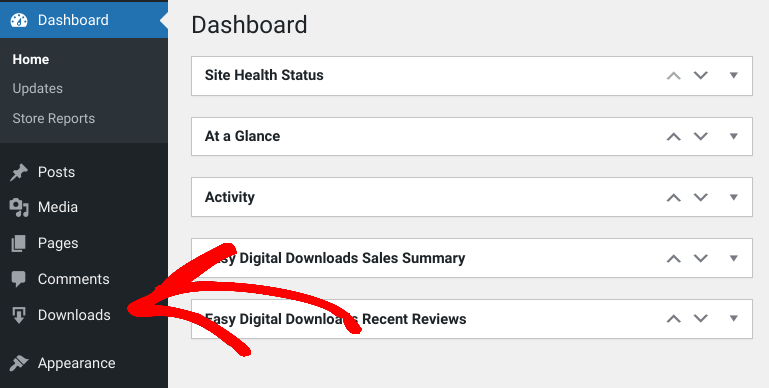
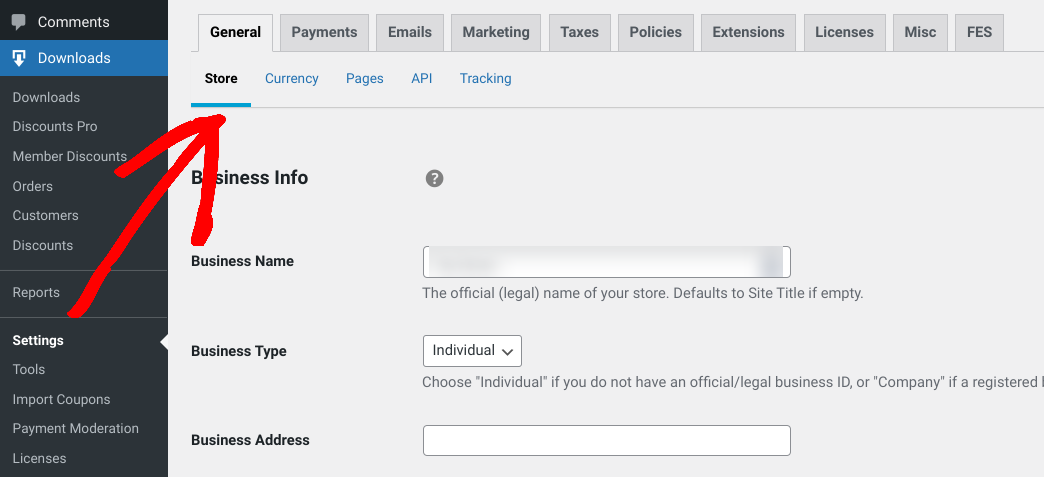
You can find the EDD store and EDD settings under Downloads » Settings. For instance, under the General tab, you can enter your online business info, choose a currency, etc.:
Another important step is choosing a high-quality WordPress theme (Appearance » Themes). You can refer to these guides for help:
- WordPress Themes for Digital Stores
- Easy Digital Downloads Recommended Themes
- How to Create a Custom WordPress Theme
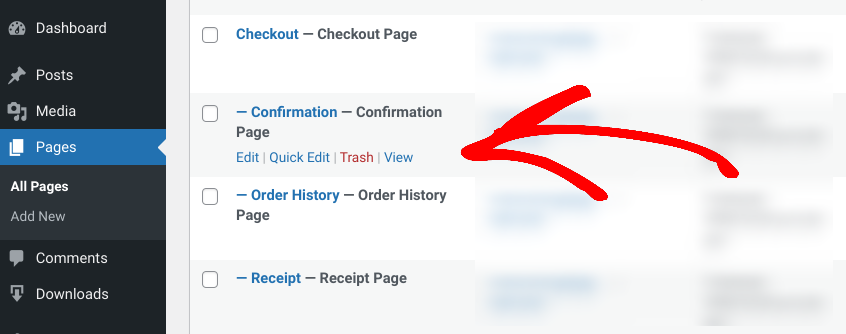
You’ll also need to locate and remember the purchase confirmation/thank you page URL. EDD automatically creates this page for you. To locate the exact URL, go to Pages, hover over Confirmation Page, then click View:
Step 3: Install Addon to Integrate ClickBank With WordPress
The next step is to install the EDD ClickBank Gateway extension. This EDD payment gateway add-on is ideal for ClickBank integration. It lets you connect your WordPress/EDD store with your ClickBank products.
Once a customer decides to buy a product from your EDD store, they’re brought to ClickBank to complete the checkout process. Note: This extension isn’t for hosting your EDD products on the ClickBank website. Rather, it gives your shoppers the ability to pay via ClickBank.
Visit the ClickBank Gateway extension page from your EDD account. Then select Download Now:
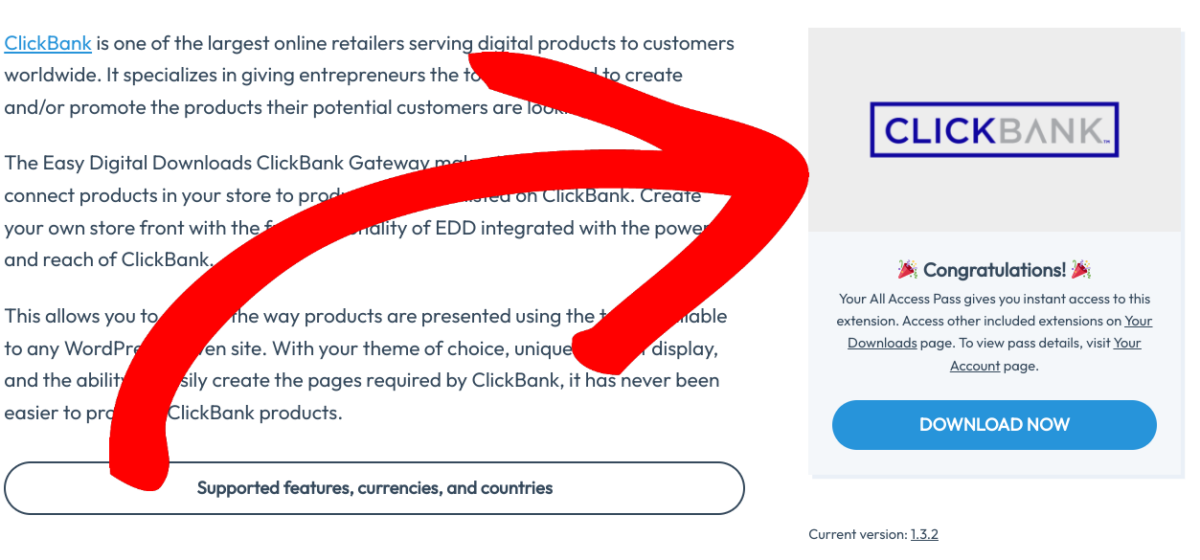
Once the zip file downloads, you can upload it to your WordPress site. Again, go to Plugins » Add New. Remember to activate it once it’s uploaded!
Now go to Downloads » Settings » Payment Gateways:
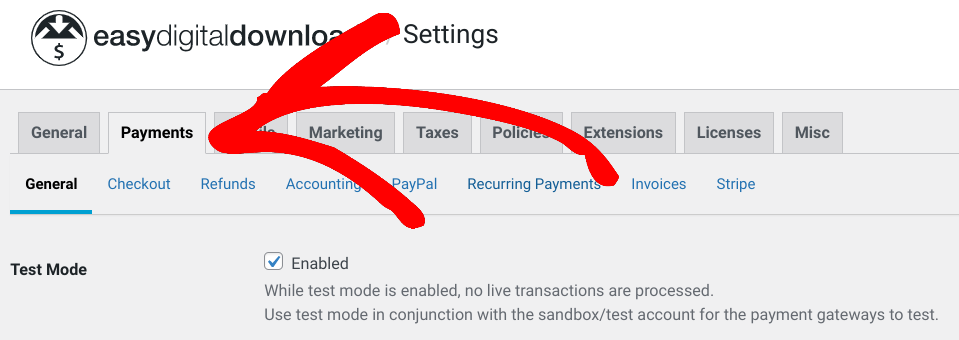
Under ClickBank Settings, you can enter the ClickBank nickname and Secret Key that you added when creating your account (Step 1):

When you’re done, click the Save Changes button at the bottom.
Step 4: Add Your Products to ClickBank & EDD
Finally, you can start adding your products to both WordPress and ClickBank.
Adding a Product to EDD
EDD calls any digital product added to WordPress a ‘download’. The pages that you create for these products are called ‘single product pages’.
To add a new one, go to Downloads » Add New from your WordPress dashboard:

On the single product page, you can add a name and description:
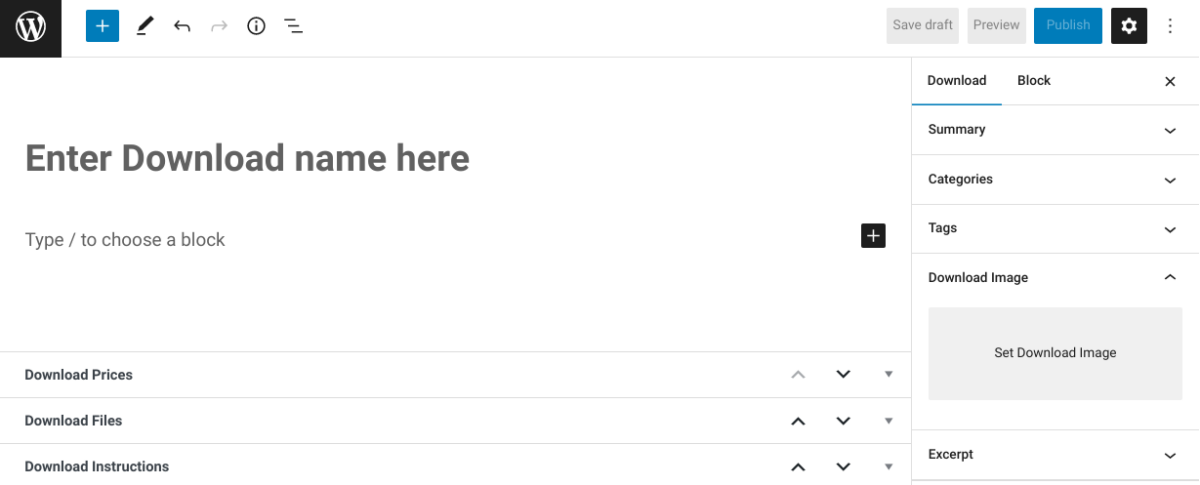
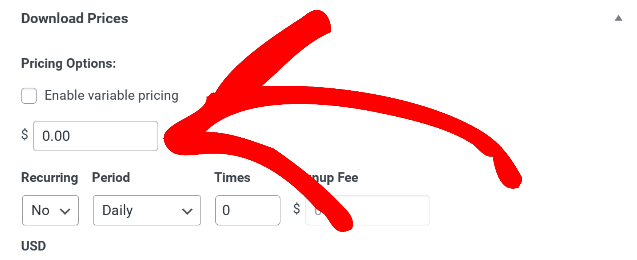
Go to Download Prices to enter a price or you can leave the value at “0”:
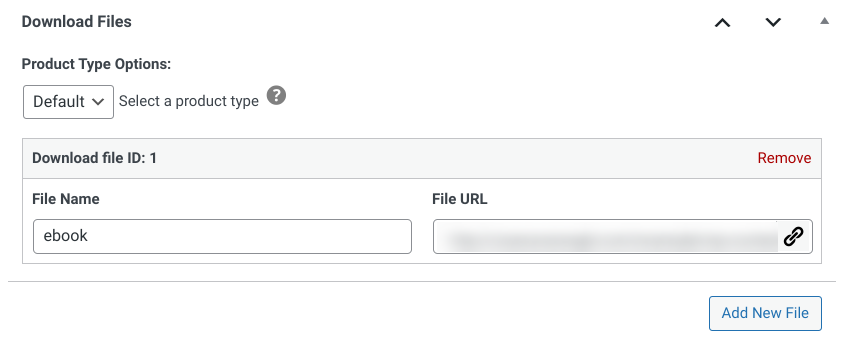
Next, in the Downloads Files section, you can enter a Filename. Then under File URL, select the link icon to upload a new file:
To the right, you’ll find other download settings, including the option to add an image. Under ClickBank Item Number, you can enter an ID that corresponds to a ClickBank product:

You can always come back to edit this later (once you create the product in ClickBank). Select Publish to push the EDD product/download live.
Adding Products to ClickBank
To add a ClickBank product, you can go to Vendor Settings » My Products:

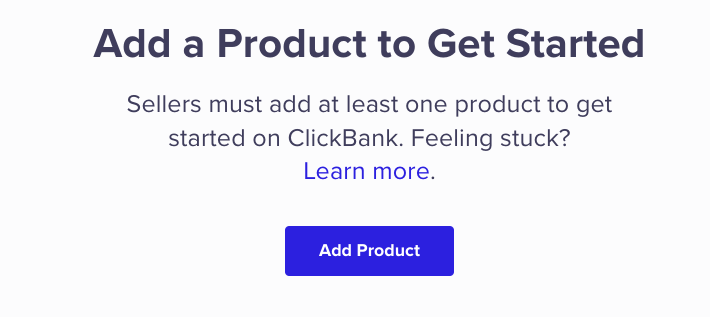
Scroll to the bottom and select Add Product:
Next, you can enter product details, including a title, ID number, and image:
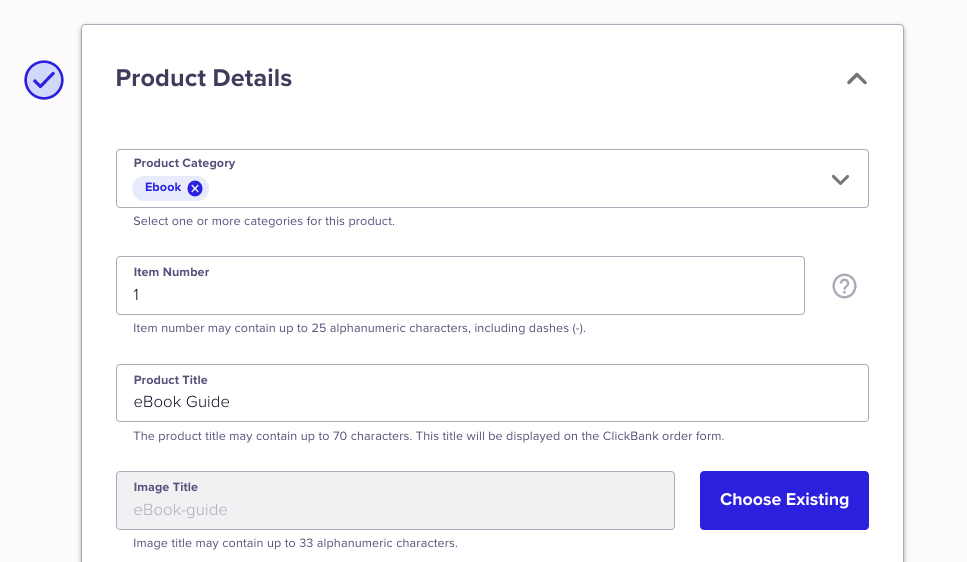
This ID number is what you’d enter in the ClickBank Item Number settings box on the EDD product page. In the next section, it asks for Pitch Page and Thank You Page URLs:
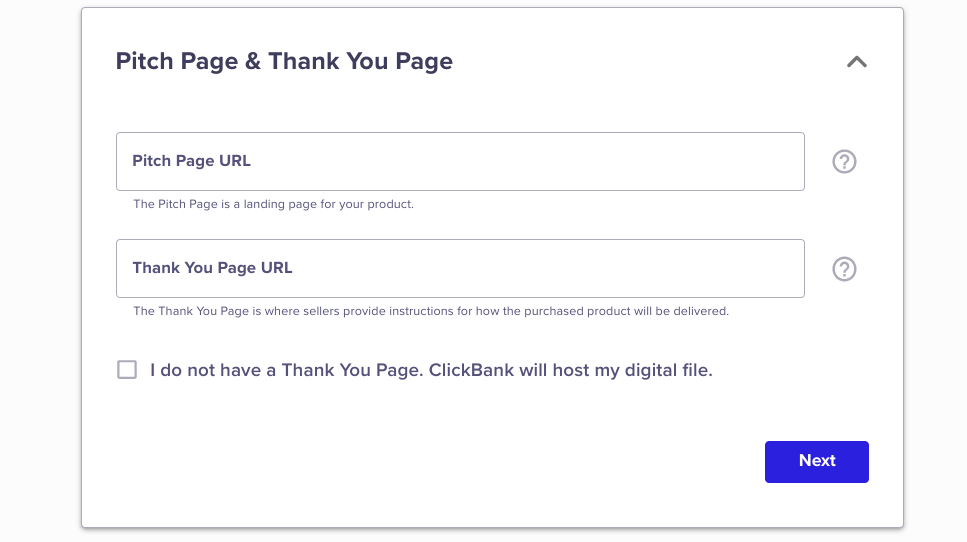
The Pitch Page is what Easy Digital Downloads calls the single product page. To retrieve the page URL from WordPress, go to Downloads » Downloads. Then hover over the product and click View.
After entering these URLs, click Next. Finally, you can enter a price, set affiliate commissions, and then agree to the terms of service. When you’re done, select Submit for Review.
That’s it!
Use EDD to Integrate ClickBank With WordPress
Both ClickBank and WordPress are powerful platforms for selling and promoting digital products. To make integrating the two quick and easy, you can use Easy Digital Downloads. Click below to get started!
eCommerce without limits!
That is our promise. Most eCommerce solutions limit your creativity
…not Easy Digital Downloads!
📣 P.S. Be sure to subscribe to our newsletter and follow us on Facebook or Twitter for more WordPress resources!
Using WordPress and want to get Easy Digital Downloads for free?
Enter the URL to your WordPress website to install.
Disclosure: Our content is reader-supported. This means if you click on some of our links, then we may earn a commission. We only recommend products that we believe will add value to our readers.