Are you trying to grow your email list and boost subscribers on your WordPress eCommerce store? One way is to add customers to Mailchimp at checkout.
As one of the most popular and powerful email marketing tools, Mailchimp can help increase signups for your newsletters. With Easy Digital Downloads, you can integrate Mailchimp with your online store so customers can easily opt-in to your newsletter during checkout.
🔎In this post, we’ll cover:
Why Use Mailchimp for WordPress eCommerce?
Mailchimp is an email marketing platform that lets you send automated emails and create and manage newsletters.

There are many reasons to use Mailchimp with your WordPress website to grow your eCommerce business. Thanks to Easy Digital Downloads, integrating the two is effortless.
You can combine the powerful eCommerce features of EDD with the email marketing tools of Mailchimp to optimize email campaign performance. You’ll be able to create and send automated emails based on customer behavior, such as when someone signs up for your newsletter or makes a purchase.
You can also:
- Target specific Mailchimp audiences with relevant content
- Track open rates
- Analyze performance metrics
- Monitor detailed reports and analytics
Using Mailchimp with WordPress helps boost subscribers from your eCommerce site. The EDD extension lets you add customers to Mailchimp during checkout with a single click.
How to Add Customers to Mailchimp at Checkout
Ready to start adding customers to Mailchimp during checkout? In this step-by-step tutorial, we’ll show you how to do so in WordPress in 3 steps:
- Install Easy Digital Downloads (EDD)
- Add the Mailchimp Extension
- Enable Settings to Add Customers to Mailchimp
Note: We’ll assume you already have a Mailchimp account. If not, you can sign up for a plan on their website. You’ll also want to have at least one email list (“Audience”) created.
Step 1: Install Easy Digital Downloads
Easy Digital Downloads (EDD) is a complete eCommerce solution for selling digital products and downloads:

It’s a popular WooCommerce alternative that is ideal if you offer eBooks, software, files, and other digital assets. You can connect it with Mailchimp and other online marketing automation tools.
To get started, select a plan from the EDD website. We recommend grabbing an EDD All Access Pass to get unlimited access to all tools, features, and add-ons.
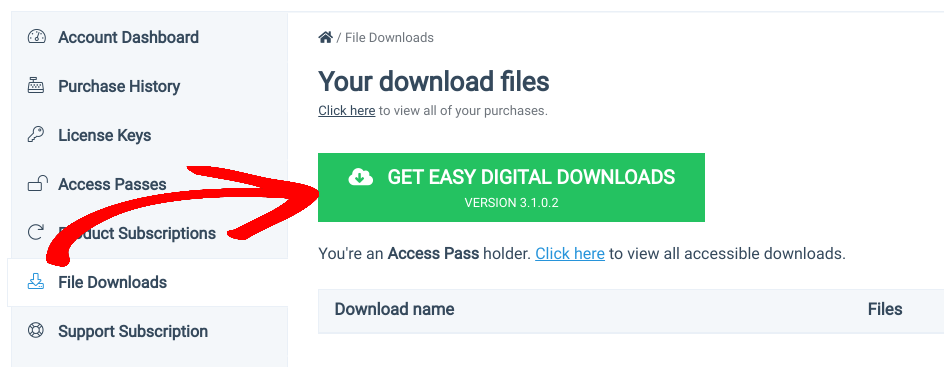
Next, from your account dashboard, you can download the EDD WordPress plugin under File Downloads:
Upload it to WordPress by going to Plugins » Add New » Upload Plugin » Choose File:
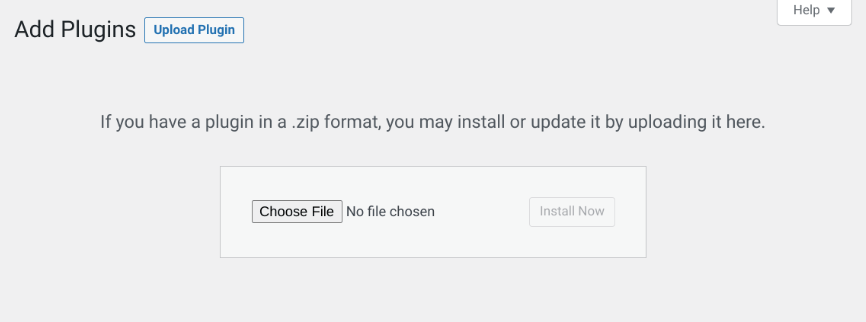
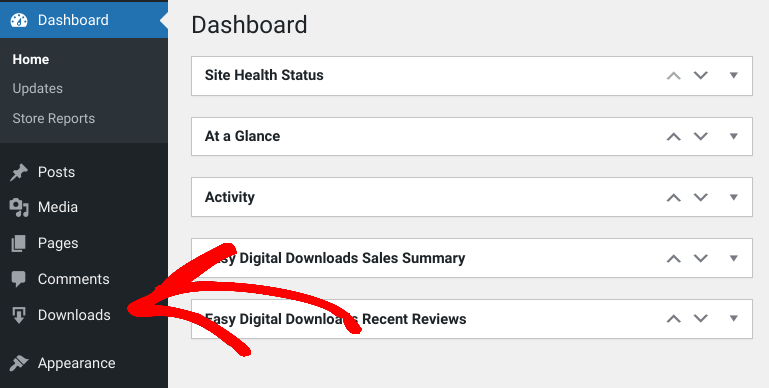
Select the EDD zip file, then install and activate the plugin. A Downloads menu item will appear on your admin dashboard:
A Checkout page is automatically created for you when you activate the plugin. You can find it under Pages » Checkout.
✅ You can find more guidance on getting your store up and running with these guides:
Step 2: Add the Mailchimp Extension
Next, we’re going to install the Mailchimp EDD extension. This addon lets you integrate your WordPress site with Mailchimp’s email marketing features.
You can automatically add customers to Mailchimp during checkout to grow your subscriber lists. It lets you leverage the Mailchimp eCommerce tracking tools, strategically segment your lists, and send purchase receipts.
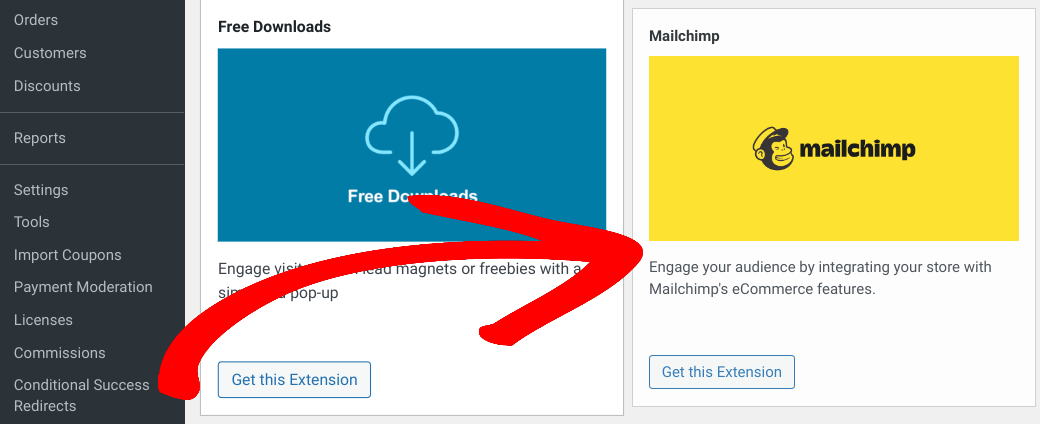
Navigate to Downloads » Extensions from your WordPress dashboard. Locate the Mailchimp plugin, then click Get this Extension:
On the addon page it brings you to, select the Download Now button:
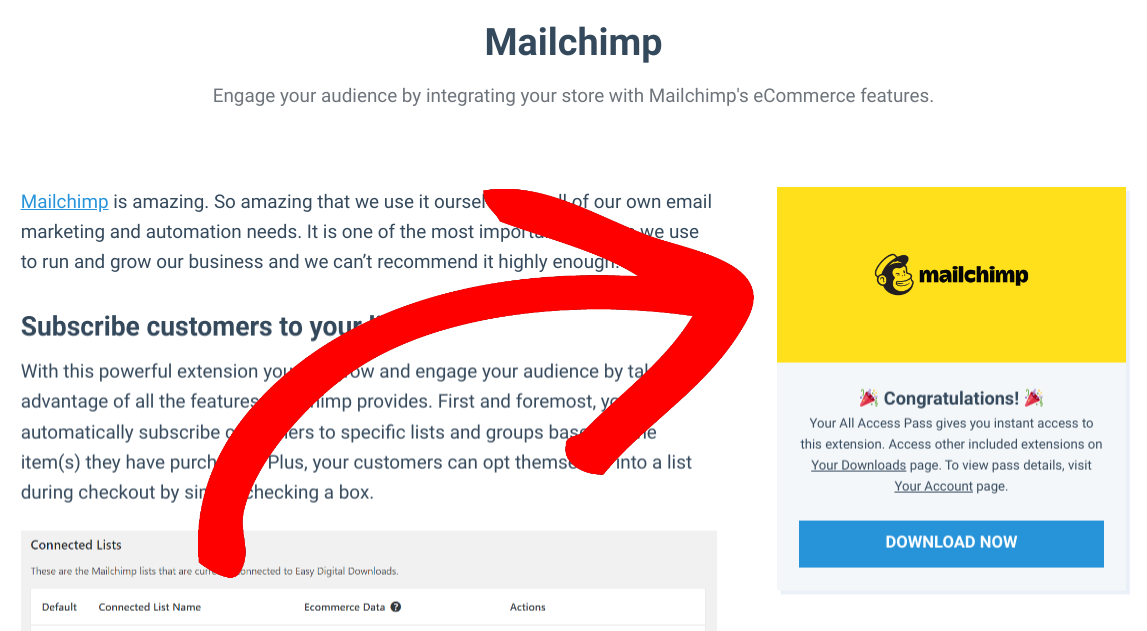
You can upload the extension to WordPress like any other plugin. Install and activate it.
Step 3: Enable Setting to Add Customers to Mailchimp
The last step of this process is to configure the Mailchimp extension settings. More specifically, you need to enable the option to add customers to Mailchimp on your WordPress checkout page.
From your WordPress admin area, go to Downloads » Settings » Marketing » Mailchimp:

On this settings page, you’ll need to enter your Mailchimp API key. You can get this from your Mailchimp account (Extras » API Keys & Authorized Apps » Add A Key):

After you paste the API key in the appropriate text field, select Save Changes. The plugin will populate the mailing lists (also referred to as Audiences) from your Mailchimp account.
Next, click the checkbox to enable Show Signup On Checkout:

This setting enables the functionality to add customers to Mailchimp during checkout in WordPress. You can set it so the box is selected by default or leave the decision to opt-in to your customers.
You can add custom text in the Checkout Label field. Otherwise, the default will be “Signup for the newsletter”.

Additional settings include:
- Double Opt-In – You can enable this option if you want to send a verification email to new customers before subscribing them to your list
- Replace Interests – This feature helps you target emails to specific customers based on their purchases and interests
Under Available Lists, you can select the Mailchimp list(s) you want to connect to your checkout:
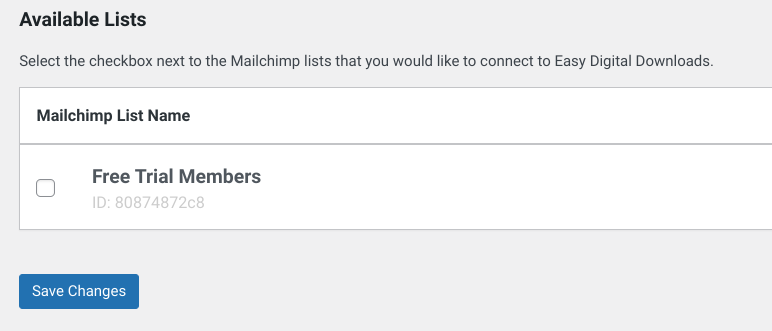
When you’re done, click on the Save Changes button.
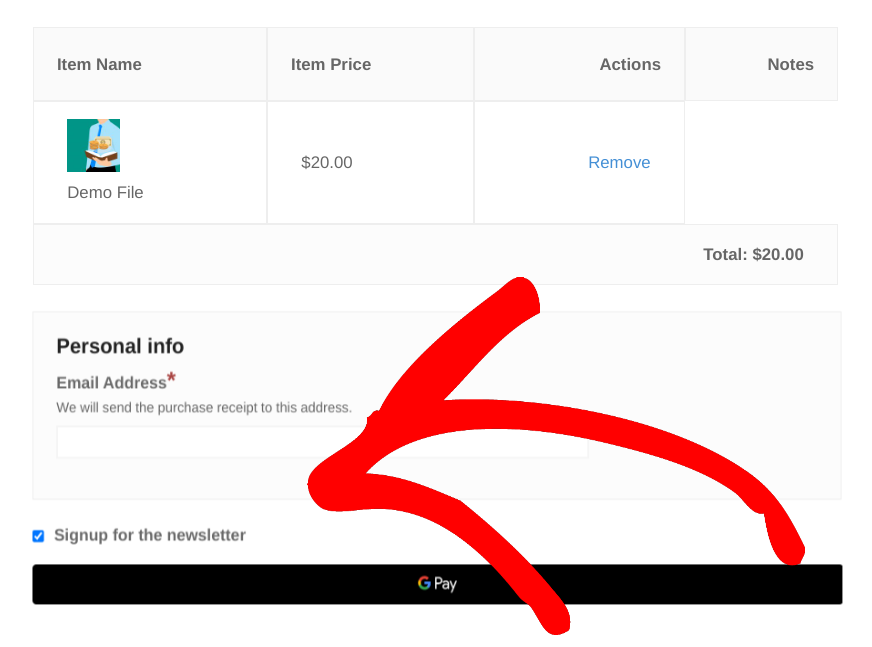
That’s it! Now when you go to your checkout page from the front end of your eCommerce site, you should see the option to add customers to Mailchimp. Your customers will see a newsletter opt-in checkbox like the one in this screenshot:
⚙️If you want more guidance on configuring and using the Mailchimp addon, refer to our setup documentation.
Grow Your Email List With Mailchimp + EDD
Email marketing is a simple yet effective way to help grow our audience and drive traffic to your eCommerce site. If you’re using WordPress, you can use Easy Digital Downloads to add customers to Mailchimp during checkout. It really doesn’t get any easier!
Download Easy Digital Downloads and the Mailchimp extension today to start growing your subscriber list. Interested in integrating WordPress with a different email marketing service?
💡Check out how to add customers to:
📍Be sure to subscribe to our newsletter and follow us on Facebook or Twitter for more WordPress resources!
Using WordPress and want to get Easy Digital Downloads for free?
Enter the URL to your WordPress website to install.
Disclosure: Our content is reader-supported. This means if you click on some of our links, then we may earn a commission. We only recommend products that we believe will add value to our readers.