Are you interested in building a WordPress eCommerce website?
Whether starting a new online shop or expanding an existing business, WordPress is a powerful, cost-effective solution
If you’re looking for a beginner-friendly tutorial on how to make an eCommerce website with WordPress, you’ve come to the right place.
🔎 In this article, I’ll cover:
Why Build an eCommerce Site With WordPress?
WordPress is a flexible and popular content management system (CMS). In fact, it powers over 43% of all websites! While many know it as a blogging platform, it’s also ideal for creating eCommerce stores.
Other solutions, such as online marketplaces and SaaS platforms, typically charge high fees. Plus, they are limited in customizations, direct communications with customers, and pricing options.
Self-hosted WordPress.org sites give you the highest level of control and profitability.
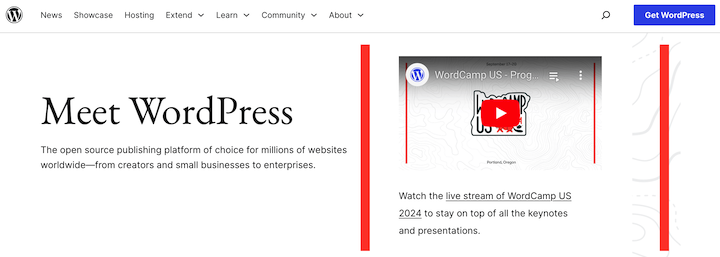
Because it’s open-source, WordPress is free to use. It’s also known for its straightforward interface. It makes it easy for beginners to navigate and manage their stores without extensive technical knowledge.
WordPress offers a vast library of plugins you can use to extend its functionality. This plethora of add-ons helps cater to various eCommerce needs. You can easily add features like additional payment gateways, email marketing integrations, and customer support tools to your store.
WordPress is built with SEO in mind, ensuring your website is optimized for search engines. This helps you reach a wider audience and drive more organic traffic.
Finally, WordPress has a large and active community. There’s a seemingly infinite amount of resources, tutorials, and support available for troubleshooting and learning. If you face any challenges, you can find assistance from other WordPress users or experts.
🔎 Learn more about the pros and cons of using WordPress for eCommerce.
WordPress eCommerce Website Costs
When launching a store, it’s important to consider costs. WordPress is free. But there are other expenses to factor in. Here’s a breakdown of the average costs for a WordPress eCommerce website.
Initial Setup Costs ⚙️
| Hosting | Domain Name | Theme | Plugins |
|---|---|---|---|
| A reliable hosting provider is crucial for performance and security. Costs typically range from about $3 to $15 per month, depending on the provider and features. | A domain name is your website’s unique address. Prices typically range from $10 to $20 per year. Your web host may include domain registration with your plan. | Free themes are available. Premium ones offer more customization and advanced features. They cost anywhere from $50 to $200. | Depending on your specific needs, you may require other plugins for tasks like SEO, security, or social integration. These can range from free to $100 or more. |
Ongoing Costs 🔌
| Host/domain | Premium updates | Marketing | Transaction fees |
|---|---|---|---|
| You’ll need to renew your hosting plan annually or monthly, depending on your provider. Domain names are renewed annually. | Some premium plugins and themes require annual or monthly subscriptions for updates and support. | Promoting your store through content, social, and email marketing, or paid advertising can incur additional costs. | Payment gateways like PayPal or Stripe charge transaction fees. Some eCommerce solutions, like EDD Pro, eliminate these fees. |
The total cost of creating and managing a WordPress site can vary depending on your specific needs and the features you choose. Generally, expect to spend between $100 to $500 for the initial setup and $20 to $100 per month for ongoing costs.
How to Make a WordPress eCommerce Website
Now let’s get into the step-by-step guide on how to create a WordPress eCommerce website.
1. Get Your Hosting and Domain
Before building your WordPress eCommerce website, secure a hosting plan and a domain name.
Choosing a WordPress Hosting Provider
Web servers are important. They are the infrastructure powering your site. Your host influences your site speed, security, and performance. If you’re new to website management, consider managed WordPress hosting, which handles technical aspects like updates and security.
Look for hosting providers that offer WordPress hosting and support eCommerce functionalities. Compare different hosting providers based on features, pricing plans, and customer support.
I recommend SiteGround Managed hosting plans.
They come with everything you need to start a store. This includes one-click WordPress and Easy Digital Downloads installs, free SSL certificates, built-in SuperCacher for lightning-fast loading times, and more.
🔎 Check out the best WordPress hosting for eCommerce for more options.
Purchasing a Domain Name
When choosing a domain, select one that is memorable, easy to spell and pronounce, and relevant to your business or website’s purpose. Avoid using hyphens or numbers; they can make your domain name more difficult to remember and type.
It’s also important to choose a domain name extension appropriate for your website, such as .com, .net, or .org. Once you register a domain name, it’s yours for a year. But you’ll need to renew it annually to keep it active.
There are a handful of options for where to get one. A domain registrar is a company that sells and manages domain names. Popular options include GoDaddy and Namecheap.
Check with your web host as some include domain registration services with their plans. You’ll need to search for an available domain, then complete the steps to purchase and register it.
2. Install WordPress
The next step is to download WordPress, the free and open-source CMS that allows you to create and manage a website. This process varies by host.
Your first option is a one-click installation. Most hosting providers offer a one-click WordPress installation process. Follow the instructions provided by your hosting provider to install WordPress on your domain.
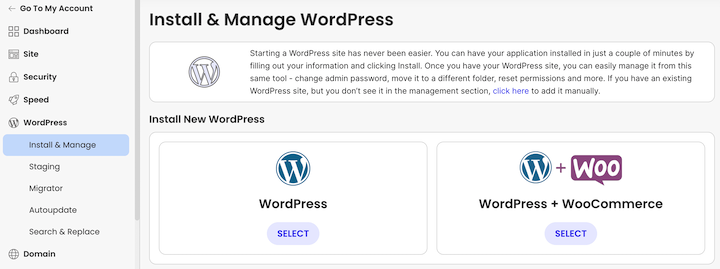
The second option is manual installation. If your web hosting provider doesn’t offer one-click installation, you can manually install WordPress by following the official WordPress installation guide.
Once WordPress is installed, you can access your WordPress dashboard, or admin area. It’s where you can start customizing your website and setting up your store.
3. Configure Your eCommerce Plugin
WordPress doesn’t come with eCommerce functionality out of the box. To create a store capable of accepting credit card payments, you need an eCommerce plugin.
There are several to choose from. The best eCommerce plugin depends on factors like what you’re selling (digital versus physical products), your budget, and whether you want a full shopping cart system.
For digital products, use Easy Digital Downloads (EDD).
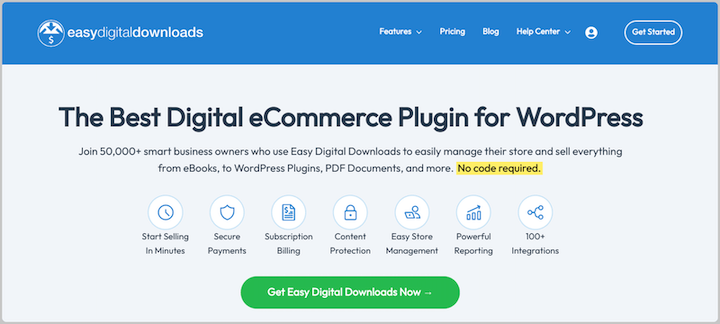
To sell physical ones, WooCommerce is a popular choice. Learn more about Easy Digital Downloads vs WooCommerce.
To install the plugin, go to Plugins » Add New Plugin from your WordPress dashboard. Enter the plugin name in the search field to locate it.
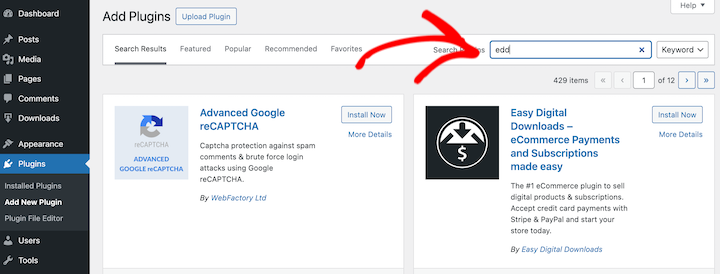
Using a premium eCommerce plugin? You’ll likely download the plugin as a .zip file after completing your transaction. Go to Upload Plugin » Choose File and select the zip file.

Next, click on Install Now followed by Activate Plugin.
4. Set Up Your Online Store
Once you install and activate your eCommerce plugin, you can begin setting up your store.
I’ll be using the EDD plugin to create a WordPress site for selling digital files. The following step-by-step instructions for configuring your store may vary if you’re using a different plugin. However, the general process will be similar.
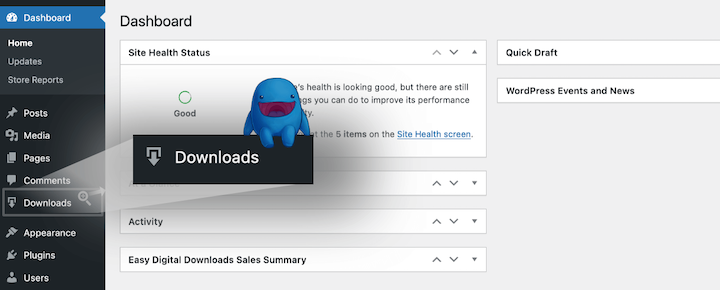
Once activated, the EDD plugin adds a Downloads menu item to your WordPress admin area.
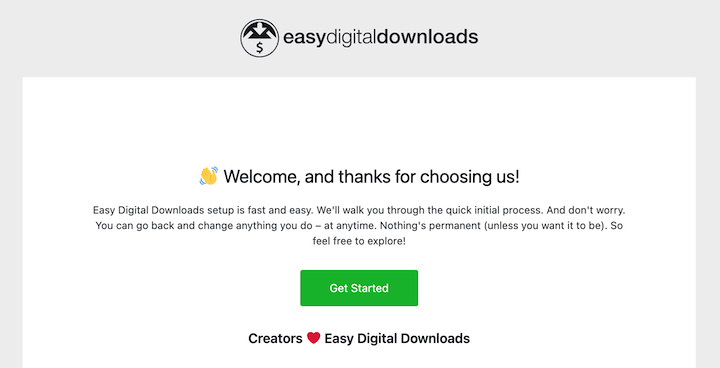
You can click on the Get Started button shown on the welcome screen to launch the setup wizard.
Alternatively, you can go to Downloads » Settings.
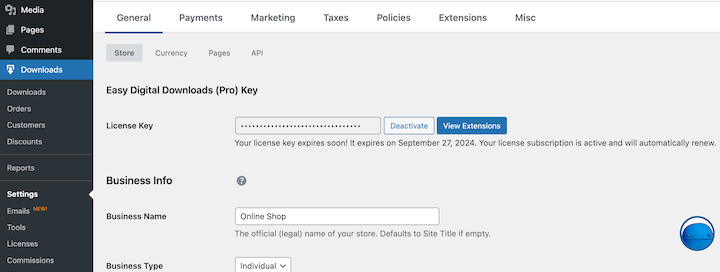
Under General, enter your business details, location currency, etc.
The General Settings area of the Easy Digital Downloads plugin allows you to configure basic settings for your store. These settings include:
- Store name and address.
- Email address and phone number of your business.
- The preferred currency that you will use for transactions.
- Tax rates you will charge customers.
Payment Gateways
A payment gateway serves as a bridge between your eCommerce store and payment processors, facilitating secure online transactions. In other words, it allows your customers to make seamless and safe transactions online.
I recommend Stripe for its array of payment options, global reach, and robust security features. PayPal is a solid alternative.
To integrate Stripe with Easy Digital Downloads, go to the Downloads » Settings » Payments tab. Select Stripe from the available gateways.
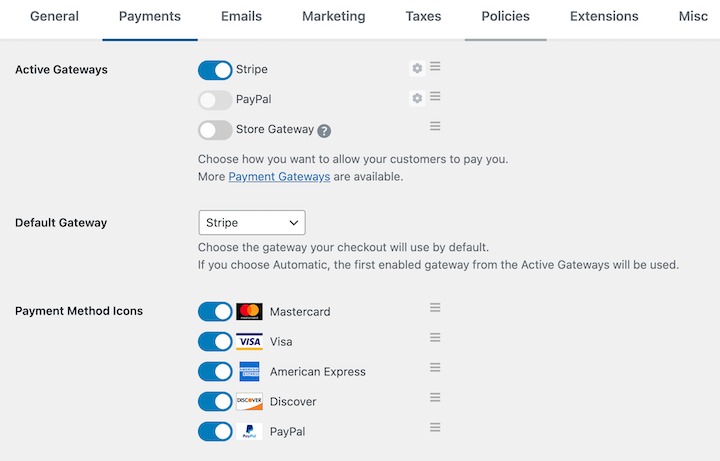
Then under the Stripe tab, click Connect with Stripe.
Follow the on-screen instructions to authorize your Stripe account. Once connected, customers will be presented with Stripe’s secure payment form during checkout, ensuring a smooth and secure payment experience.
Additional Settings
There is a wide range of other settings you can configure for your WordPress eCommerce website. For guidance, visit our documentation EDD Quickstart Guide.
5. Add Your Products
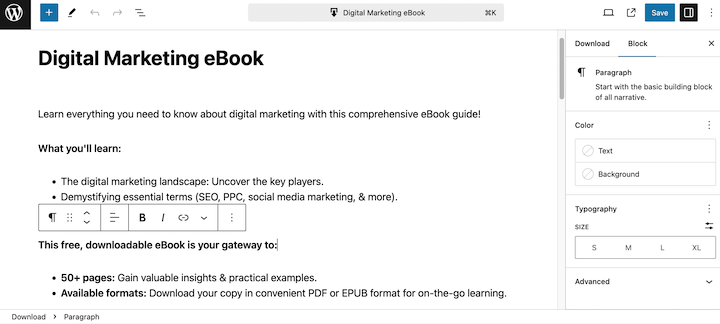
Create product listings for your products, including product titles, descriptions, pricing, and file downloads.
To add new products, from your WordPress dashboard, go to Downloads » Add New.
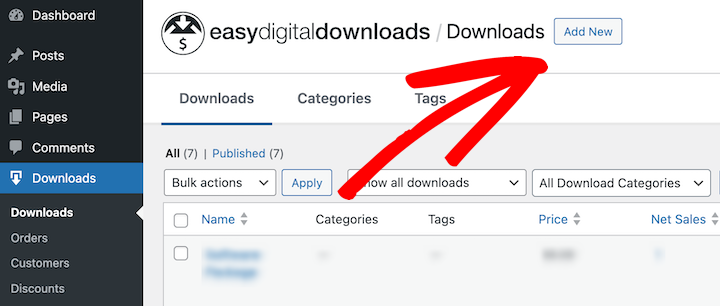
On the Add New Download page, you can create your product page for what you’re selling.
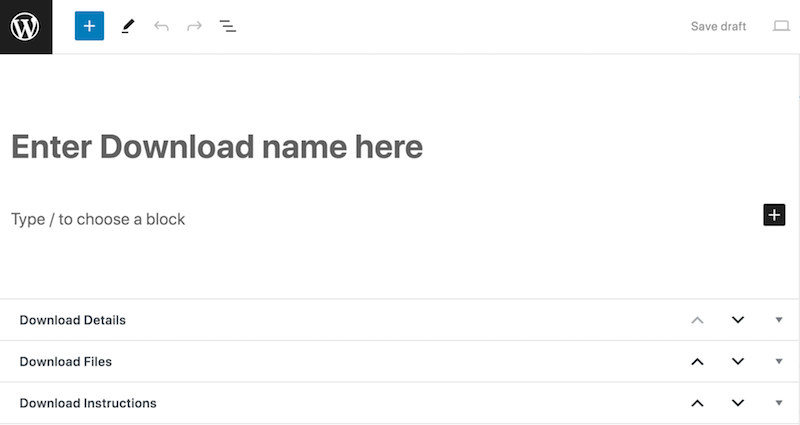
There’s a ton of information you can add. Let’s take a look at the most important areas.
Product Name
This should be clear and descriptive so that customers know what they are purchasing. Use a keyword-rich name to help customers find your product when searching.
Detailed Product Description
This is your chance to sell customers on your product and convince them to buy. Use clear and concise language to describe your product’s features and benefits. Avoid using jargon or technical terms that customers may not understand.
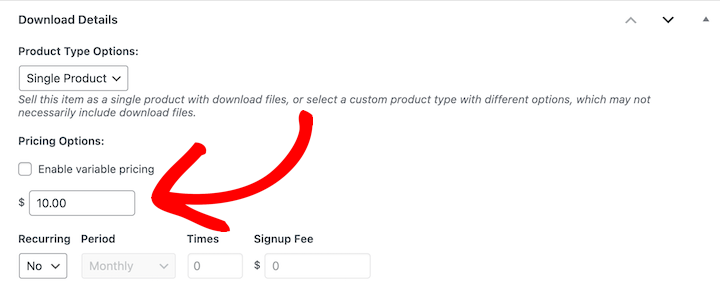
Product Pricing
Easy Digital Downloads supports a variety of pricing settings, so you can offer your product at a fixed price, a variable price, or even for free. You can also use the Recurring Payments add-on to offer subscriptions. Consider your product’s value and the prices of similar products when setting your price.
Download Files
If you’re selling physical products and, therefore, using a plugin like WooCommerce, you’d skip this step. Instead, this is probably the point where you’d configure inventory and shipping details.
But if you’re selling digital products like I am for this example, the Download Files section is where you add the file(s) that customers are paying to download.

The type of file depends on what you’re selling. For instance, you can use .doc, PDFs, .epub, etc. Make sure your file is in a format that is compatible with the devices that your customers will be using. I recommend selling zip files.
The File Name will be used as the clickable link text for users to download the file. In this case, I’ll use ‘Download eBook’. Click the link icon under File URL to upload your file(s).
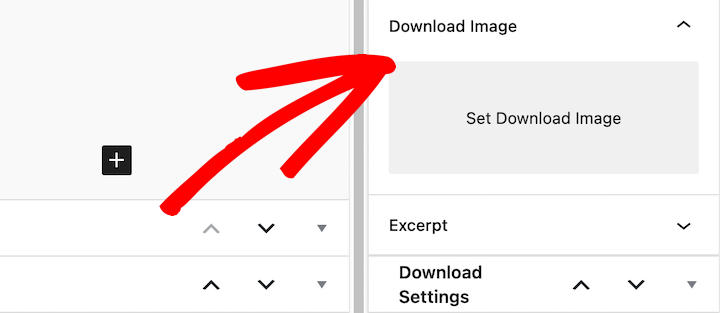
Download Image
Finally, choose a feature image that represents your product. This image will be displayed on your product’s download page and in your store’s product listings. Use a high-quality image that is both optimized and engaging.
Once you have entered all of the necessary information, click the Publish button to create your new product.
Repeat this for as many products as you want to add to your eCommerce website.
6. Choose and Customize Your Theme
If you haven’t already, you’ll also want to choose and customize your theme. Your WordPress theme and web design determine the overall look and feel of your store.
There are so many options available, both free and paid. Browse the WordPress Theme Directory or explore premium theme marketplaces to find a theme that suits your needs.
I recommend focusing on themes for eCommerce stores specifically. For instance, EDD has two themes, Themedd and Vendd, that are purpose-built for digital download stores.
Choose a theme that is compatible with the features you’re looking for and aligns with your brand’s aesthetic.
To browse and add themes, go to Appearance » Themes » Add New Theme from your admin area.

Use the Feature Filter to narrow your search. For instance, you can apply the E-Commerce filter.
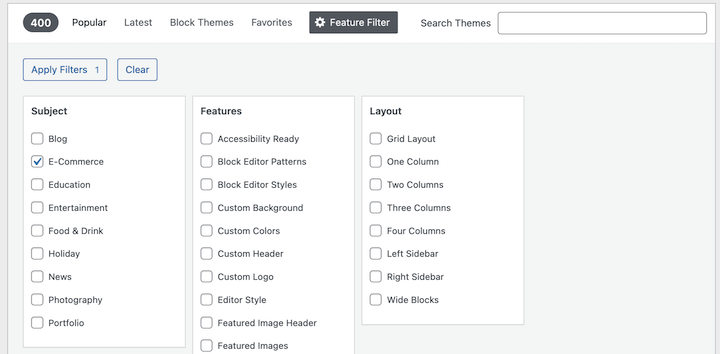
When you hover over an option, you can select Preview or Install. Once activated, hover your mouse over the theme and select Customize.
Then you can modify the typography, colors, layouts, and other elements.
7. Preview/Test Your WordPress eCommerce Website
Now the only thing left to do is preview your website from the front end. You want to make sure that everything looks as functions as it should.
Hover over your website name in the top-left of your WordPress dashboard, then click on Visit Site.
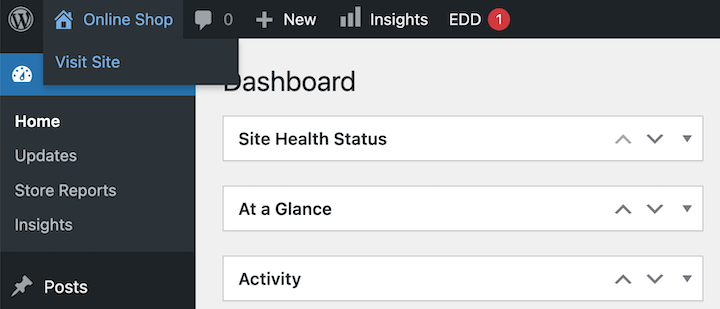
Go through each page of your site. Pretend you’re a customer. Add items to your cart and go to your checkout. You can visit the documentation of your payment gateway to see how to test payments.
Helpful WordPress Plugins for eCommerce
One of the great things about using WordPress is how extendable and customizable it is. Regardless of which eCommerce solution you’re using, there are add-ons available to enhance and elevate just about any aspect of your website.
Below are some of the top WordPress plugins I recommend to online sellers.
Easy Digital Downloads Extensions
I’ll start with EDD-specific extensions before getting into the more general options.
| EDD Extension 🔌 | Purpose 🔑 |
|---|---|
| Recurring Payments. | Allows customers to make recurring payments for products or services. Increases customer retention and provides a steady stream of revenue. |
| Software Licensing. | Protects software products from unauthorized use. Ensures that customers only use the software they have purchased. |
| Cross-sells and Upsells. | Suggests related products to customers during the checkout process. Increases the average order value and boosts sales. |
| Reviews. | Enables customers to leave reviews and ratings for products. Builds trust and credibility with potential customers. |
| Advanced Reports. | Provides detailed reports on sales, customers, and products. Helps you make informed decisions about your business. |
| Free Downloads. | Allows customers to download digital products for free. Attracts new customers and generates leads. |
| Purchase Rewards. | Rewards customers for making purchases. Encourages repeat business and builds customer loyalty. |
Other Helpful WordPress Plugins
Now let’s explore some of the most popular and robust WordPress plugins to consider using on your eCommerce site.
OptinMonster
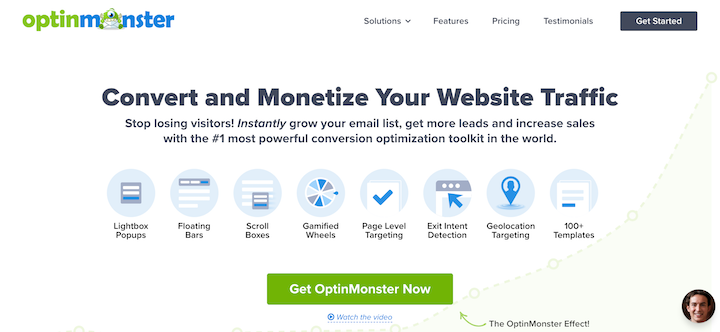
This is a powerful WordPress plugin to help businesses to create high-converting opt-in forms, exit-intent popups, and other lead generation tools. With its user-friendly drag-and-drop interface, OptinMonster makes it easy to quickly build and customize campaigns to capture email addresses, grow subscriber lists, and boost sales.
AffiliateWP
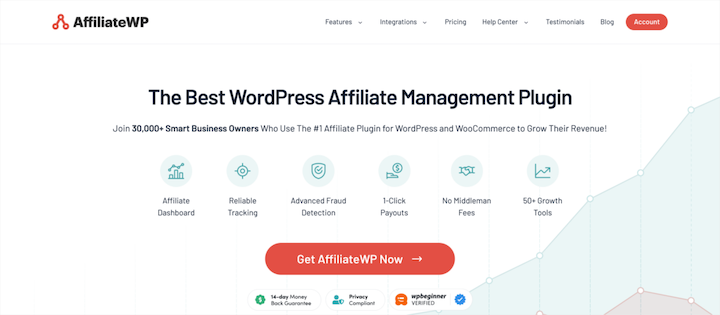
AffiliateWP is a WordPress plugin that helps website owners create and manage affiliate programs. It makes it easy to track referrals, calculate commissions, and pay affiliates for their sales. With its powerful features and seamless integration, AffiliateWP is an excellent choice for WordPress eCommerce websites looking to boost sales through affiliate marketing.
AIOSEO
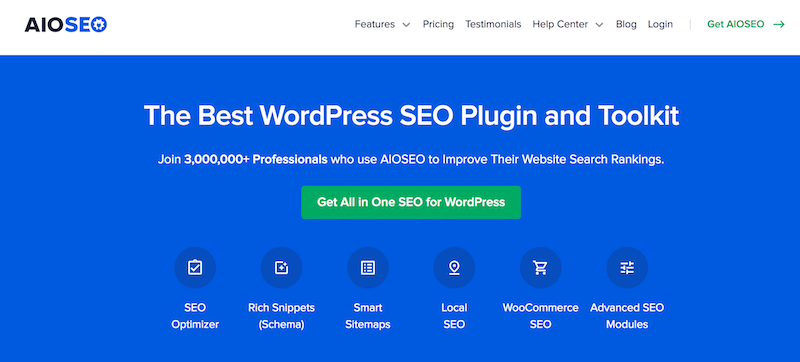
Search engine optimization (SEO) is crucial for increasing your website’s visibility and attracting organic traffic. The AIOSEO plugin can help you optimize your eCommerce site, including on-page SEO, technical SEO, and so much more.
MonsterInsights

This WordPress plugin seamlessly integrates Google Analytics with your website. It allows you to track essential metrics such as website traffic, user behavior, and sales performance.
With its user-friendly interface and advanced features like enhanced eCommerce tracking, MonsterInsights provides valuable insights into your customers’ journey. It helps you make data-driven decisions to optimize your WordPress eCommerce website for better conversions and revenue growth.
WPForms
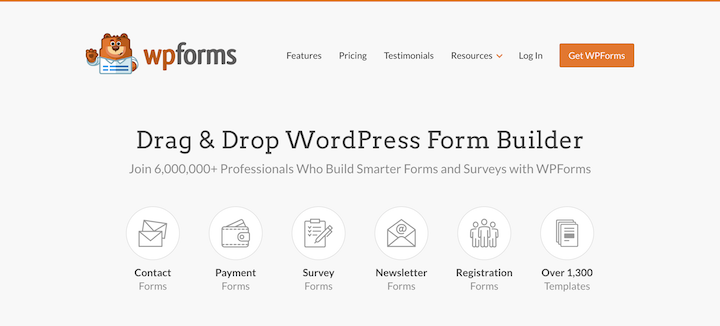
WPForms is a powerful and user-friendly WordPress form builder plugin that allows you to create beautiful and functional forms for your website in minutes. With WPForms, you can easily create contact forms, surveys, polls, payment forms, and more. It is the most beginner-friendly form builder on the market, making it easy for anyone to create forms without any coding knowledge.
SeedProd

SeedProd is a powerful WordPress page builder plugin that enables users to create beautiful, high-converting landing pages, sales pages, opt-in pages, and more without writing any code. With its drag-and-drop interface, pre-built templates, and advanced customization options, SeedProd makes it easy for anyone to create stunning pages that drive conversions and boost sales.
FAQs on WordPress eCommerce Sites
Here are some frequently asked questions about creating a WordPress store.
Is it good to build an eCommerce site on WordPress?
WordPress is an excellent platform to create websites and sell online. It’s user-friendly, customizable, and has a vast plugin ecosystem that supports various eCommerce functionalities.
How can I keep my WordPress eCommerce website secure?
Keep your WordPress site secure by regularly updating your WordPress core, plugins, and themes. Use strong passwords, enable two-factor authentication, and install security plugins to protect your website from vulnerabilities.
Can I create a free WordPress eCommerce website?
WordPress itself is free. You can use a free eCommerce plugin like Easy Digital Downloads to turn the site into an online store. However, you’ll still need a domain name and web hosting plan. You can get them for just a few dollars a month. For a more professional and reliable store, it’s best to invest in premium tools.
There are plenty of affordable yet powerful options and strategies to manage the costs of creating and maintaining your store.
- Start small. Begin with a basic setup and gradually add features as your business grows.
- Utilize free resources. Take advantage of free WordPress themes, eCommerce plugins, and tutorials.
- Monitor expenses. Keep track of your ongoing costs to stay within your budget.
Carefully consider these costs and plan accordingly. Doing so helps you create a successful WordPress eCommerce website without breaking the bank.
Build Your WordPress eCommerce Website
Congrats! You’ve learned how to make your own WordPress eCommerce website. With these simple steps, you can build a store and start selling in no time.
If you plan to sell digital products but don’t have a plugin yet, grab an EDD pass.
Want more ideas on how to make money online? Check out our beginner’s guide on selling digital downloads.
📣 P.S. Be sure to subscribe to our newsletter and follow us on Facebook or Twitter for more WordPress resources!
Using WordPress and want to get Easy Digital Downloads for free?
Enter the URL to your WordPress website to install.
Disclosure: Our content is reader-supported. This means if you click on some of our links, then we may earn a commission. We only recommend products that we believe will add value to our readers.
2 comments
Comments are closed.
Many people struggle with these areas, and your advice makes it much easier to get started. Nice!
I’ve really enjoyed browsing through the blog — the content is consistently helpful and well-organized. Whether it’s setting up payment gateways or optimizing product pages, the guides make digital selling with WordPress feel much more manageable. Looking forward to learning even more as I build out my store. Thanks for providing such a valuable resource!